Optimizing Performance in Unreal
I’m often shocked by how commonly I hear people say that Unreal is not performant. That it puts more emphasis on visual fidelity and not on FPS. I think that this is a very common misconception. Yes it is true that compared to some other game engines, Unreal has put a lot of development effort behind making it EASIER to achieve high quality visuals… but that doesn’t mean that it isn’t possible to get a high FPS in your games, or even that it’s all that hard to do so.
I think that it is largely a product of Epic’s marketing, as well as the marketing of some of the games that have been built with Unreal, that this idea has emerged amongst the communities that use Unreal professionally or personally. People see that Unreal is capable of all these incredible visual feats, and flock to it wanting to replicate those things in their projects.
Rocks - far as the eye can see
Lumen, Nanite, Raytracing, Volumetric Effects, etc. are all very flashy and they get a lot of attention… but not always from game developers. In fact, it is because of all of these things that Unreal is leading the charge in Virtual Production technology. Disney, Universal, Sony, and many more have all adopted Unreal-centric pipelines to author their content for LED walls, and sometimes even beyond that using it as early as pre-production and post-production to conduct more rapid visual development cycles before taking the plunge into final visual effects. In some cases it’s taking on the role of final visual effects and even end-to-end final pixel animation.

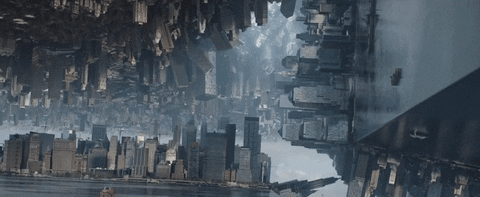
Predator: Killer of Killers was fully rendered out of Unreal
But what if I told you that it’s just as important for all of those use-cases to have good FPS? Would you believe me? Well it is 100% the truth and I know from experience. Every creative team that works in Unreal for linear content production needs their in-editor performance to be buttery smooth to be able to live up to the promises that ‘realtime’ makes for productions, whether we’re talking about games, live action virtual production or animated features. The demand for quicker turnarounds and shorter production timelines is greater than ever before, and if it takes an animator, lighter or visual effects artist hours to make a turnaround on a creative note on a shot, that’s killer to a production schedule. Animators working in-editor particularly need to have smooth realtime feedback to dial in performances, but the same goes for every creative department.
Everything that is added to a shot in service of a story needs to be able to play back at a minimum of 24 fps in the case of animation. Compared to the 60-90 fps target that most modern games aim for, that will sound very low, but 24 and 30fps are the common frame rates for animation and film. In the case of virtual production - fps needs to be as high as possible during performance capture or the actor’s performance won’t be accurately recorded, leading to more reshoots and money spent on set. Not the place you want to be wasting time.

All of this is why I wanted to write this article. This is intended to be part guide for technical artists working in both games and linear content production, and part wakeup call for producers, business development manager, directors, and project managers. The success of your real-time projects depends on the management of a single resource: Video Memory.
Why Video Memory?

Video Memory, aka VRAM, is the amount of short-term storage a graphics card has to manage data relating to graphics and video processing. Even that can feel like a bit of an outdated definition, because vram is leveraged as much for audio and all-purpose AI tasks nowadays as it is purely for video processing. Trying to use ComfyUI or some other AI tool to generate pictures or videos? That’s using your VRAM. Trying to transcribe audio clips to text? Also likely using your graphics card. And generating models, texture, vfx, or rendering your cinematics / game in realtime? One hundred thousand percent using your GPU VRAM.

You should really watch the 1982 Tron if you haven’t yet. Ironically, dedicated VRAM was barely a thing then and
you’d be lucky to get 16KB on a PC that would’ve cost $3,000 at the time, or $10,000 in today’s market.
Now there are very low levels of data management that are better saved for a computer science degree lecture to cover this, but I want to talk a bit more about how the average technical artist or non-technical artist or non-graphics programmer can take steps to avoid bottlenecks on the VRAM that can cause the FPS in the projects to take a nose dive, or cause their render times for the cinematics to skyrocket.
The Usual Suspects
This is going to be the short list and summary section covering the things that usually spring to the front of my mind when artists reaches out to me saying ‘I’m getting really bad in-editor performance’, or when we have done a recent new build for our game and are seeing massive FPS drops during playtesting.
Lighting
This is one area where people are very quick to turn every knob and lever they can reach up to 11, and not think twice about the consequences. Lumen and other forms of global illumination, raytracing, volumetric clouds, godrays, emissives, all of these things come at substantial VRAM costs. Whether it’s for games or linear content, you have to ask yourself not just ‘do we need this?’ but also ‘do we need this if it means we can’t have ANYTHING else fancy?’ because that often ends up being the case. If a light shaft can be a card (texture), it should be. If a shadow doesn’t need to be soft, it shouldn’t be. If you are lighting a large area, a directional light is probably a better choice than point light. If you’re not flying through the clouds, why are they volumetric? There are so many ways to achieve a good look without making everything physically or scientifically accurate, and games have been using those techniques from the very beginning. Cheating lighting isn’t a new thing, it’s just forgotten in the modern era.

Who Framed Roger Rabbit - 1988; Animators painted every frame by hand to get the lighting to work in this shot and have it feel natural. Sometimes doing it the hard way is worth it.
Textures
One of the more common mistakes I see is people bringing in all of their textures at 4k, or sometimes even higher. I think the misconception is that if you want your product to hold up on a 4k monitor, that all of your textures also need to be 4k. That couldn’t be further from the truth though. The key concept to be aware of here is Texel Density - in short, how many pixels on the screen is a given asset going to occupy at any point in time. The only things that need to be 4k are things that are going to fill literally the entire screen, and even then, they only need to be 4k in that moment. If we’re talking about a character’s face / eyes, and we have a close up during a cinematic, great, lets get some 4k eyes in there. But the second we punch back out or go back to looking at the character’s back, if we’re still storing those 4k eye textures in vram then we’re missing out on vram resources that we could be using for high quality environment lighting, visual effects, or impactful gameplay moments. Most of the time, face and eyes probably don’t need to be more than 2k, and often even less. If your game is first person or third person over the shoulder… why would you even render eyes?
If you can’t see pixels, it’s good enough!
Polycount
‘But Brett, we can just use nanite for everything!’ No, shut up. This is one of the most important takeaways from this article. If you skip everything else I’ve written here you should internalize this. If you think you can just use nanite for everything you don’t deserve to use it for anything, and certainly shouldn’t be trusted to use it for anything. Here’s the reality - nanite is an incredibly powerful optimization technique and a remarkable innovation of the modern Unreal Engine versions, but it comes with SO MANY costs. The problem is if Epic led with all of the bad, nobody would care to use it. When you elect to use nanite in your project, you are actually signing up for a boat load of constraints and highly specific workflows for your lighting and shading as well. If you are rendering cinematics or making a game for someone else and need to hit specific art direction, oftentimes nanite will in fact get in your way and prevent you from being able to achieve those looks. When that happens, you need to be able to fall back to an efficient model topology anyway. And even if you are using nanite, fewer polygons still means better performance. Taking it one step further, if you are working on anything that needs to be animated, if you don’t have good clean topology, you will never get good clean animation. Full stop. Learn how to retopologize properly, it will save your life and your production.
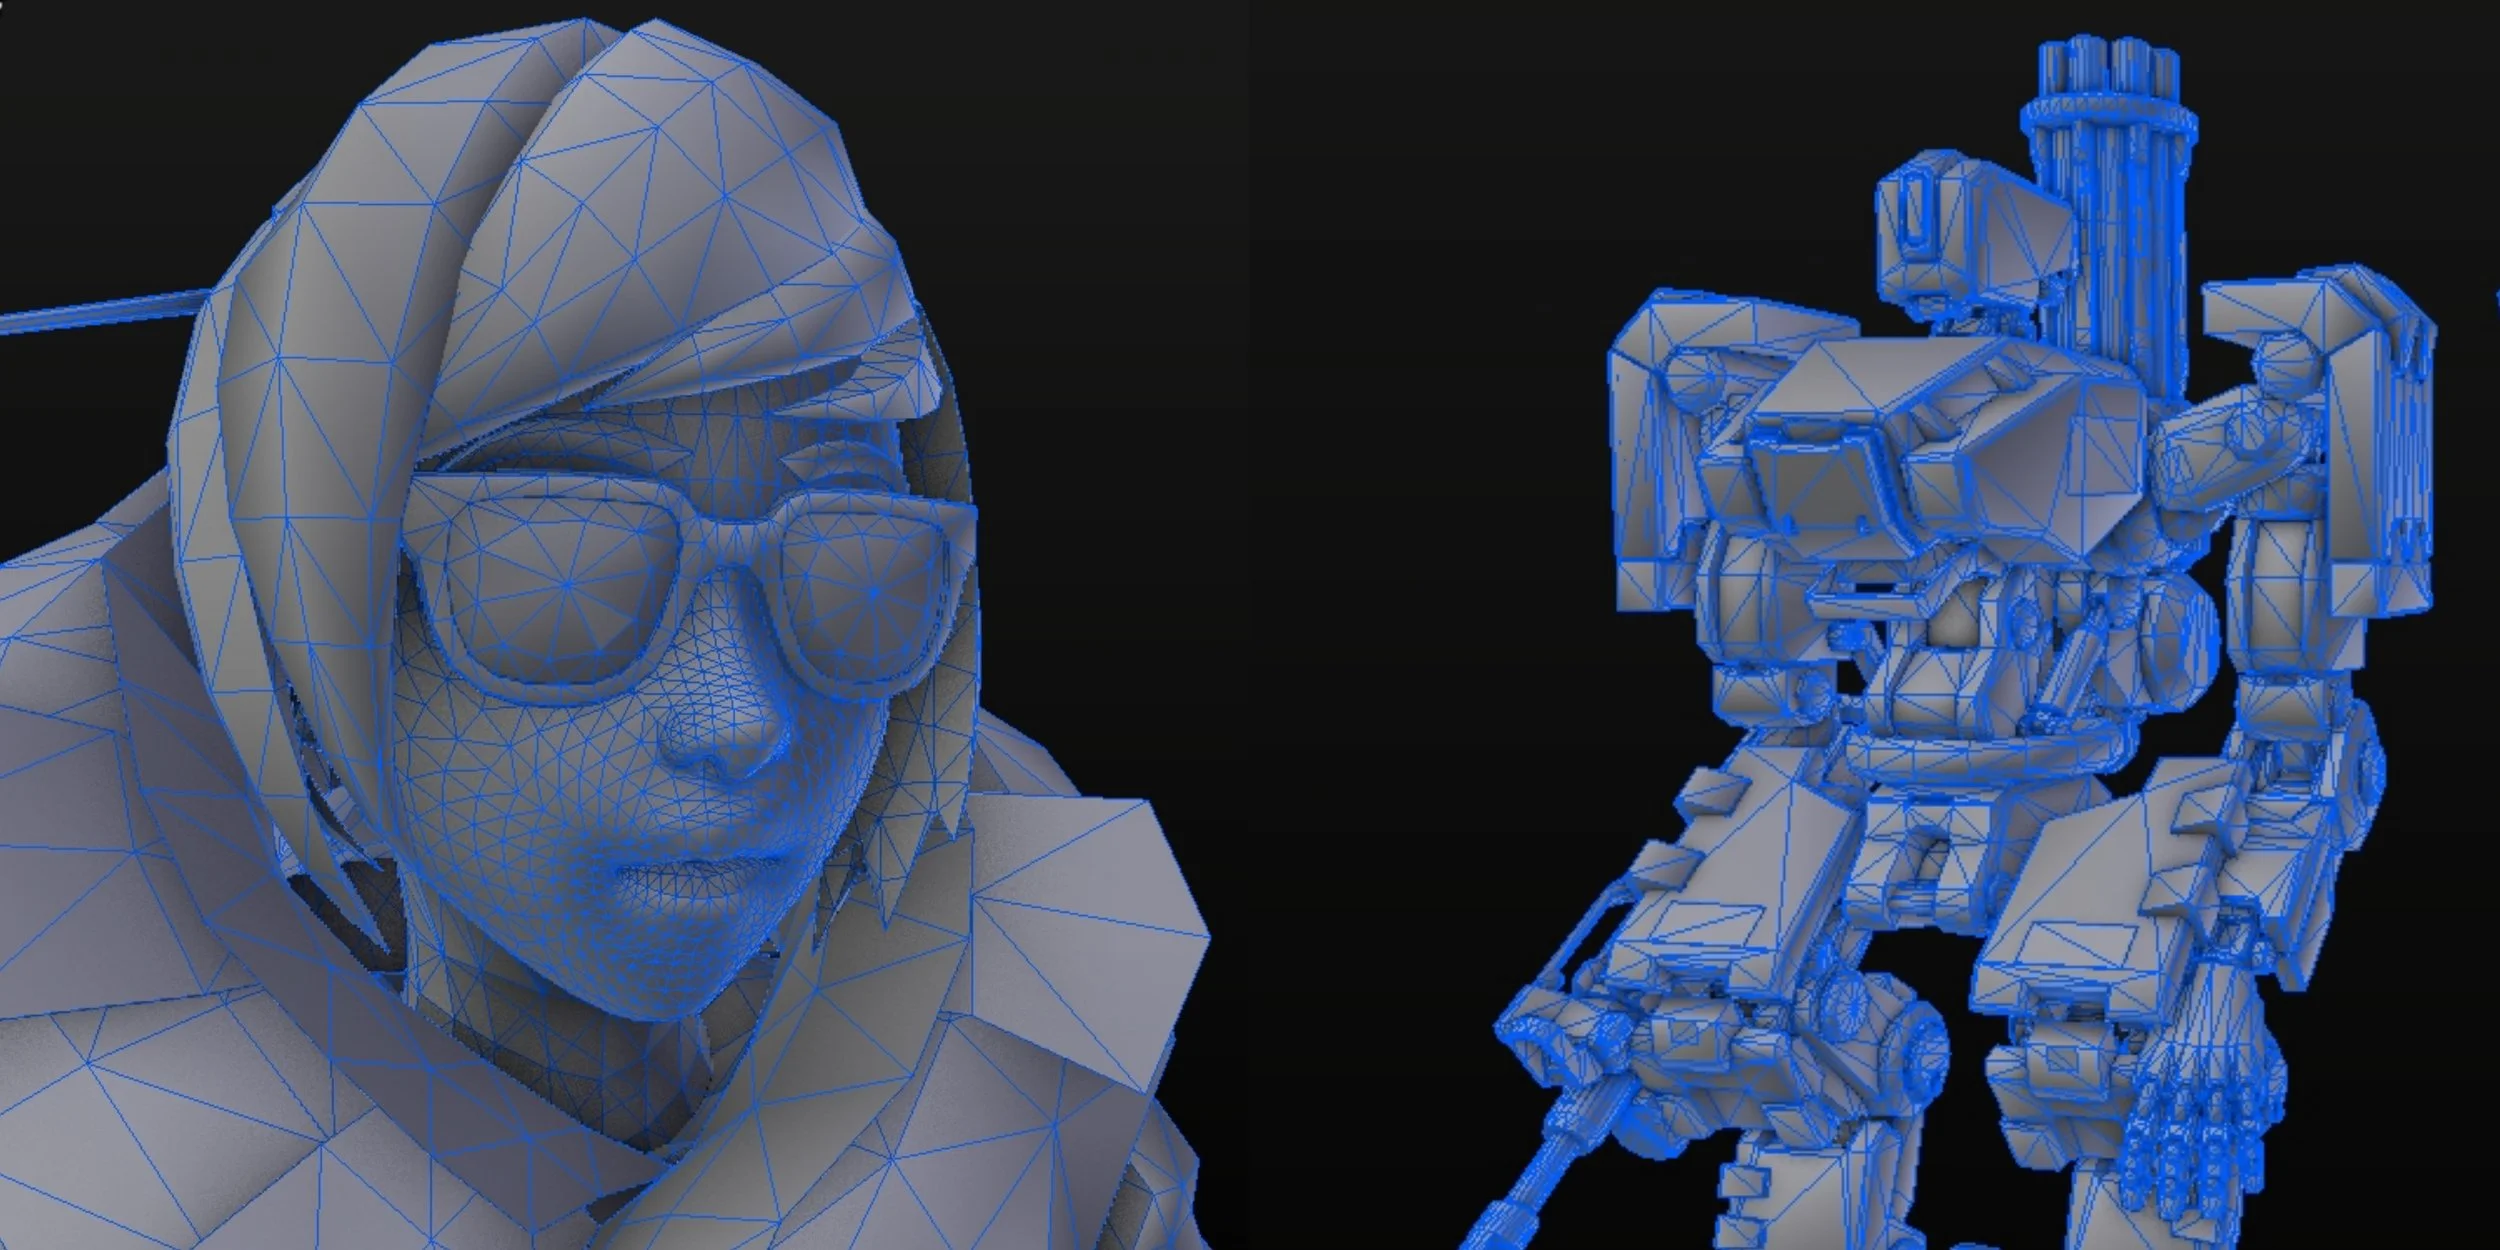
Overwatch wireframes. The pros use efficient topology, so should you.
Effects
Where do you even begin with effects? Almost any form of effects needs to be handled with extreme caution. Think of it just like you are handling real life pyrotechnics. You wouldn’t just pound gunpowder into a ball with a hammer and then light the fuse while holding it. The most important things to consider in Unreal when it comes to effects is that less is more, and dispose of them properly. It’s kind of the same as I mentioned with lighting above. Does this need to be volumetric? Or can it be a single texture. For how many frames is it visible? Have I completely destroyed the actor after it has served its purpose? If we’re getting specific, there are a lot of things that Niagara can do in Unreal that, more often than not, you just shouldn’t use at all. Light emitters? Just don’t. Niagara Fluids? Very cool, but unless your name is Asher Zhu, or you are only using it for a cinematic, you probably shouldn’t be messing around with it. If it is critical to your gameplay loop, you just have to keep in mind that you will need to make greater sacrifices in every other area to make sure that your VRAM can accommodate it, and even then you will still need to find ways to make sure that is as performant as possible.
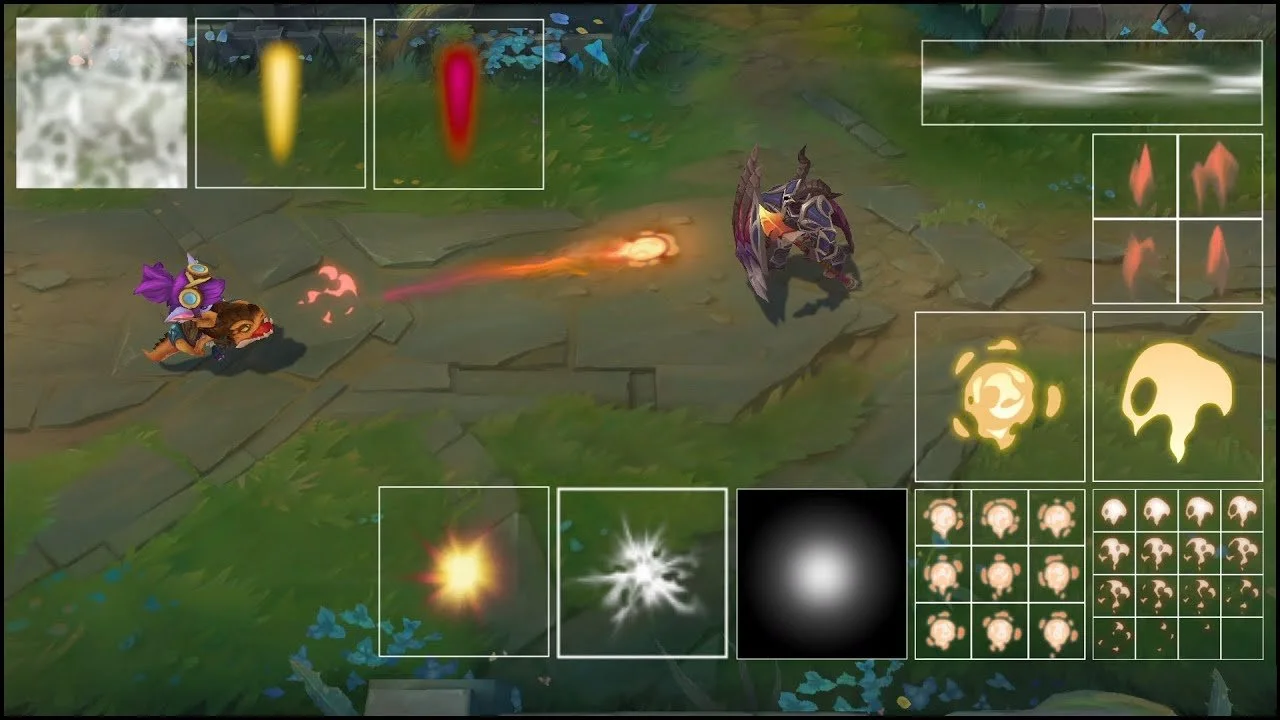
League of Legends vfx breakdown - They are often simpler than you’d imagine, and that’s why you can spam them without your computer exploding.
Blueprints
Here’s the big one for the developers out there. Stop using event ticks! Or more specifically, just be extremely mindful of whether or not you need it for what you are trying to do. 99% of the time whatever it is you think you need an event tick for, you don’t, and you should actually be using something else as the trigger for your logic. Chances are that an interface call, or dispatch are what you should be using instead. The thing with event tick is that it runs all the time… meaning it is always occupying some of your budget, and your resources for the rest of your game are permanently reduced. That’s literally the worst case scenario. Resource management (gpu vram, standard ram, cpu, or even disk space / hard drive space) means that we want things to occupy those resources only when they absolutely need to, and then free up that space so we can do more things. Imagine you are juggling. You could be the BEST juggler and still have a limit of 11 balls (I checked, that’s the actual world record), after that if you want to add something else into the routine, you have to drop something else to make room. If something you are working on 100% without a doubt needs to use an event tick, then you should be considering how you can make sure that thing can exist for as short a period of time as possible.

It’s like not having enough pylons in Starcraft, except you can never build more, and neither can your users.
User Interface
Another big one for developers, more specifically the UI/UX folks. Canvas panels in Unreal will also tank your performance. In general, a highly performant game can get roasted alive by a poorly optimized interface. They suffer from the same restrictions when it comes to textures, just like mentioned above, but it's even more dire because in most cases they are present the entire time, meaning just like the concern with even ticks, you are making the choice to limit your permanent resource budget that is available for… the rest of the game. Some of the best things you can do here, besides avoiding canvas panels and using other things like grid panels, size boxes, scale boxes, overlays, etc. instead, is to - just like vfx and blueprints - make sure that if something isn’t being used, it is removed. This means entire UI elements, but also UI features, particularly hit-testing. If part of the UI does not need to interact with the mouse, it shouldn’t.
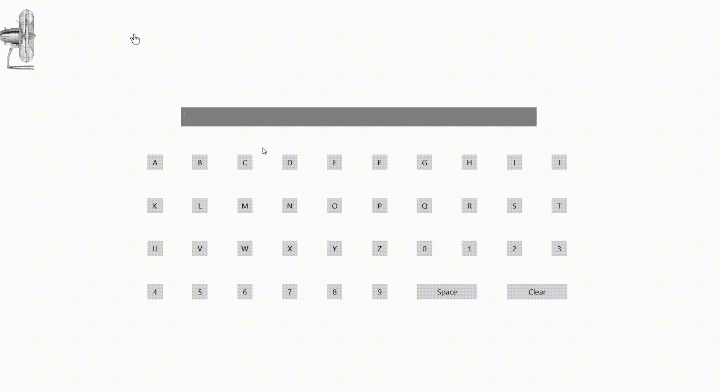
Example of a bad UI. Except these are actually done for humor and are genuinely amazing. This one is by a dev that goes by ‘theMutti’ - https://www.reddit.com/r/badUIbattles/comments/ug4cbj/a_cursor_controlled_by_a_fan/
Honorable Mentions
One thing worth mentioning specifically is Render Targets. It’s almost too easy to fall for this trap. Maybe you’re trying to fake a reflection, maybe you’re trying to make a minimap, or do that cool virtual-runtime texture blending thing or interactive grass world-position-offset animation trick you saw online. A lot of roads lead to using Render Targets… but the bad thing about them is that, unlike some features of Unreal, they do not default to the most performant settings, and often in fact default to the worst possible settings. ‘Capture Every Frame’ and ‘Capture on Movement’ under the ‘Scene Capture’ section both default to on, and the Capture Source defaults to Scene Color (HDR) If anyone at Epic reads this… please for the love of god change these settings. For anyone who hasn’t realized it yet… What this means is that you are drawing your entire scene… again. On every frame.

This is a recipe for literally HALVING your FPS with a single actor. I’ve done it, I’ve seen almost every other Technical Artist / Technical Director / Developer I’ve worked with do it. It’s like a rite of passage. Let this be your warning, and maybe save you hours of headache or possibly make you the optimization hero your production needs. If you have low FPS, and your project has render targets, check these settings. Disabling capture every frame can give you immediate gains if your render target is always active. The trick to using them and keeping performance good is controlling when they do and don’t capture, reducing the rate at which they capture, or reducing the quality of the image they capture. If you can have your render target only capture at 12 or 24 fps, that’s orders of magnitude more efficient than capturing at 90+ fps. If they don’t need to capture the scene and perfectly replicate every intricate light and shadow, that will also help lighten the load considerably.
What could go wrong?
The last one here is similar but more about just working in the editor in general, and won’t help with regards to the performance of a packaged / built game… but having multiple viewports open while you work in editor, and having them all in fully lit mode… is basically the same issue as the render targets. You’re asking your GPU to draw your entire world multiple times. Some users will think that this is rare or nobody really does this but trust me, if you swear up and down that your project has good performance but your team’s animators, lighter or other creative team members are constantly flagging poor editor performance, just ask them how many viewports they have open. The answer will probably surprise you.

You really don’t need this.
Conclusions
In summary, it’s not that Unreal has poor performance, it’s that modern graphics capabilities have created an expectation of this high bar for visuals in our minds as gamers or content creators. It’s important to consider however, that if we are creating a product that we intent to be interactive, or even if we are trying to create a cinematic that is going to be rendering out multiple frames to then be played back later, that there is going to be a point at which ‘how long does it take to render a frame’ becomes a critical consideration. The best time to have that consideration, is before you have created a situation where making sacrifices becomes more painful than it could’ve been otherwise. Being faced with the challenge of optimizing visuals after a look has already received creative buy-off is not where you want to be.

Do tests early and often. Have conversations with your creative team members and directors, and decide as a collective what is more important - taking advantage of every single new high-end visual system Unreal, or any other software has to offer? Or delivering a product on time, on budget, and at a good FPS that won’t induce motion sickness in the people who play it.

Good performance is, in fact, a choice.
Find something useful here? Have questions about your own projects? Or have examples where optimization saved your life and your product that you want to share? Join The Atlas Problem’s Discord server and tell us about it.

The Atlas Problem
Alright, I’m pretty excited to talk about this so this post might get a little long or rambly, but I’ll do my best to start at the surface level and save the deep dives for some more future posts.
Today’s post is all about The Atlas Problem, the game I’m working on with one of my oldest friends, Michael Carmody. You can check out the link on the text there or visit the steam page here if you’d rather just play it than read this. If you do, you should also check out our Discord and give us feedback! There’s a button in the game itself, and on the website on the left-hand side of the footer that will give you an automatic invite. We look forward to seeing you there!
If you’re sticking around, I’m guessing that means you want to know a little more about the origin of this game, how it’s going and where it’s headed. So let’s start at the beginning.
The project really started out as a portfolio piece for Michael and I to showcase our game-dev abilities, and also serve as a low-stakes creative outlet for us to scratch that game-making itch while we both worked full time jobs in other fields of technology and entertainment. We really began the project about 6 years ago, playing off the idea that it might be fun to have a tower-defense style game that allowed the user to switch back and forth between first and third person modes to accomplish different tasks. The hope was to get the best of both ‘first person shooter’ and ‘real time strategy’ worlds. To that end, we made a bunch of little demos to get a grasp on Unreal’s camera controls and particle controls, such as this one:
https://www.youtube.com/watch?v=XxZxuzYHzGk
We managed to then build out a pretty good number of features on the road to a ‘vertical slice’, a term used to describe a playable demo that encompasses the full game loop. The goal was to have something that people could play that demonstrated the full idea in a nice digestible package, and not require more than maybe 10-15 minutes of play time. That slowly evolved into ‘what if we just made a full demo’, more like 30+ minutes of play time, depending on player skill, and a much broader set of concepts and features that we wanted to show off. Why the scope creep? Ultimately it was because we discovered more about what we wanted the user experience to be as we went, and more things that we wanted to be able to demo. It wasn’t so much that we wanted the game to be bigger / longer, but that we wanted to show that we could do more than just make ‘another tower defense game’ that people have seen a hundred times already. We wanted it to bew fun, interesting, thought provoking, challenging, and overall - technically impressive. The hope was this could get us work - so we wanted our code to be clean, and for the visuals to be impressive enough that they weren’t distracting (while obviously not being final). And to all of these ends, we just kind of kept going and going until a few things happened.
Its important to understand again that we were just working on this in our spare time, and not very regularly at first. We’d open up the project, do some things, and then step away for days, weeks, months at a time. We would regularly come back and have a hard time getting back up to speed because we had to re-acquaint ourselves with the project, and what either of us had done since we last looked at it - which was sometimes a lot! It was very easy to fall into the cycle of opening it, getting overwhelmed by how much catch up there was to re-learn, and then just not wanting to work on it, and putting it off for longer. Our passion began to give way to fatigue, and the project began to collect more and more dust. Occasionally we’d have a lull at work, and get energized again to make another big push, but every ‘big push’ felt like it yielded less and less, until we would make a push and it seemed like nothing was really changing any more. Its really hard for me to estimate how much time we had committed over the course of those first 5 years because it was so disjointed and sporadic. Maybe the equivalent of 6 months to a year of dev time? Maybe even less? However much it was, it was enough that when we reached this next point, we were faced with a painful decision. How do we break this cycle and make working on the project fun again? What was holding us back?
Thankfully, we had both been very active in our respective careers over those 5 years and had learned a lot about Unreal, development best practices, and game design. What we realized is that we were fighting against our past-selves… or rather, code that we had laid out 5 years ago back when we knew way less about what we should be doing, and that the only real way to free ourselves of our past development sins was… a massive refactor. Basically rebuilding the game from scratch, but with the new mission-statement of laying a foundation that’s clean, modular, and scalable - such that any time we have the free time and impulse to work on the game more, there’s nothing holding us back from implementing a new feature, or some new art, or refining the user experience to be exactly what we want it to be.
You can imagine the pain that came with this decision. We were about to commit ourselves to an unknown amount of work that would yield effectively nothing, just to get ourselves back to the same point we were already at… and the benefit would barely even be visible to players, the goal wasn’t to redesign the whole game, just fix our underlying architecture. It was hard to psych ourselves up for something like that. This was the first time that we were about to make our hobby / passion project feel like… work. It kinda sucked! Both Mike and I had plenty going on in our lives as well to make focusing on the task at hand even more difficult, but ultimately we resolved ourselves to do it, and began to lay out our plan and execute it.
The major highlights of the refactor included moving all of our game logic, which was previously spread around between actors and level blueprints, into well-thought out game-modes, game instances, and new blueprint actors we call our ‘Managers’. Each manager would be responsible more a major system / feature of the game, and we would rely on blueprint communication to send our triggers back and forth as needed. So in early October of 2024, we laid out this proposal for ourselves:
Click the image to see the full thing!
With this, we had our plan of action, and were able to really begin the process of refactoring. It took us a good part of October to really feel like were getting close to where we were before, in terms of the game’s playability… but the benefits became apparent immediately. Any time we wanted to do something now there was no question of ‘what actor in controlling this behavior’ or anything like that. The structure gave us clarity, and that clarity gave us new freedom. Our game’s performance also benefited hugely, seeing major FPS increases that we previously couldn’t have imagined. All of these benefits allowed us to quickly start thinking beyond where we had been stuck before. We could start to see the road to this project being more than just a portfolio piece that we only show to recruiters and other game developers who can appreciate the behind-the-scenes aspects. It was getting to a point that we could actually see putting it in front of strangers, and getting their feedback on it as a game. A game that no longer just had to be technically impressive, but now had to be genuinely fun for other people.
It would take a few more months of re-organizing ourselves, building new internal development websites and project management systems, laying out new roadmaps for our versions, updating our source control and packaging workflows, setting up an actual studio entity and registering with Steam, but now we have the means to develop and distribute at a pace that means we can really enjoy the act of developing the game again.
Now we are able to accept playtesters through Steam via the ‘request access’ button on the game’s store page. We are very excited to have about 150 requests at the time of writing this post, and are gearing up to open the floodgates. We are setting up some back-end systems for metrics gathering that will help us when making balancing decisions such as how long are waves taking, what sort of resource gathering rates are we seeing, do things need to be harder, easier, etc. Between those and the playtest discord, we hope to enter a new chapter of refining the player experience, while we continue to come up with new features for the mid and late game phases of play.
The future is still a bit uncertain, we would love to enter the game into a Steam Next festival at some point, but we want a lot more player feedback than we have so far before that. At the moment its still largely family and friends, who we love and trust to be objective with us, but now we also really want feedback from people who would consider actually spending money on a game like this, or people who just happen across it by chance and are willing to share their thoughts, good or bad, constructive or not. We know we can make a game. Now can we make a game that YOU want to play? Please take a look and let us know what you think!
It will probably be a little while still before we consider the game ‘complete’ enough to put a price on it and really ask people to pay money for the chance to play it. There are a ton of things that we still want to do. In the spirit of our studio name, ‘Placeholder’, almost every visual and audio aspect of the game is just that… place holder. We have invested a lot of our own money, and considerably more amounts of our own time into this so far, without any intention of ever seeing a return on the investment. To that end, we have taken advantage of AI tools to generate concepts, music, and icons for the game - which we only felt OK doing because we wouldn’t be paying ourselves or other artists to do those things at this time. If we do get to the point of releasing the game with a price tag, I would like very much to have the have our first major goals be to re-invest any funds made into real artists and musicians to give the game. If we have the time and resources to replace everything before asking for money, that would be even better. I just want users to understand that we appreciate the flux and turmoil that AI tools are wreaking on the industry right now, and to not take our use of them for this project as any sort of endorsement for any data usage practices. We believe strongly in intellectual property rights, and that creative professionals should be compensated for their work. You’ll also notice that we have used content from the Unreal Marketplace (now Fab.com) for the majority of our models and vfx, and haven’t even replaced the default epic mannequin character model.
We consider the game only about half finished, with version 0.5 coming soon to the playtest build on Steam. If you are interested in helping us out, the best way is to apply as a playtester and join the playtest Discord, and to check out what’s changed from build to build as we keep working on things. Find an issue / not having fun? Let us know, and check back when there’s an update! There’s a very good chance that we will address your feedback directly. Once we have enough playtesters that multiple people are flagging the same issues, we’ll start to consolidate feedback and prioritize things a bit more, but at this phase you could literally be our most valuable tester, so stop on by! We look forward to your feedback!
If you made it this far, thanks for reading! I plan to write more about individual systems and our workflows in the future. If you’re interested in any of those things, or anything else, please let us know on Discord!

Long Time No See
This is my first post in a little over 6 years! Wow! It is currently April 16th, 2025, last post was April 3rd 2019.
There’s a LOT to cover! But I won’t do it all here in this post, rather I hope make more regular posts going forward, when there’s good Tech / Art stuff to talk about.
The long story short, for the last 6 years I’ve been working at a company called The Third Floor working on all manner of entertainment content from games and theme parks to TV and film. In most cases however, we were working largely on the Previs (Pre-Visualization) side of production, and in most cases the final products weren’t released until one, two, sometimes three or more YEARS after we had been working on the project, which of course means we can’t talk about the work in any great detail until they have released, and often times for a few months afterwards as well, depending on the client.
Thanks to the company’s amazing marketing team, there is actually a TON of content about the making of / behind the scenes for many of the projects they have been a part available on their website, and you can see a mostly-comprehensive* list of projects I’ve helped out on over on my IMDB. I’ve recently added some direct links to specific blog posts from the TTF website over on my Gallery page as well, if you want to specifically read more about some of our Unreal Engine projects. We hope you enjoy hearing more about the projects, as we certainly enjoyed working on them!
* I’ve also been lucky to have touched a handful of other super cool projects that I did not get official credits on. It varies project to project but typically to get an on-screen credit it requires something like 6 weeks minimum of full-time work on the project. Sometimes we can get those mentions on IMDB (like the Uncharted one on mine), other times not. For example, I got to help prep a copy of the Arrakis digital set for the 2021 Dune movie for use in our virtual scouting tool, but it was like… an afternoon’s worth of work decimating geometry and testing it out on an iPad to ensure quality performance. Sometimes the work is heavy, other times its not! The other prime example is the Disney+ Starwars shows. I do not work on those full time, we have amazing teams that do, and they do amazing work. I mostly just hire and train our Technical Artists and Technical Directors and make sure they have the necessary tools to do the job well. If they run into issues along the way, I might get called in to help fight fires. So I may have helped tune a few lightsabers, energy shields and space whales here and there.
Even more recently however, I’ve been deeply involved with the foundation of newly formed Animation department at The Third Floor, where we are using Unreal Engine to revolutionize production pipelines. That story is too long and amazing for this post as well, but I will make a separate post about it, and we also hope to have more to share in a few more months, after the release of Predator: Killer of Killers on June 6th!

Houdini Vex Exercise - Erosion

This landscape was generated entirely through VEX, no off-the-shelf tools used at all. This was the final project in the CGMA, “VEX in Houdini” course.
Systems implemented:
Height Field Generation (with Domain Warping)
Thermal Erosion (aka Thermal Weathering)
Hydraulic Erosion
Volume Advection
Volume Displacement
The coloring is also all done via VEX code, including the sides of the landscape block as well as the water surface.
Landscape Height Field Generation
The first step I had to go through was generating the base landscape. To do this, we used an FBM (Fractal Brownian motion). FBM’s are described in a lot more detail here and even better here (visual examples!), but to put it simply it is a noise function being run through a loop, with each loop introducing additional detail.
We call the stages of this loop ‘octaves’ and typically increase or decrease, and shift or otherwise manipulate the noise pattern every octave.
We control how each octave changes with a series of parameters we expose, allowing us to directly edit different parts of the equation. The common attributes to control are:
Amplitude, Frequency, Lacunarity, Persistance, and number of Octaves.
In addition to those however, we also went further and added Domain Warping (mentioned near the bottom of the second link about FBMs above). Domain Warping allows us to modulate the generated terrain to create even more organic and unique formations. This is done by using ANOTHER FBM to warp the previous one, this leads to some pretty compelling effects.
Each of these attributes gets demonstrated briefly in the following video:
So there you have it, that single FBM wrangle is responsible for the entire base landscape. The color is coming from the ‘terrain_vis’ subnet, which only contains the following:

In order, these nodes are pulling in the ‘height’ attribute from the FBM node above, using that to do the actual vertical displacement of the grid, and then applying a color gradient from the lowest point to the maximum height, all before making sure the normals are set for the vertices and passing everything down to an output node so I can grab it later if needed.
Erosion
As a quick overview, what we’re doing with Erosion is calculating how the height of each point on the grid will change over time. We’re doing this with 2 separate equations, one that mimics the effects of Thermal Weathering (sediment sliding down mostly by gravity/friction), and another that mimics the effects of Hydraulic Erosion (sediment being carried down a slope by a constant rain / evaporation cycle). When utilized together and balanced properly, these can create a very natural looking landscape.
If you’re interested in a deep dive into these equations and their origins / development, check out the following technical papers:
• Realtime Procedural Terrain Generation: Realtime Synthesis of Eroded Fractal Terrain for Use in Computer Games
by Jacob Olsen, Department of Mathematics And Computer Science (IMADA), University of Southern Denmark
• Fast Hydraulic Erosion Simulation and Visualization on GPU
by Xing Mei, Philippe Decaudin, and Bao-Gang Hu
• Fast Hydraulic and Thermal Erosion on the GPU
by Balázs Jákó, Department of Control Engineering and Information Technology Budapest University of Technology and Economics Budapest/Hungary
Much of the implementation we designed is based on the successful implementations of these technical artists. The papers also go into some additional details such as enhancing sea-floor generation through additional equations that were not implemented here. Definitely check them out!
That intro out of the way, let’s look at the first part of the graph, the Geo level:
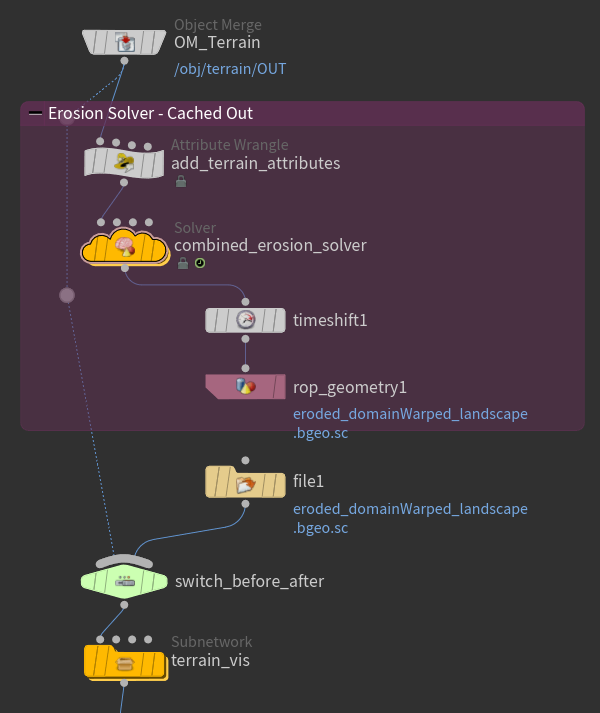
As the box label explains, what is happening in the top portion of this graph is being saved to the disk, and then re-imported as a static file before getting passed on for further processing. This is set up this way because the Erosion equations function over time, and therefore need to be compartmentalized as a Solver. This allows us to run the equation over the frames of our animation timeline, the ‘Timeshift’ node then lets us freeze the result at the frame we like, and the ‘Rop Geometry’ node saves this to disk. Breaking up the process like this means we won’t need to sit and wait for the whole terrain to re-bake everytime we close and re-open the file, or make changes further down the pipe. It also means we can go back, make changes, and save a new version out to the disk and have the information further down the pipeline be maintained.
Now let’s look at the real heart and soul of this exercise, the Solver:

There’s a lot going on in this solver, and I’m not going to get too boring and post a wall of code for each node, but I do want to visually show a little bit of what each section is doing on its own and explain through how each part in turn works together. Before that, a few basics:
Erosion 101
Again, for the really technical explanation, check out the papers I mentioned above, but the summary: What we’re going to do here is create a series of ‘virtual tubes’ between each point in our grid, and then make it so ‘sediment’ can ‘flow’ between them. I use quotes because the concepts are little more abstract than that when working with the code, however that’s effectively what the system is doing. Each step through the solver, each point looks at all its neighbors, figures out what’s up and what’s down, what the slope of the hill is where it exists, and how much water is flowing over it.
Solvers 101
Just to make sure I’ve covered all the bases we’ll start at the very top. The switch node is just handling the very first beat of the solver, where it switches from the start frame to taking in the subsequent frames. This ensures that the equations are calculated on the data output from each previous frame, and not just calculated on the data from the first frame every time.
Slope Calculation
We’ll start with the details here. The Slope Calculation node is calculating a cross product (perpendicular vector) between 2 vectors that are defined by neighboring points. After calculating this vector, we can subtract it from 1 to get the slope we need. If mapped to a color output, the resulting values will resemble a Curvature map.

Sketch of what is calculated in this first wrangle. The green arrow is the cross product of the red and the blue arrows. We calculate the green arrow and subtract it from 1, for every point in the grid.

Slope values mapped to Cd (basic surface color). Debug view of slope values over landscape. We can use this later on to enhance the final colors as well.
Make it Rain
Now that we have the slope information stored, we need to introduce water. Lots and lots of water. These next 3 nodes I’ve colored blue are going to handle basically all the water calculations in our solver. The first node literally just makes a float variable called ‘rain’ and sets it to 1.0.
Next, the flux calculations. This is going to determine how much water should flow in what direction. This is calculated by comparing each point to each of its neighbors again, in a similar fashion to how we checked the slope earlier. Instead of determining simply ‘how much am I sloped?’ however, this is more of a ‘how much higher / lower am I than each of my neighbors?’. This is what really makes the water flow in the right directions at all times and prevents it from flowing uphill. With the flux calculated, determining the velocity of the water flowing through the point becomes possible. Visualizing this is over time magical:

Visualization of the Flux Velocity vectors animating over time.
Of course, like all good debug views, this is much better when mapped to our texture with some color in it:

Water Flow debug view
Well that’s pretty awesome, but here’s one more just so you can see what’s happening by itself:

Water Flow debug view, isolated
You can actually see the flow! Absolutely blew my mind when I hit play and saw this happening. I never expected the math to produce such an effective result, but there it was. And this is still such a simple version compared to some of the tools made by teams at SideFX or Quadspinner, it really is astonishing to see what a little math can do when its set on the right path.
Erosion and Deposition / Sediment Transport
The next 2 nodes are dictating how much the height is allowed to change for each point. We accomplish this by setting up a ‘transport capacity’ that is determined by a user defined capacity, multiplied against the flux speed, amount of water, and slope at any given point, at any given time. We also define how much of the height can be ‘dissolved’ and how much can be ‘deposited’ into and out of this transport capacity when it is moved to the next point (via our ‘virtual tubes’ in the direction of the flux flow). In action this looks pretty cool, but we can also see how fragile the equations become, and how critical it is to balance the system:
You can see the brightest areas above as indicators of trouble brewing. Not long after it reaches that “ultra-saturation” point does the system start to fail. To fix this, we add the next little piece of the puzzle:
Evaporation
This wrangle has one single line of code, where we update the total amount of water in the system by multiplying it against a global evaporation rate, determined by the user. In my case I settled with a rate around 7% evaporation (.07) to get a comfortable result, which meant each frame the total amount of water at every point was multiplied by 0.93, steadily reducing it from what would otherwise be a constant flow, resulting in the issues we saw before.
With the rate set and properly balanced through trial and error, we end up with something like this:

Water Flow Debug view, now with less flooding!
Looking good! That covers the breakdown of the hydraulic erosion, next up:
Thermal Erosion
Thermal erosion is a much simpler system, though there are still some equations behind it all. Again, for the most detailed look at the math, check out the papers mentioned at the top of the section. I’ll just be giving the briefest of high level explanations of what’s happening in these nodes.
The real-world phenomena we are trying to replicate is the breakdown of material and collection of piles of Talus, or Scree (to those hikers of you reading this), at the base of the hills. If you’ve ever seen a mountain, or even a sorta big hill, you’ve probably witnessed this.
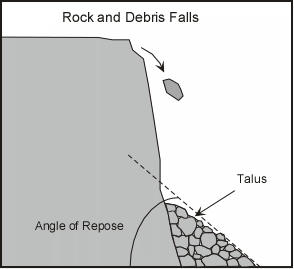
Borrowed from the Tulane.edu website
The Angle of Repose (also referred to as the Talus Angle in the papers above) is ultimately the data we want the user to be able to define. Note: To protect the more vertical elements often found in nature would require additional equations for Mesa formation that our system does not get into, so our thermal erosion will act instead as a universal erosion, rather than just on ‘weakened’ surfaces as it might in the real world, depending on the softness of the underlying rock/earth. This means that instead of seeing this:

We get something more like this:

Thermal Erosion preview
Which still isn’t bad, the effect is nice and there are areas in the world where the earth might be softer and formations like this occur. Note how in this example, we can really see how the height is maintained, but the slopes of the forms are all ‘spread out’ until they all have reached that Talus Angle we defined, in a uniform manner across the entire surface.
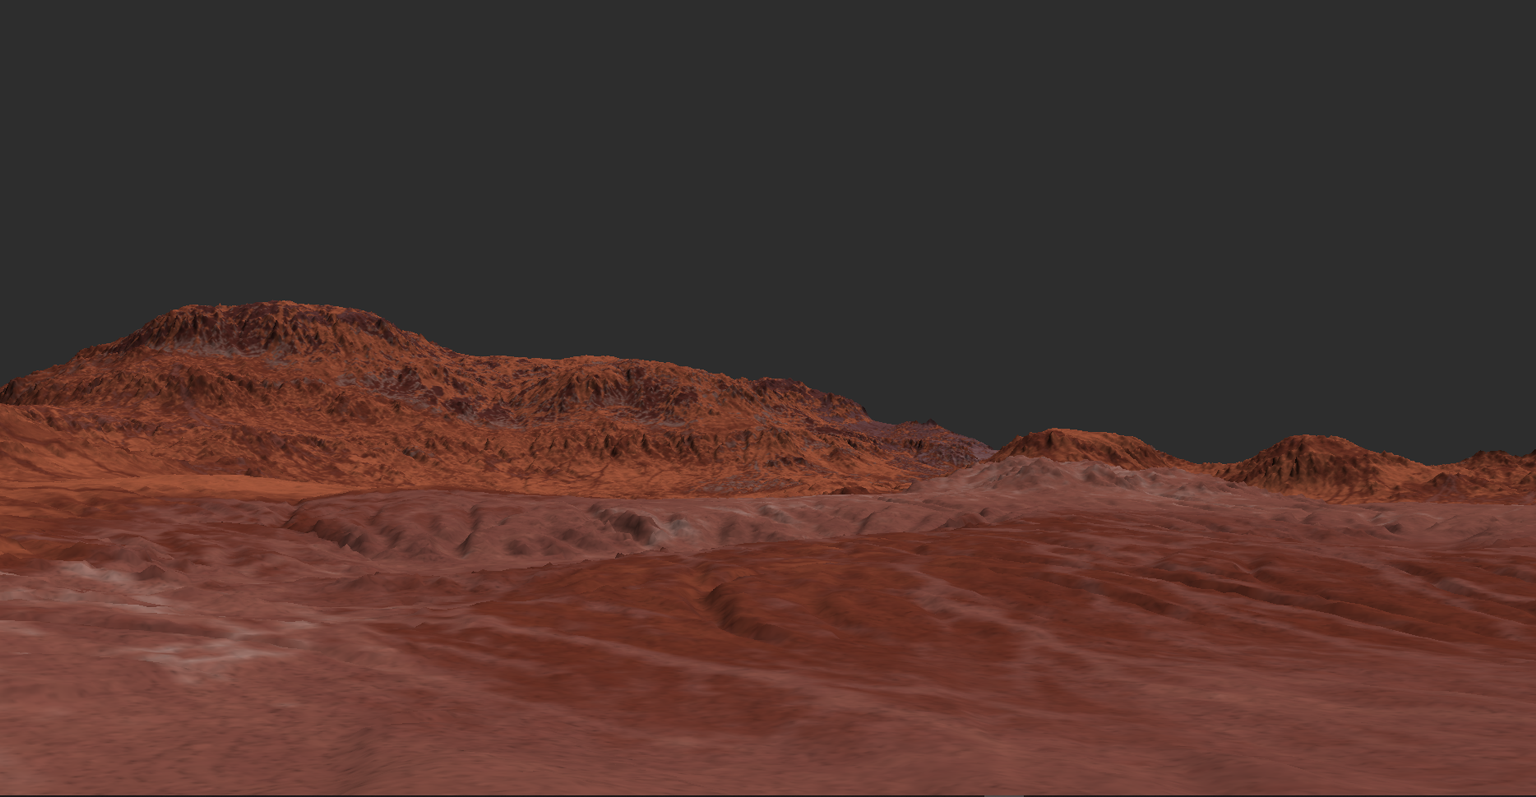
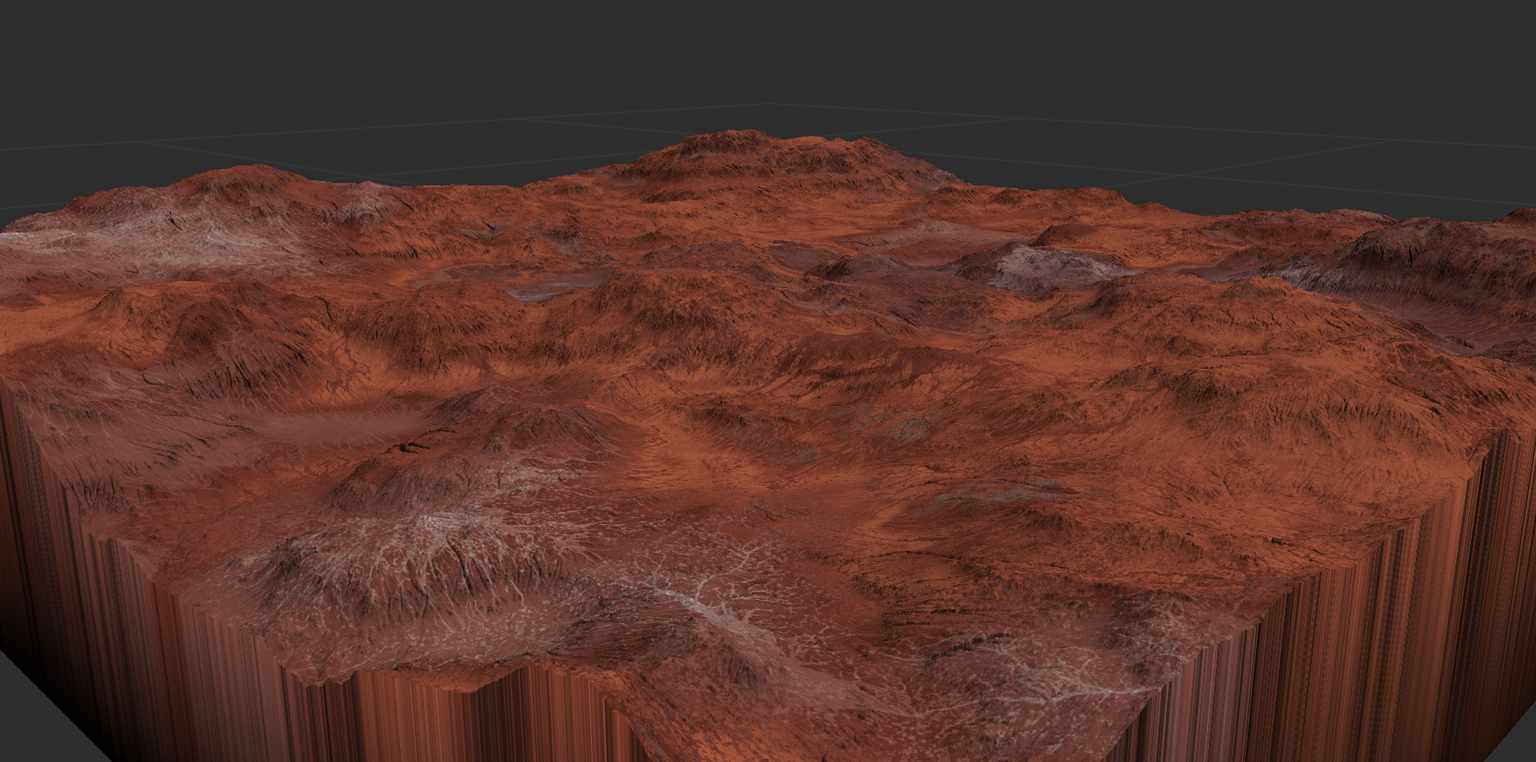
With the two systems working in tandem we can achieve the resulting terrain in the final image at the top of this post. The only other step was to increase the resolution of the grid, generate an interesting base landscape, and let the system do its thing! Of course while tweaking values and seeing what looks good as you go.
This post ended up way longer than I had anticipated so I’ll be saving the breakdown of the Clouds and the Water shader for another time, so until then, thanks for reading!

Houdini Vex Exercise - BOIDs
This video shows some of the classwork from the CGMA course I’m currently taking covering VEX in Houdini. Particularly, this is my implementation of the BOIDs solver for managing flocking behaviors. The Pink lines represent cohesion force, the tiny yellow lines represent the true heading and green represents avoidance of the larger spheres.

A look inside the solver, each of the adjustments to the acceleration / vector of the BOID is broken into a separate wrangle with individual controls. The overlaid image illustrates how the 3 primary elements of the system affect the heading of the BOID.

Unreal Engine Tech Studies
This is a small collection of videos from various UE4 tech demos I worked on using blueprints / material blueprints.

Mars Lander
Continuing on the Mars VR Experiment, I sketched / modeled / and textured a Landing craft that will be used to deliver a robot assistant.
Concept Sketches
Initially we were going to include a series of spherical cushions to aid in the impact, but ultimately scrapped them and went with the leaner design seen below.


Modeling


Texturing


Lighting FX Control for Lander in UE4


Textured Lander Beauty Shots


Personal Project - 'The Shackles'
This project came about while working out environment details with my RPG group (The Burning Wheel, not DND, for those who care). The goal is to create scenes from our campaign that are accurate to the world that the DM has built for us, from map to final image, as procedurally as possible - such that our DM could just draw / generate a new map, run it back through this tool, and generate new 3D versions of our cities to use for imagery.
This project is also intended to allow me to explore procedural environment generation with houdini as well as modular architecture design for proc. gen systems.
Generating Buildings from Map Vector and Projecting them onto a Landscape Height Field
Building Modular Medieval Architecture
This part is still very much a WIP - the kit is meant to emulate Half-Timber construction with Wattle and Daub infills. Additionally I wanted to capture the use of masonry foundations and jettied upper levels in the architecture. Later stages will also have to include chimneys and drainage.


Surface of Mars
The Goal:
Build out a world-aligned material, to add dynamic detail procedurally - even if we need to sculpt the landscape further after its initial creation in World Machine.
Step 1:
To create our own version of Mars for our VR showcase, it all starts with reference.


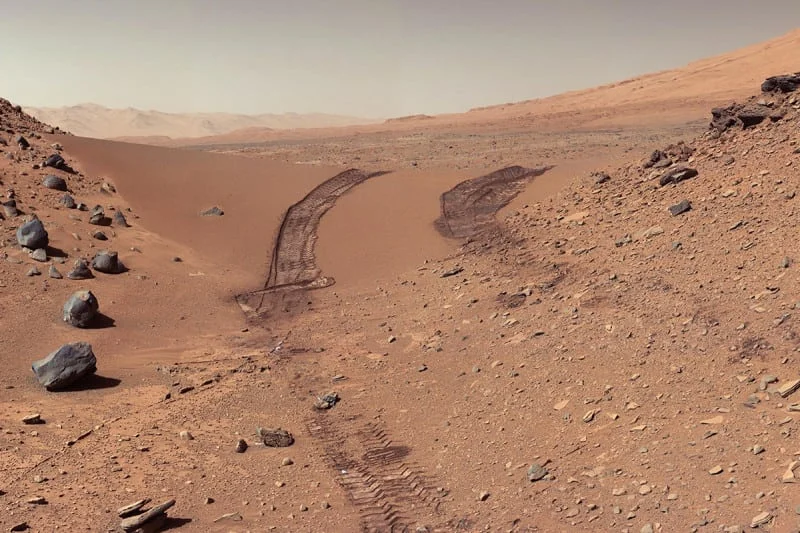


Images captured by the Curiosity rover served as my guide for approaching this landscape.
Step 2
With these in mind, I then built out a few materials as my base selection for the actual landscape surface. These were made using the Quixel Mixer to blend and color megascan materials to create new, other-worldly-yet-believable materials.

Step 3
With the material created, the next step is to build out the base terrain with World Machine.


Step 4
From world machine, we export the heightmap as a .r16 file, and also export the overall colormap generated with geoglyph and geocolors - a plugin for world machine. Both of these go over to Unreal 4, where I begin to build out the shader that will handle all of my material blending.
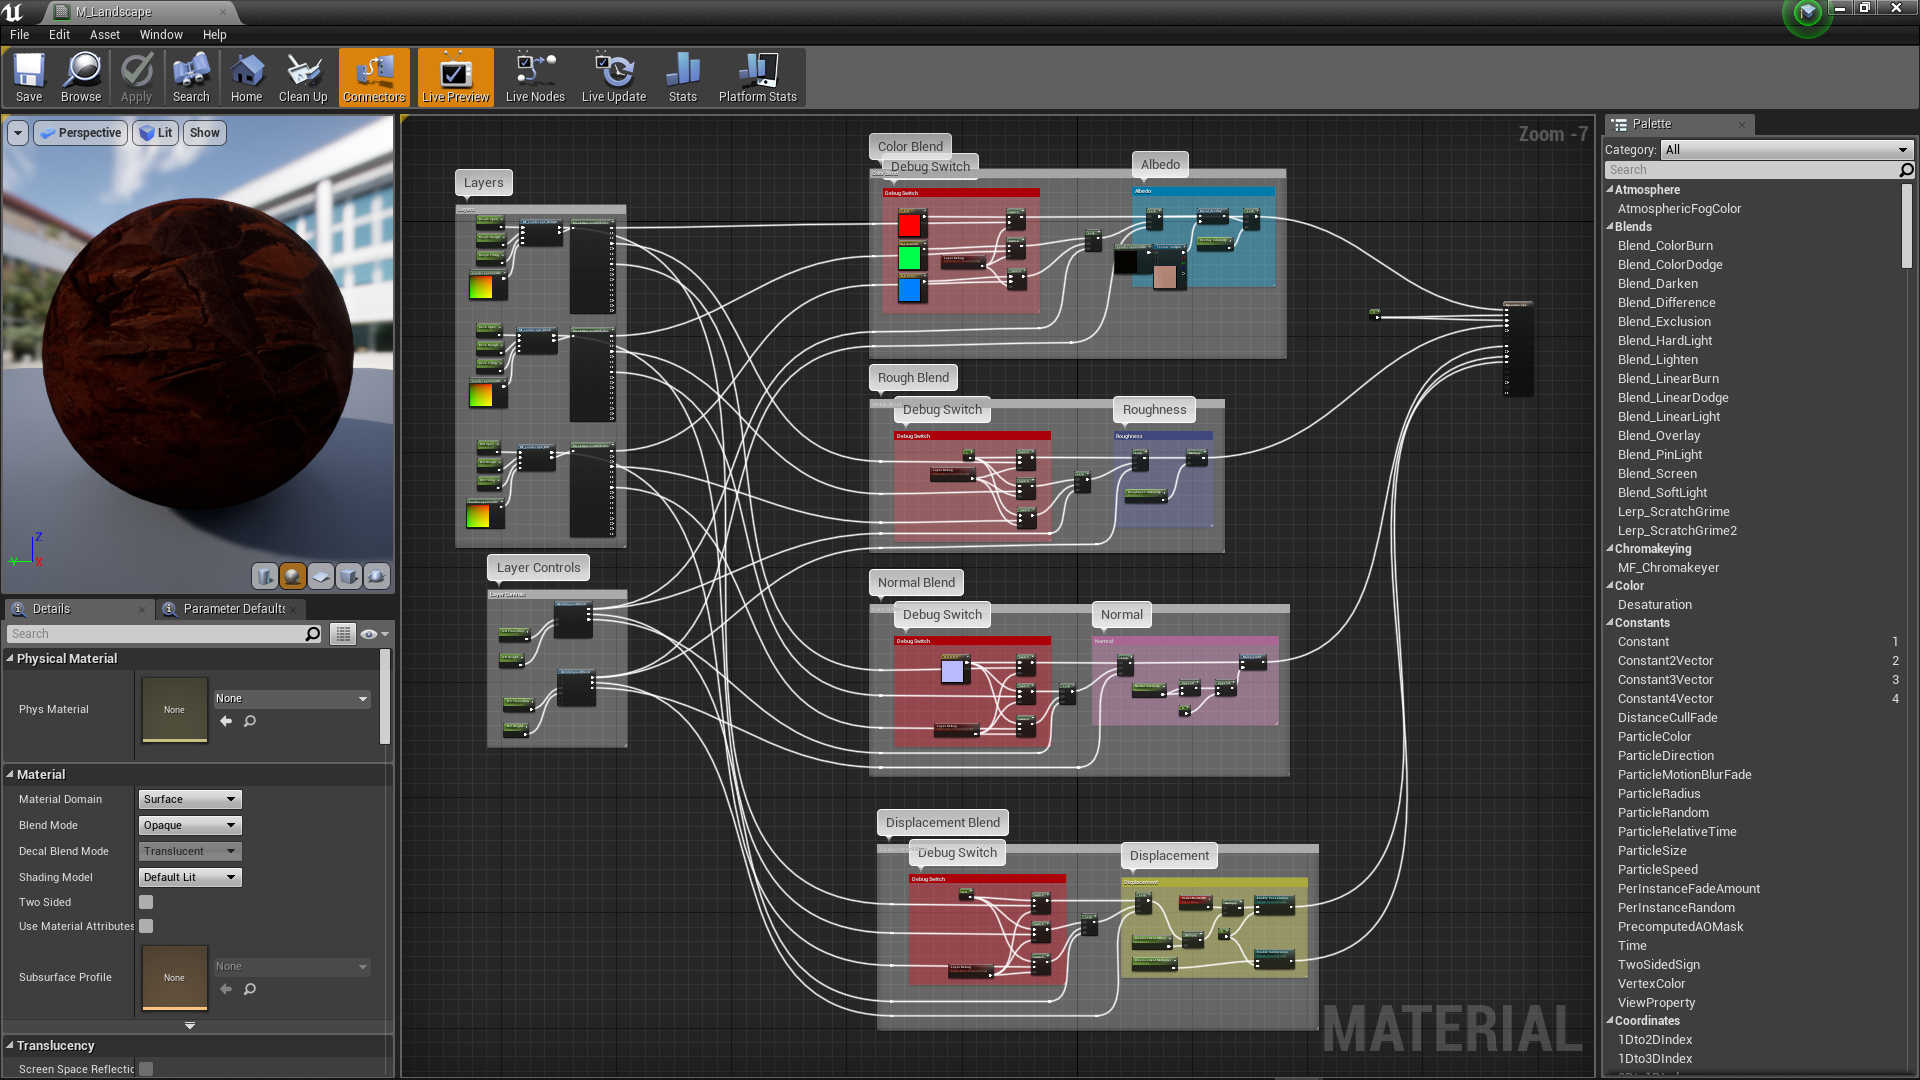
The Landscape Master Material
World aligned blend nodes drive the mixture for each of the material's individual channels, with a global switch being available to disable the materials and enter a 'debug' mode. This will be handy when we dial in our blend values at the beginning of the next step.
Step 5
With the master material set up, I make a material instance - so I can adjust the values of my defined parameters on the fly - and apply this instance to the landscape, with the DEBUG mode active.

Landscape Material in Debug Mode - showing the blending layers as solid RGB
This makes it incredibly fast and easy to get the mixture I'm looking for between my separate materials. When I deactive debug mode, I get something like this:

Cool - But there's still a ways to go.
Step 6
First we can go ahead and turn our atmospheric fog and exponential height fog back on -


Step 7
Next we can jump in a bit closer and adjust the tiling rates of our individual layers to get the detail scales we're looking for.


Step 8
Fix the material! The final version is shown in the shader graph above, but at this point the shader wasn't using blending normals yet, so I quickly patched that up -


In addition to the blending improvements, the normals and the world alignment parameters together will allow for a 'build-up' effect that we can drive in realtime. This will come up again later on for the 'storm' sequence.


Step 9
This is where I tried to reconfigure the shader to have displacement work in addition to the other channels. I ran into performance issues on the VR headsets so ultimately pulled it out, however did add in the logic to have displacement just around the viewer and parameters to control the fade / amount of subdivision.

Top Left - Less Tesselation far away, more on the bottom middle closest to the viewer
Step 10
The full details of this step can probably fit in another blog post, so for the 'Rest of the Owl' / Abridged version - step 10 is adding insert meshes. Specifically to get things like overhangs, more unique cast shadows, specific areas of detail to lead the users eye and gameplay.
For this project, since we used megascans for the surface we continued along using megascans for the insert meshes. We made some adjustments to the shader to allow for a soft distance-fade / dithering at mesh intersections, similar to those in Battlefront 1/2.
I set up the HLOD system to manage detail levels as meshes take up less screen real estate.
I also set up mesh distance fields to handle AO, since we want the entire scene / experience to have dynamic lighting. Again, this will come up again during the 'storm' in a later post :)


Habitat building is from Nasa's 3D database - placed for scale / context - basic matte shader (not final art asset)
This is just the first phase of development for the environment. Still to come will be more mesh inserts, more optimization, mesh decals, particle effects, blueprint-driven storm sequencing and more!
Thanks for reading!

Personal Project - Architectural modeling
This is the beginning of a new personal project based on photos I took while traveling around Italy. I'm looking to really dive into substance designer and explore procedural materials on this project, so the modeling is being approached in a similarly procedural manner. Each layer is broken down into unique slivers and duplicated out/rotated to complete a ring. My hope is to maximize my use of tiling textures, with a special focus on achieving clean displacement/POM mapping through the assistance of substance designer. Stay tuned for more updates!


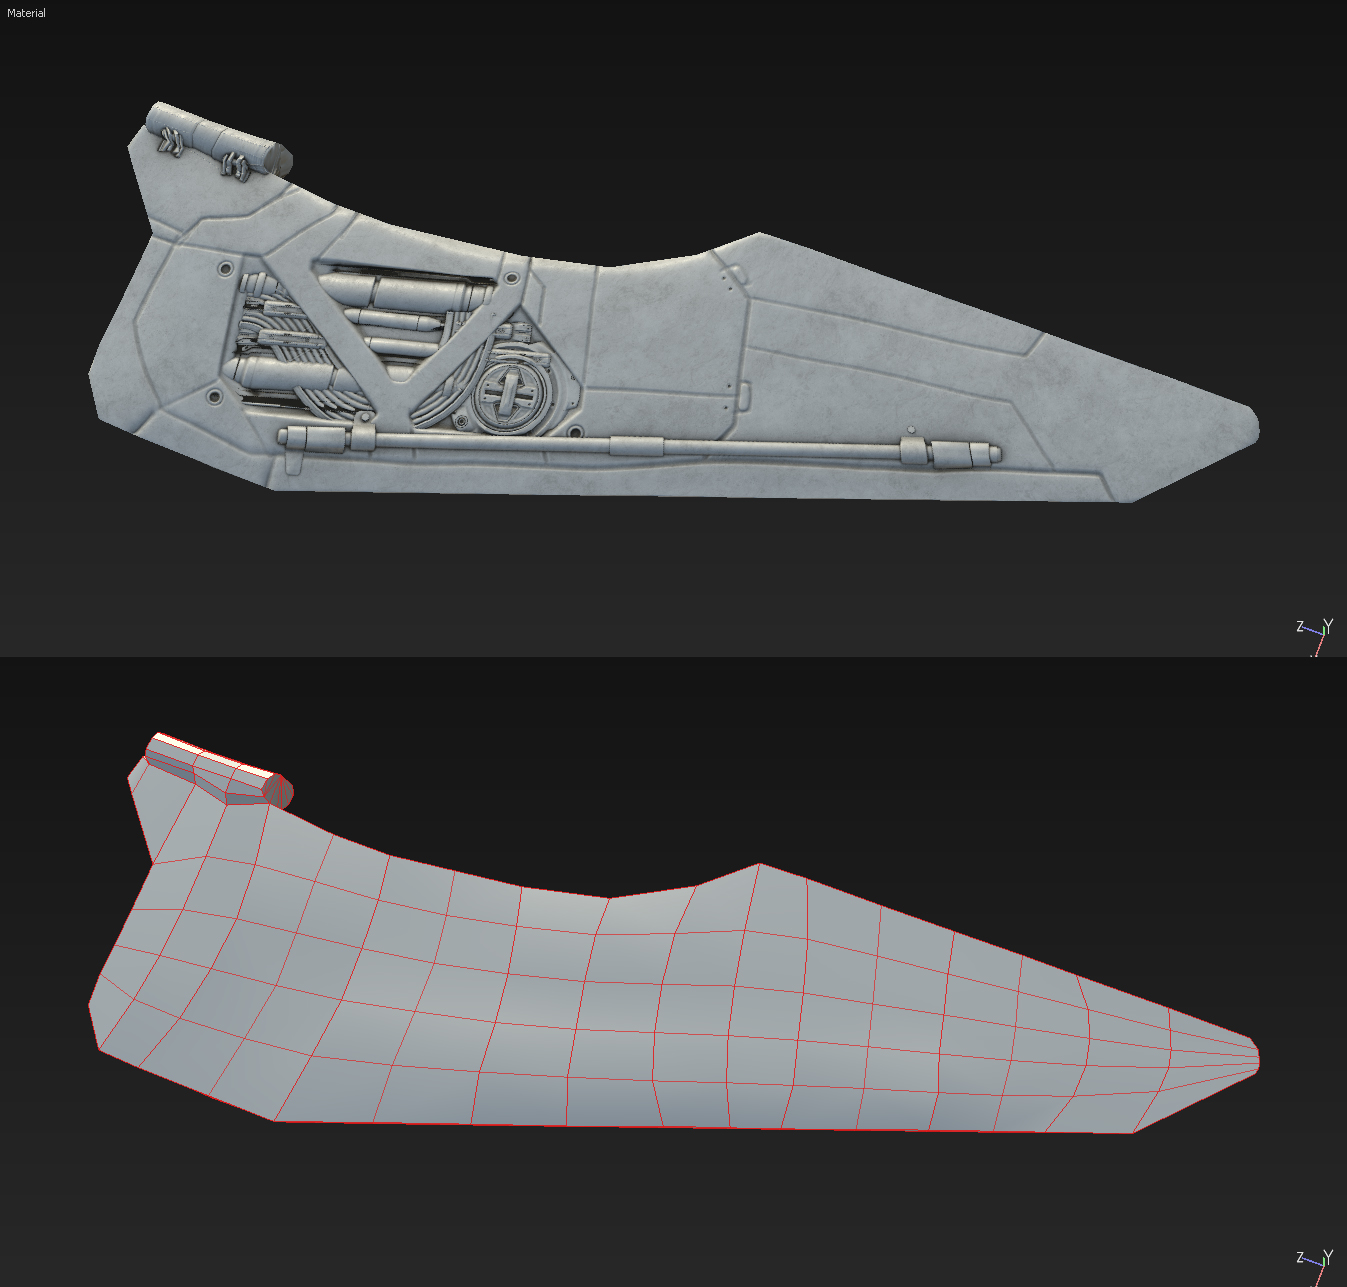
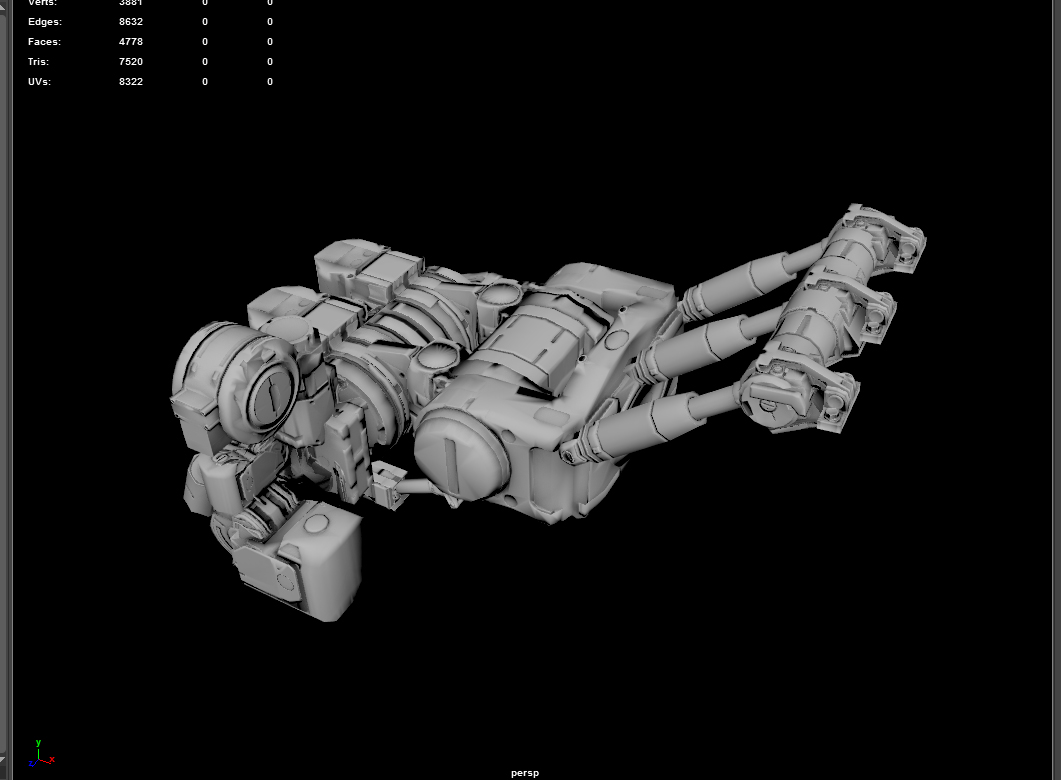
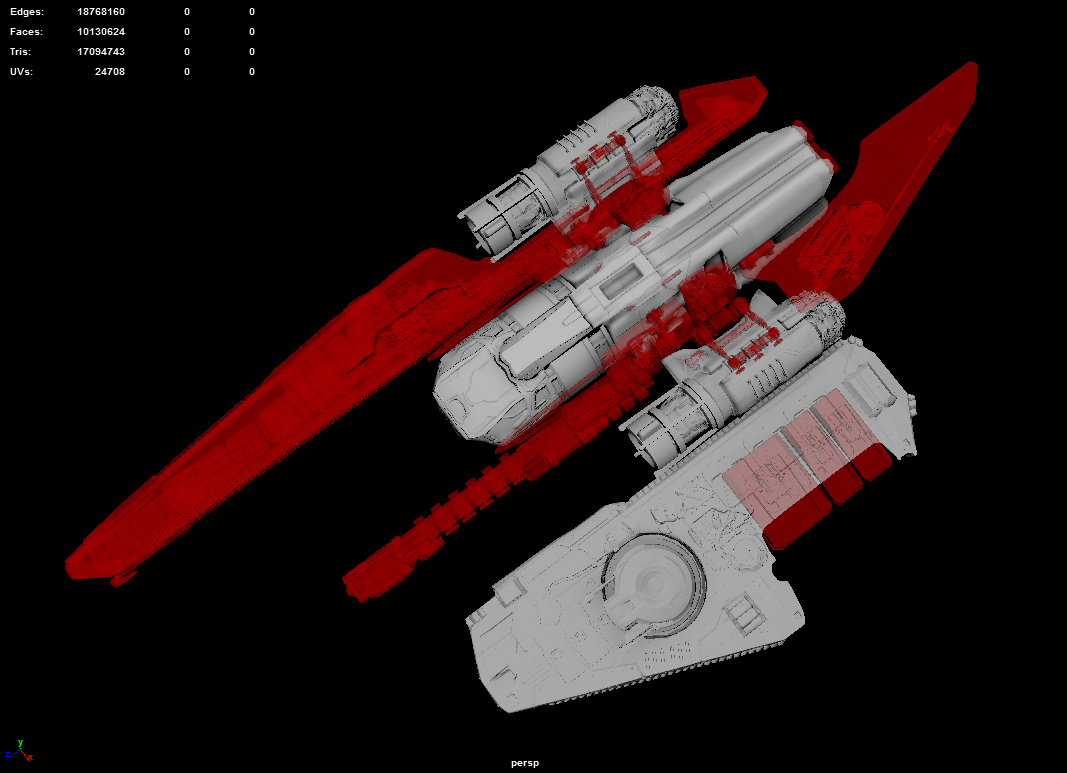
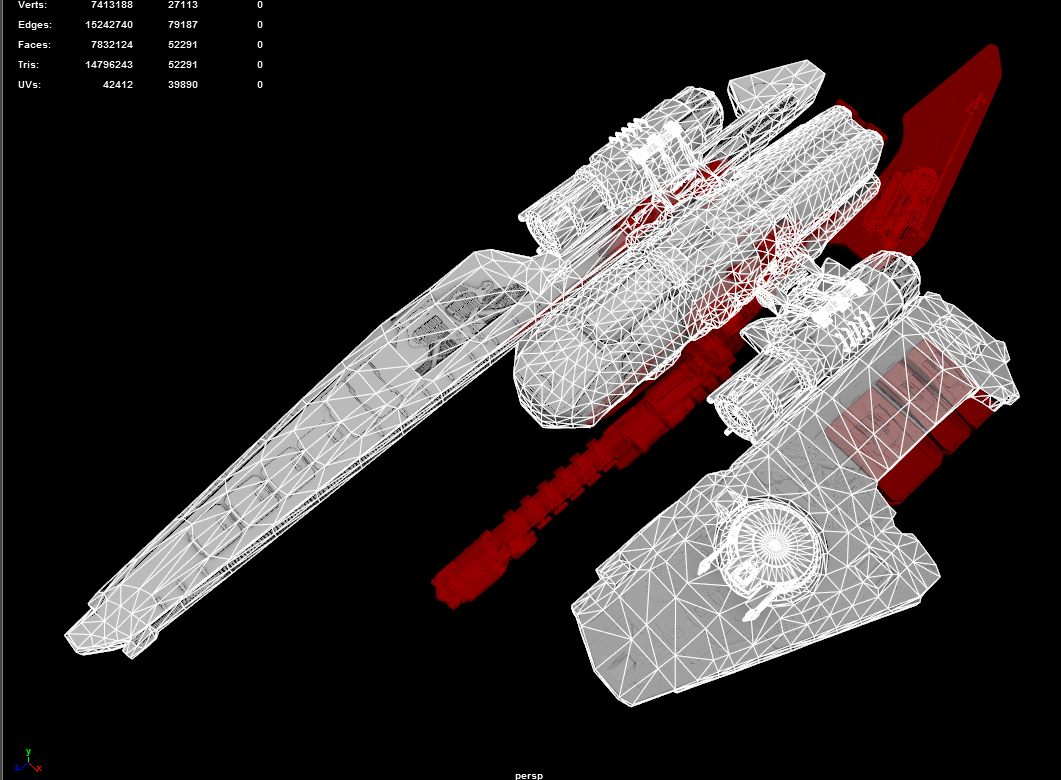
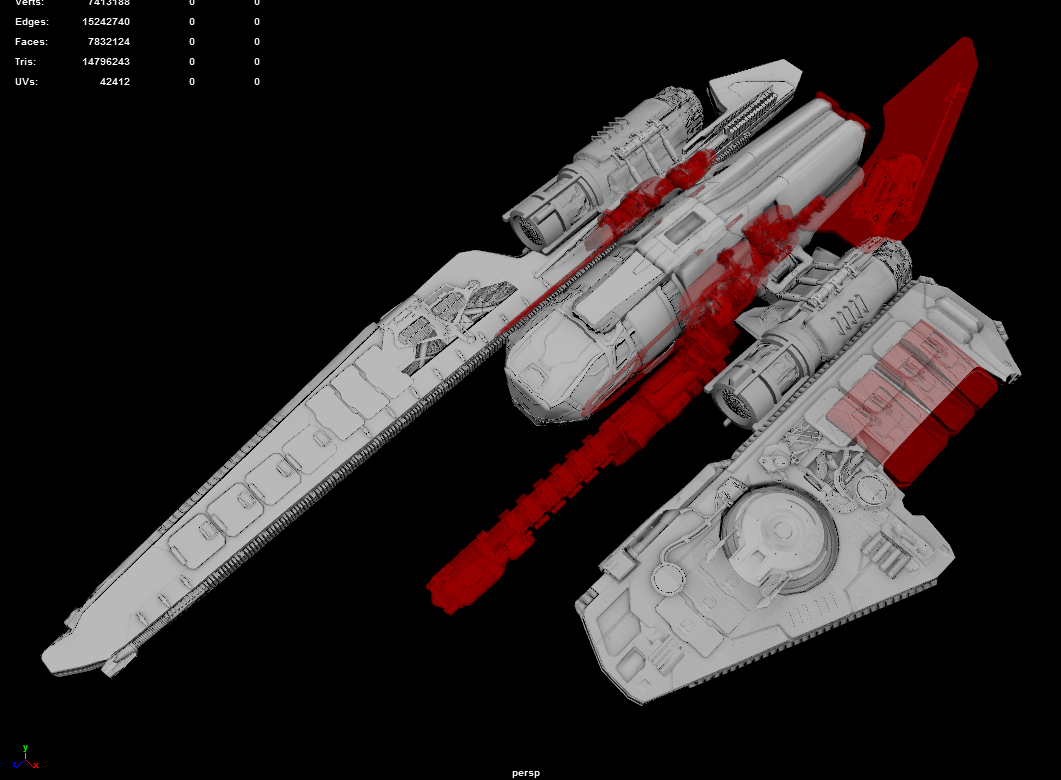
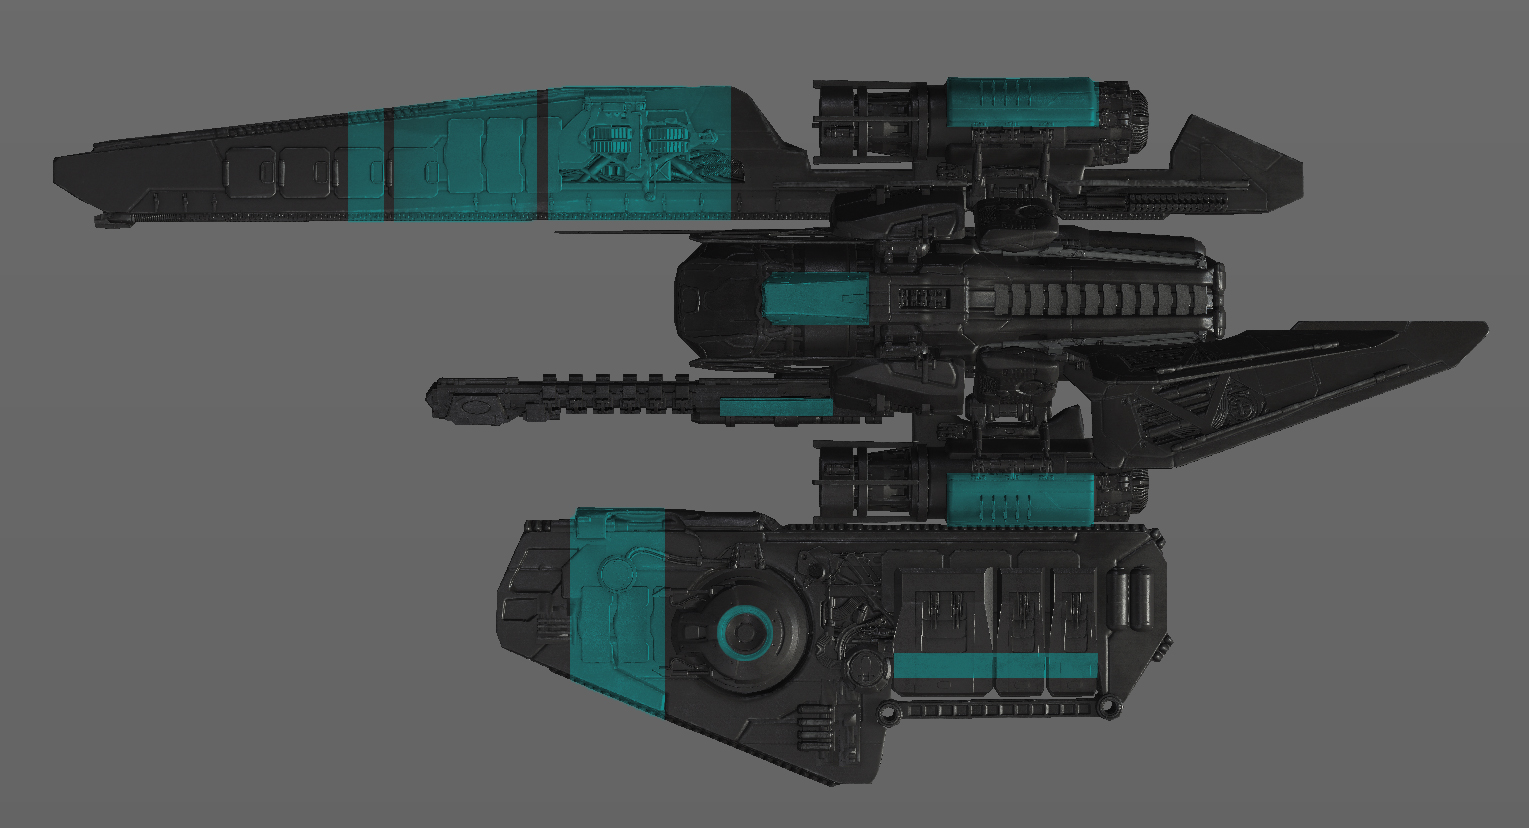
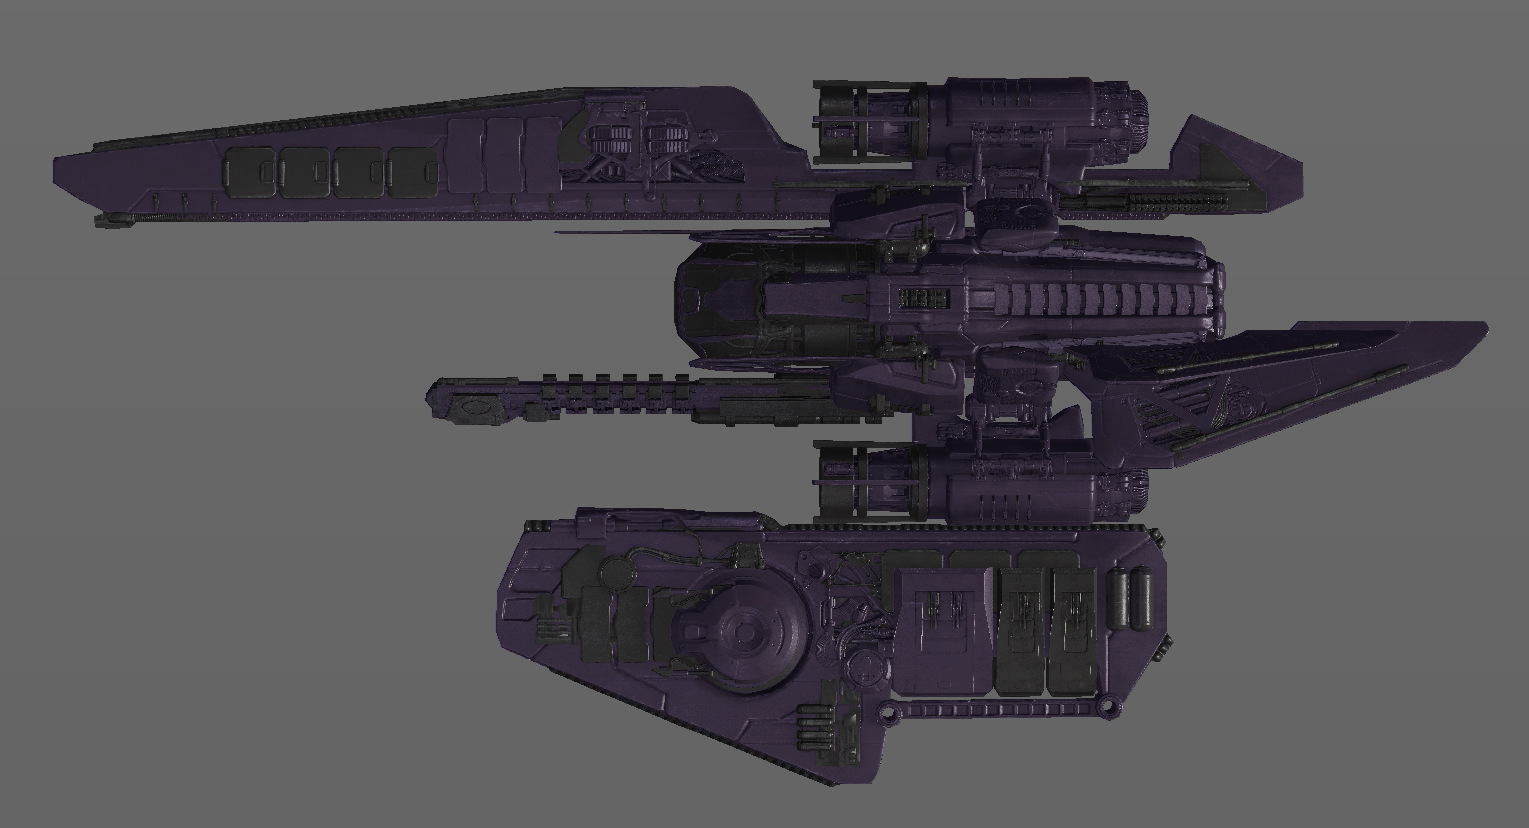
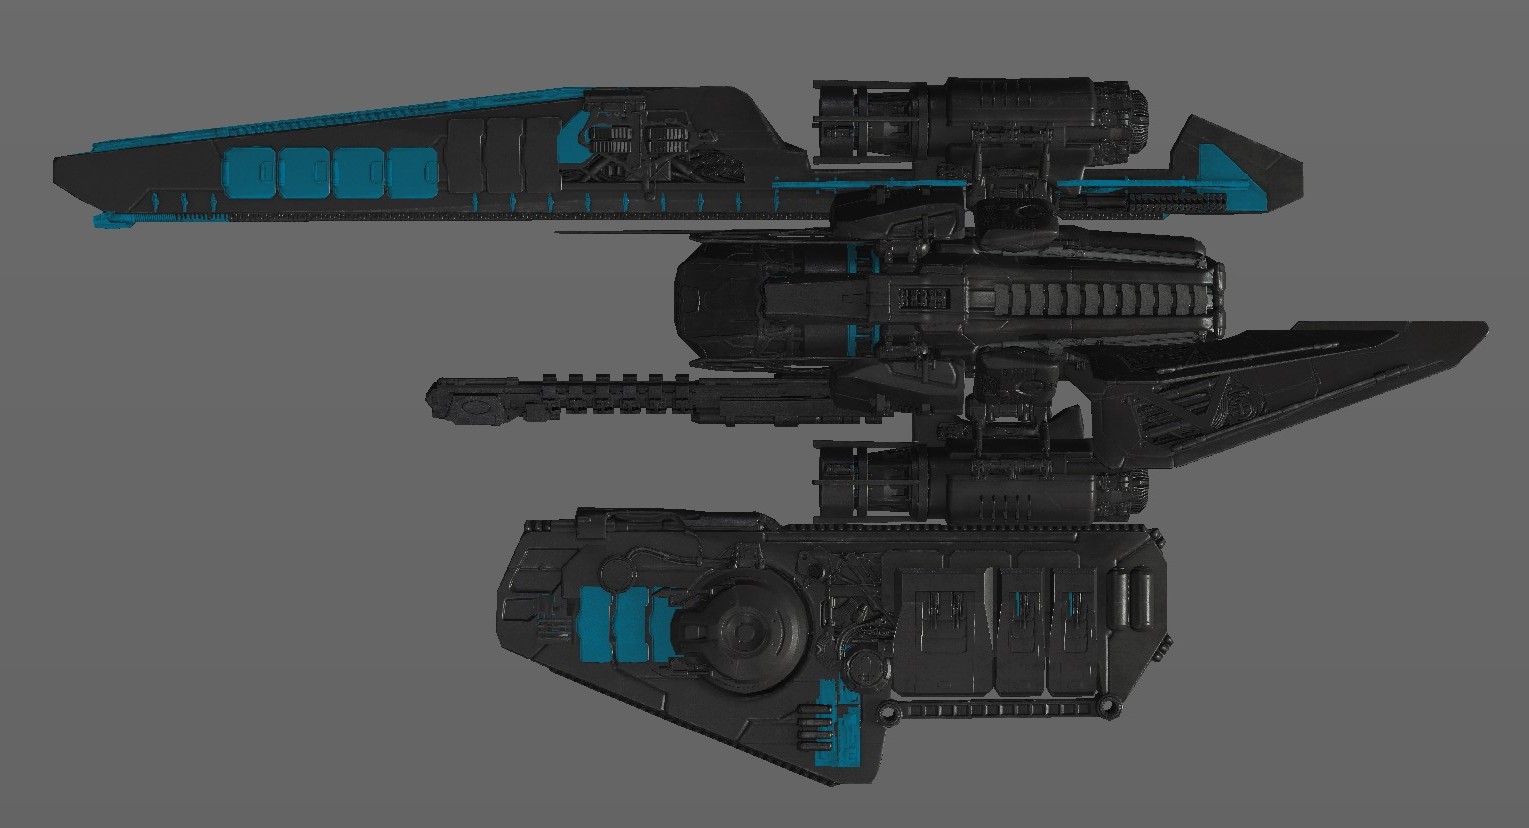
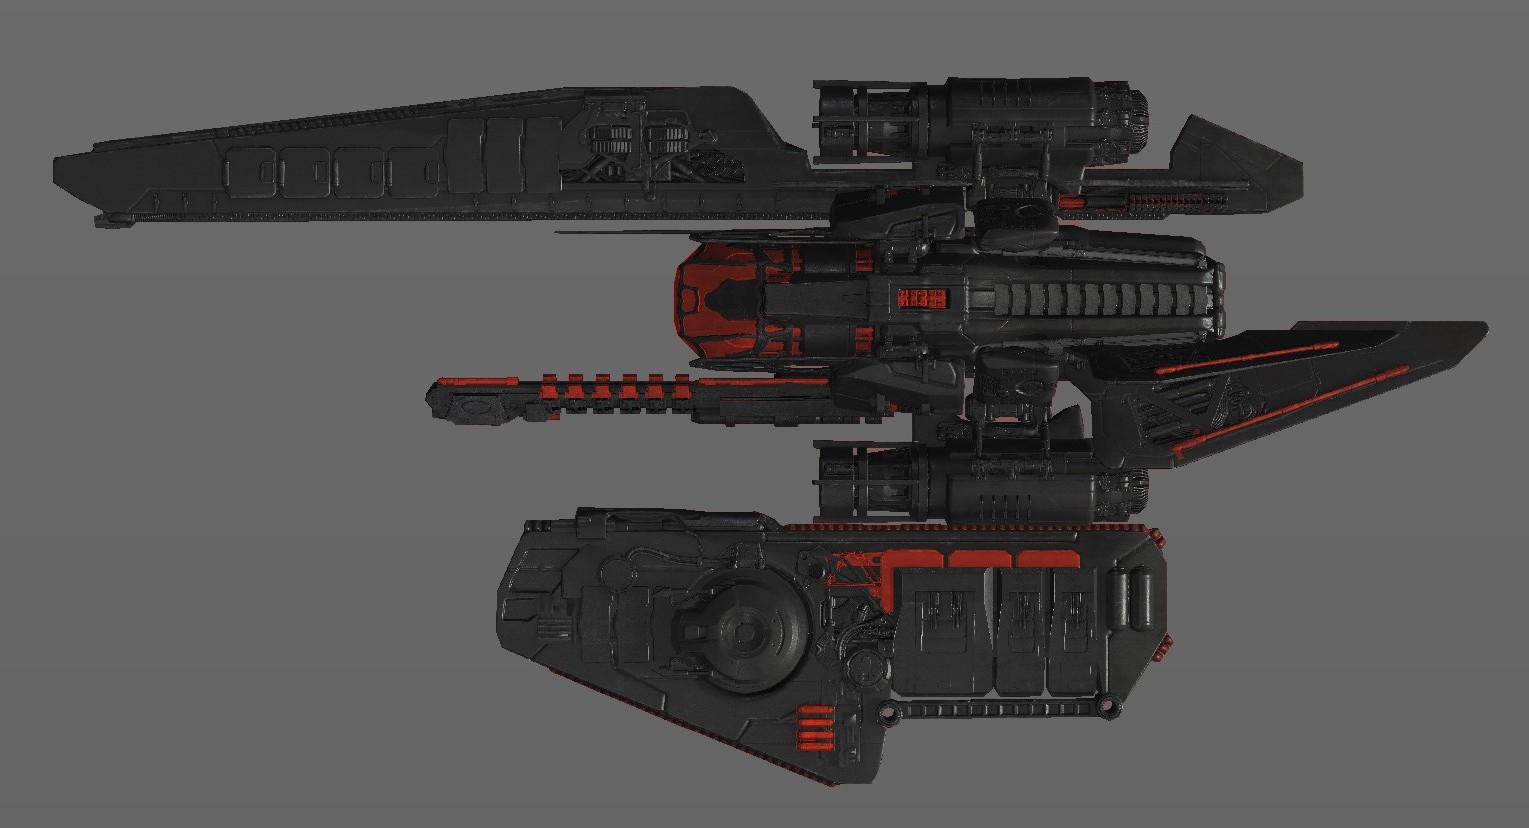
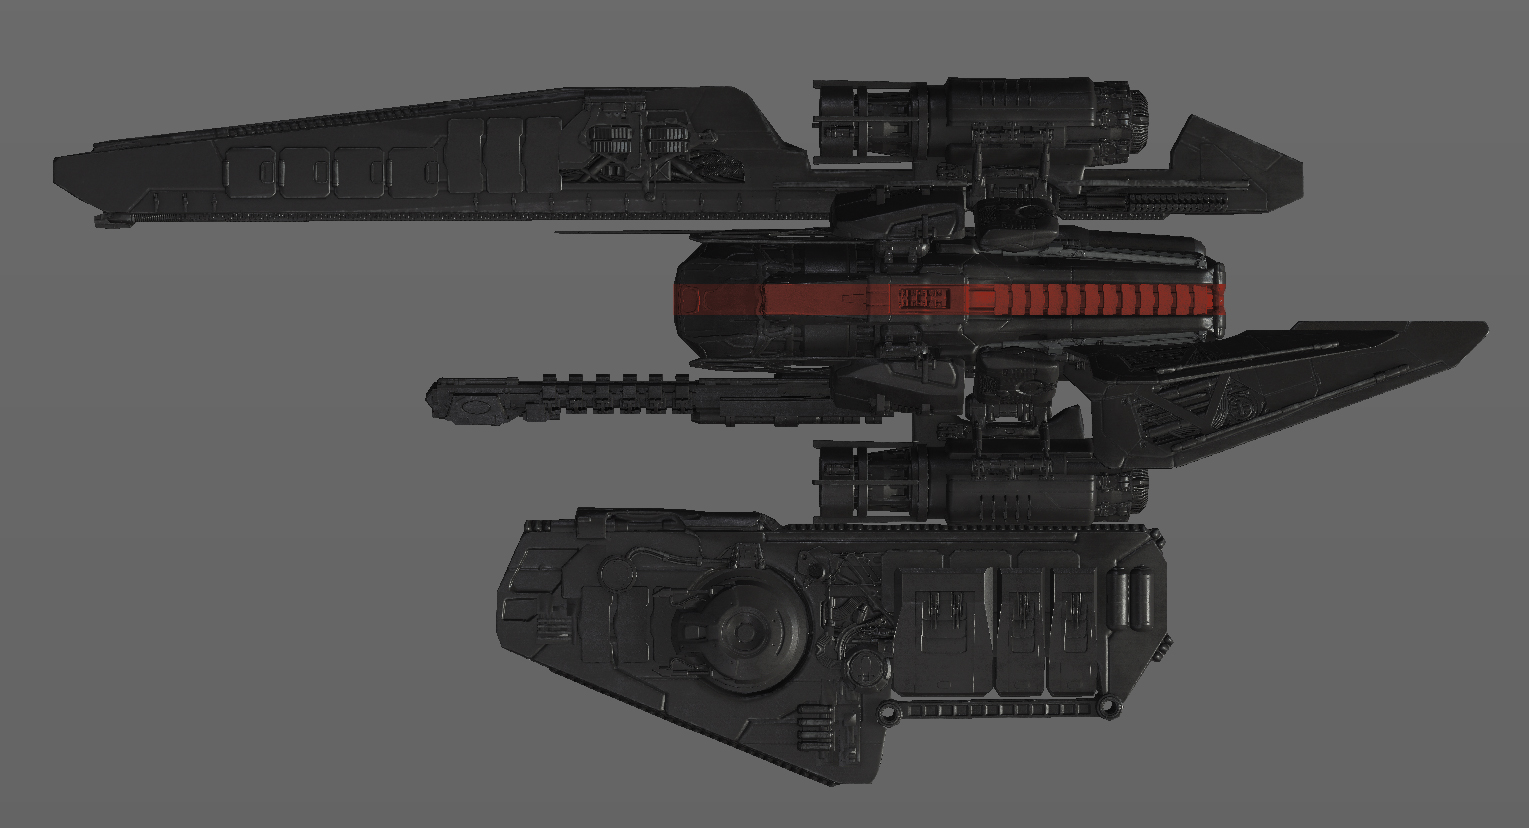
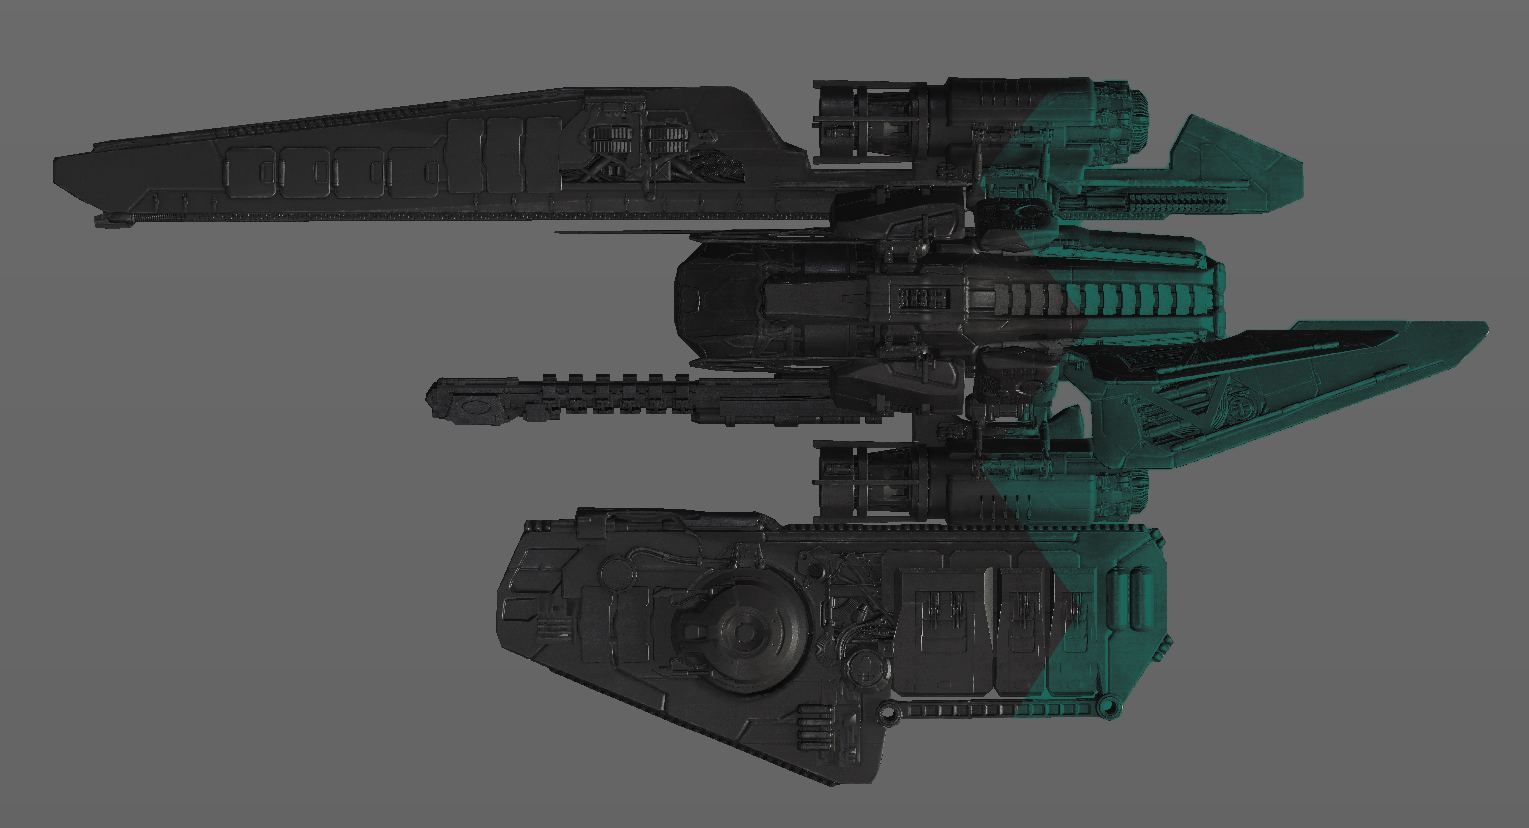
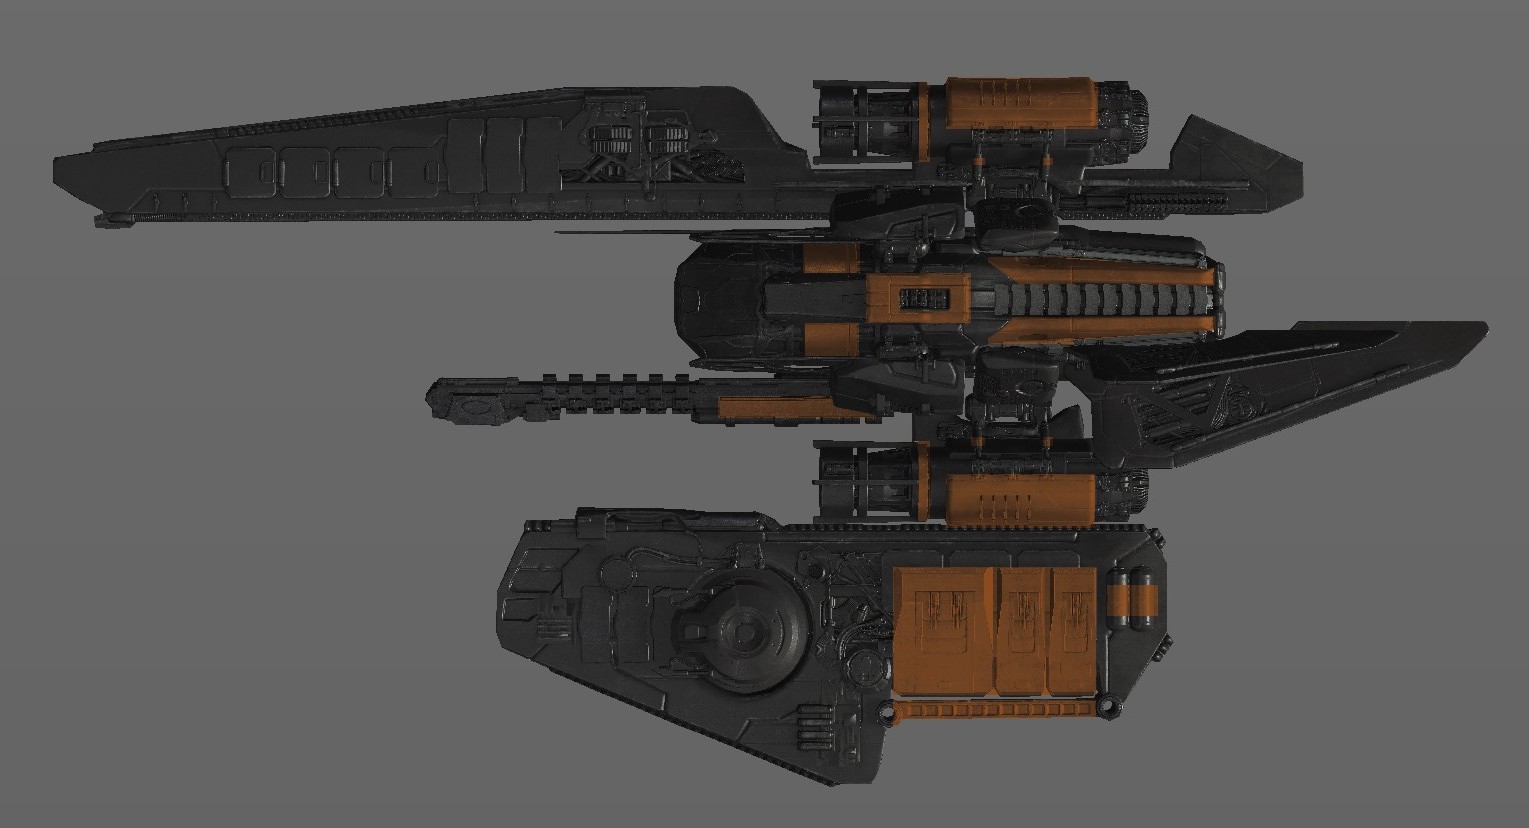
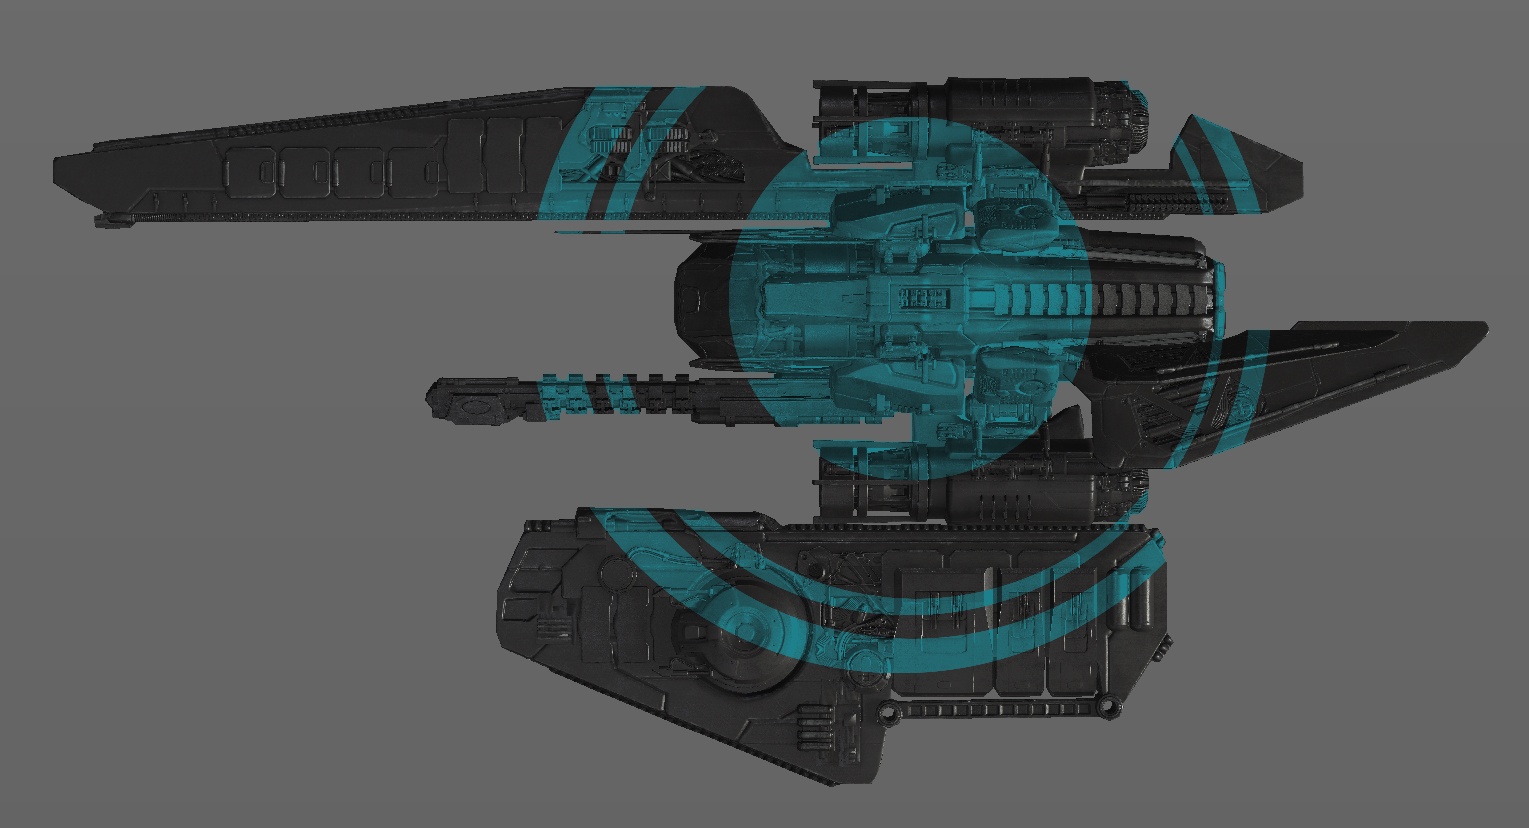
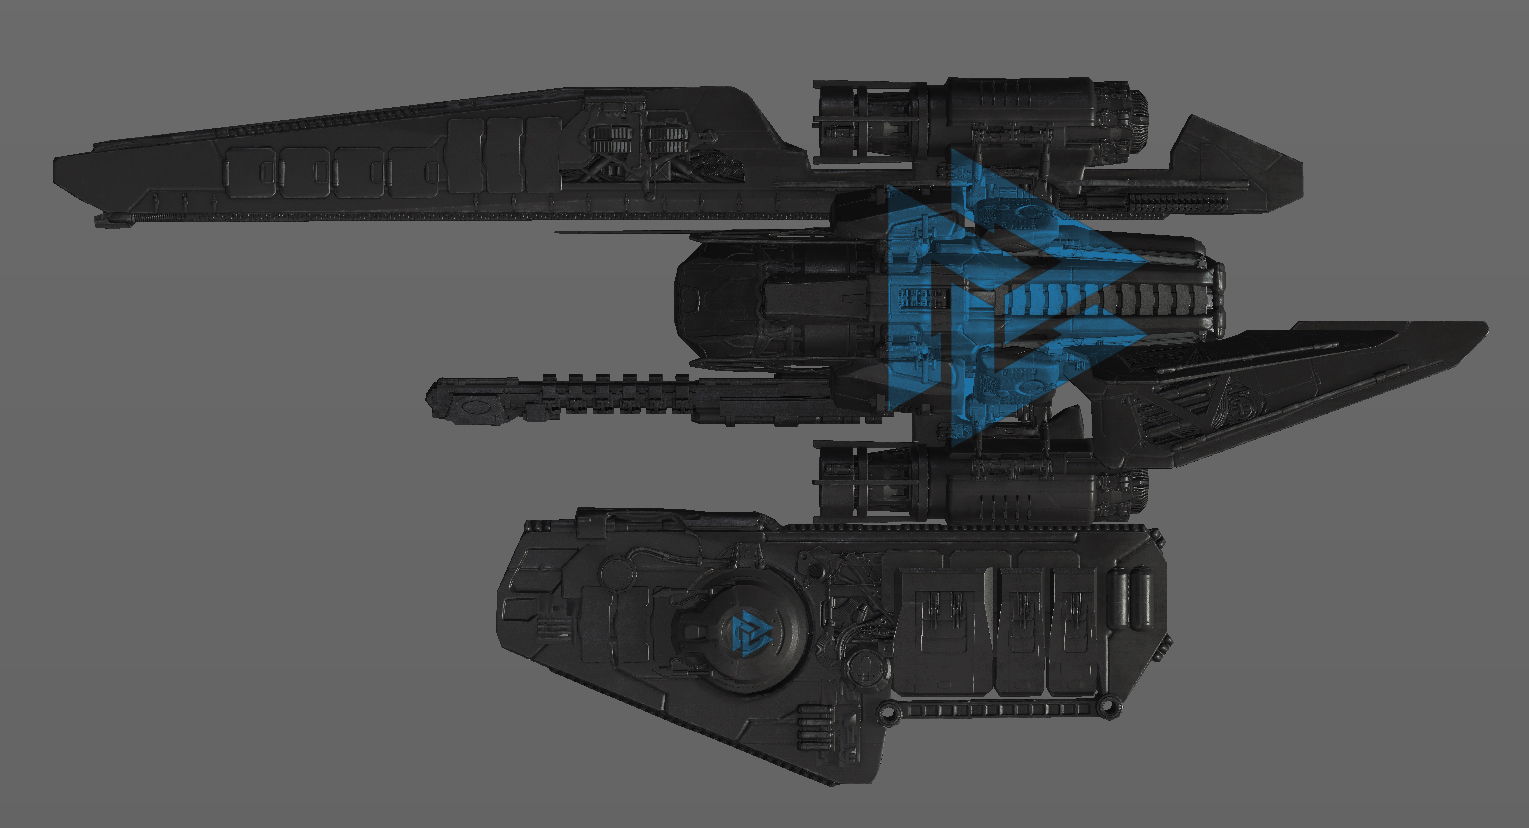
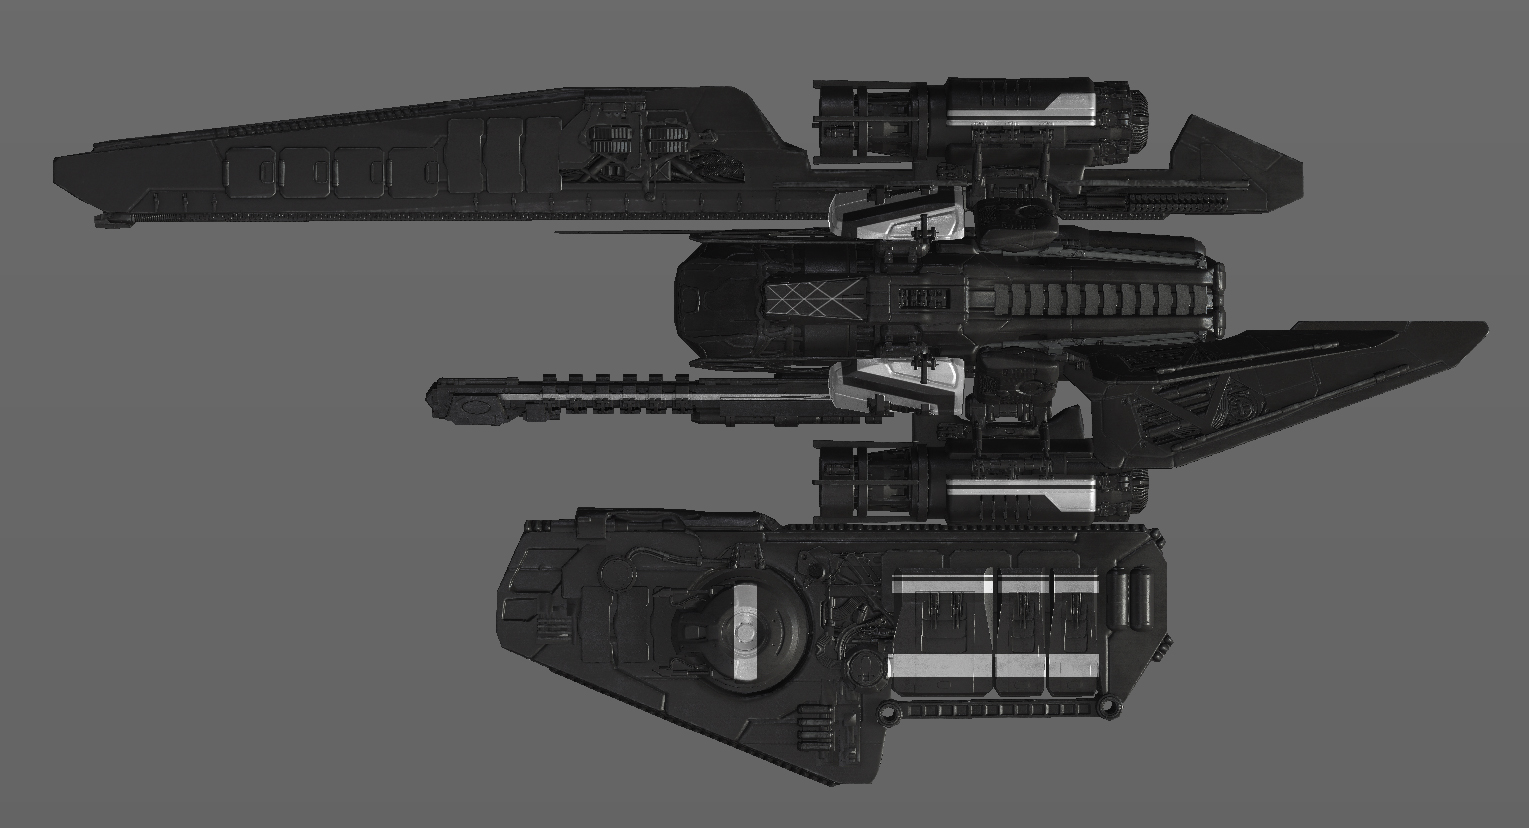
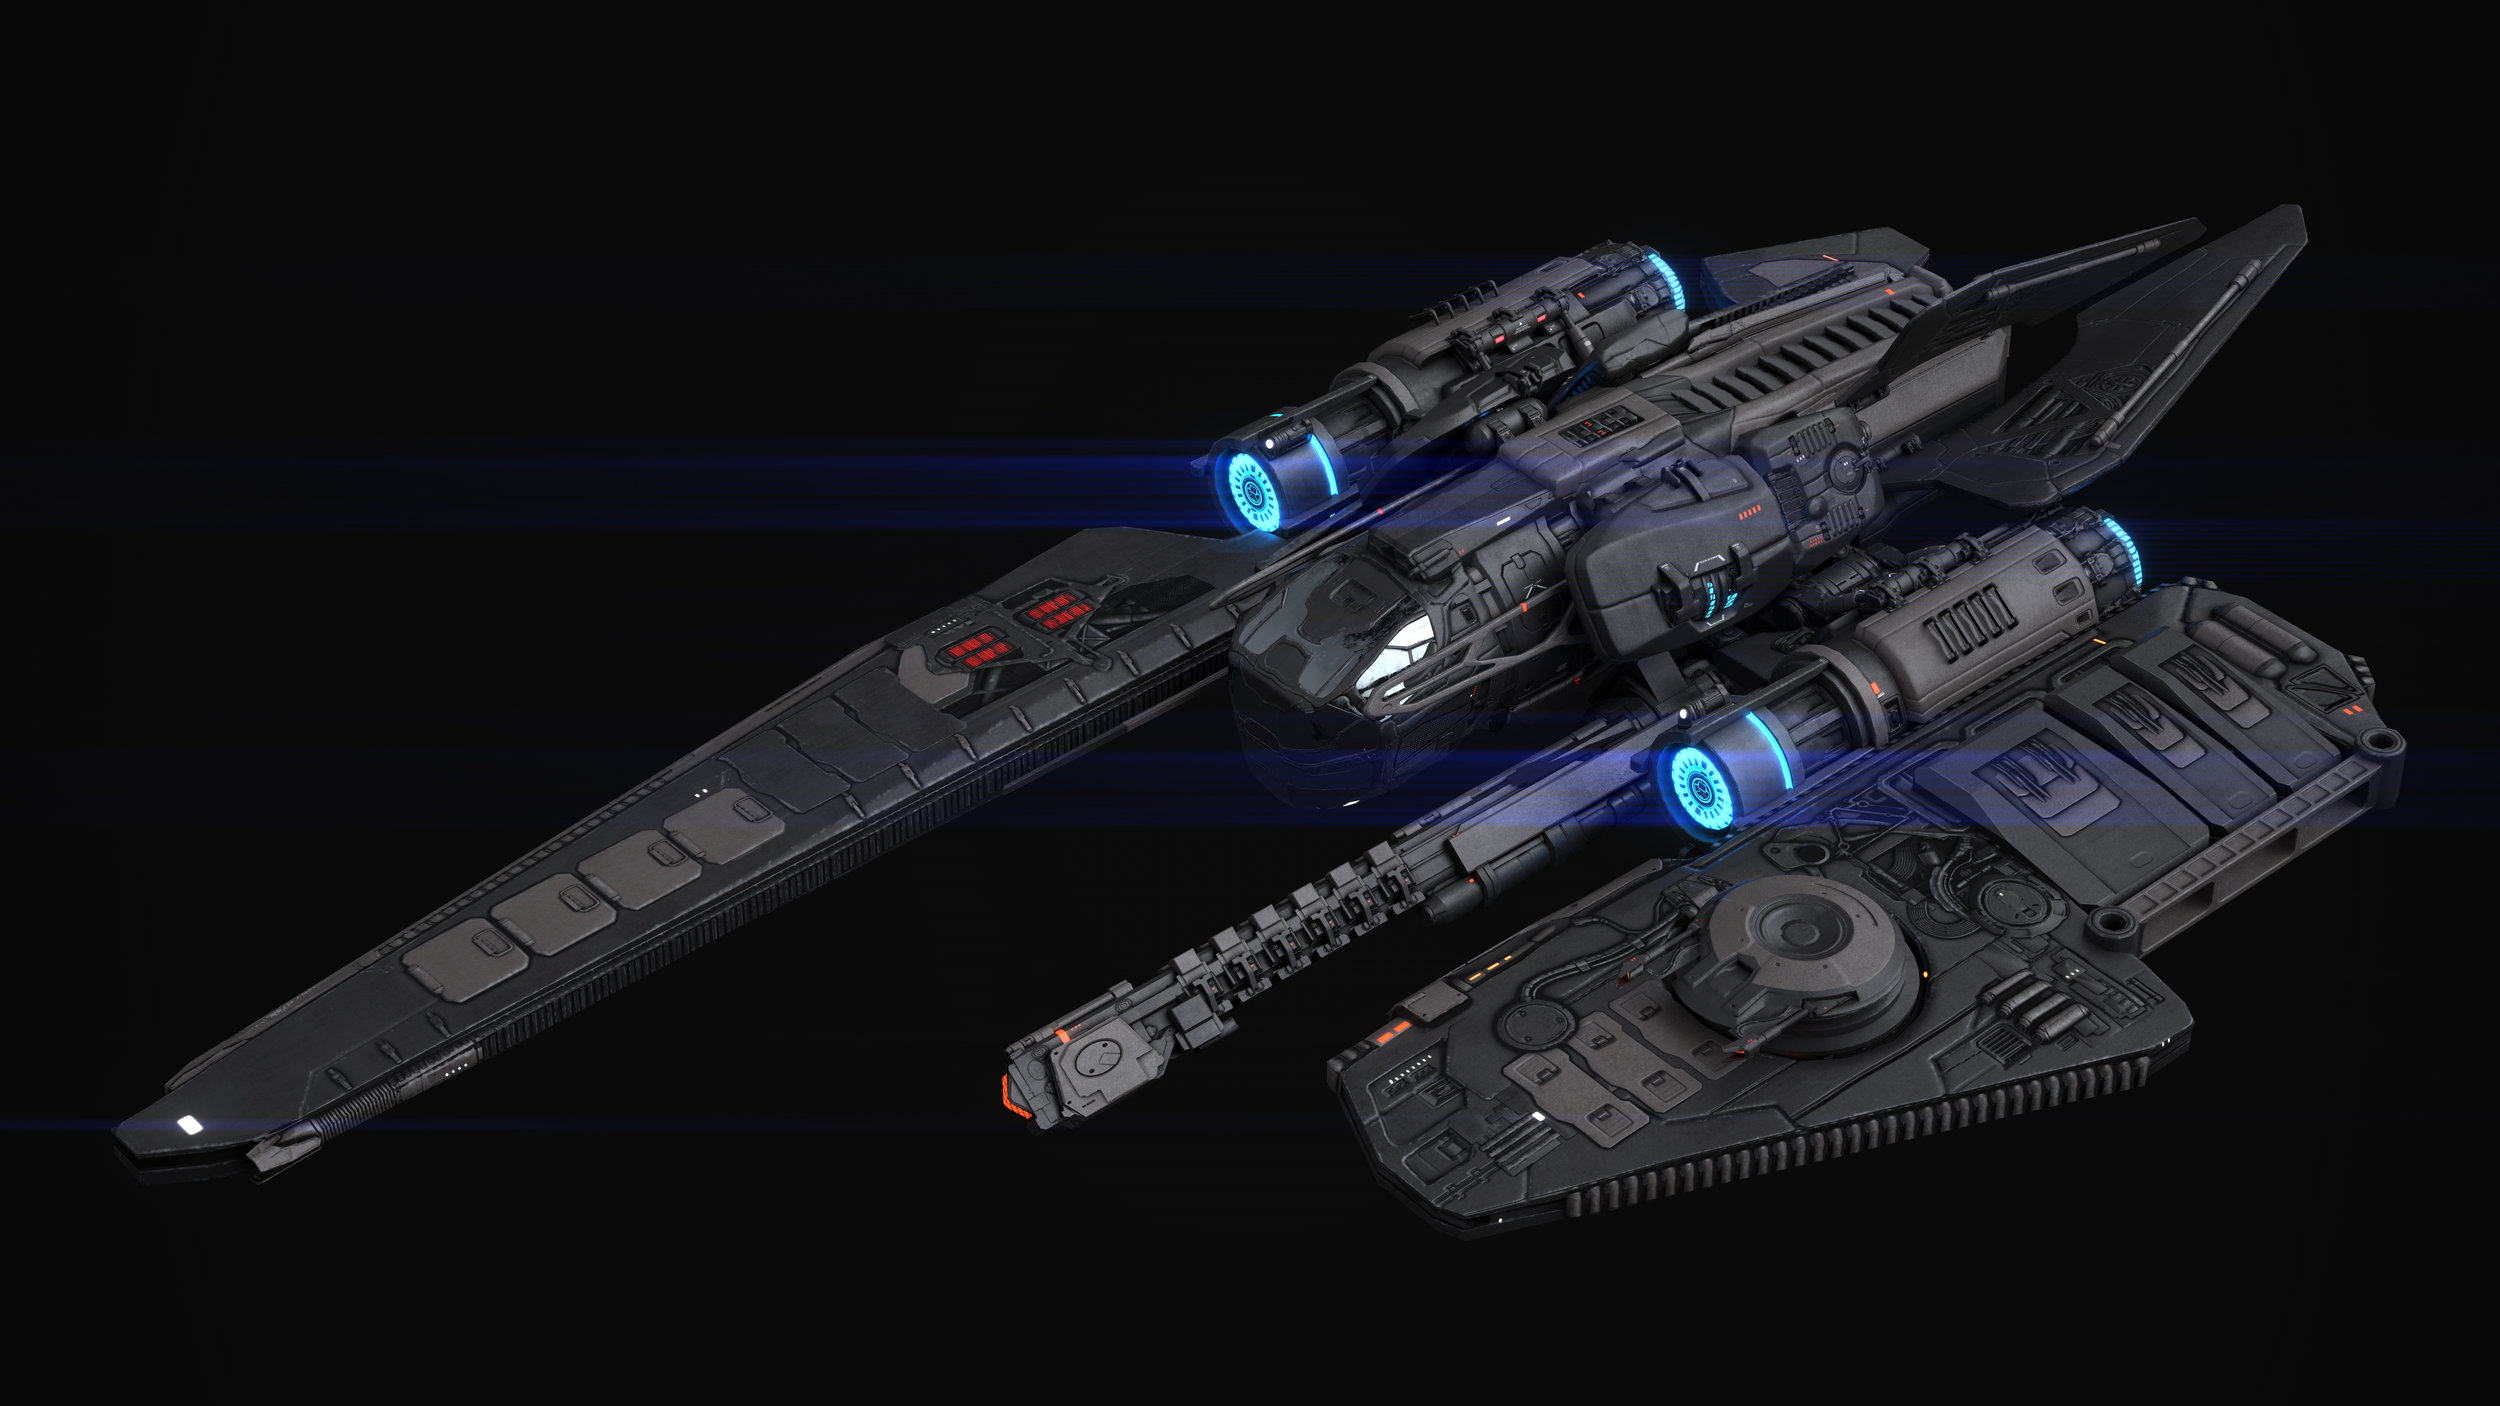
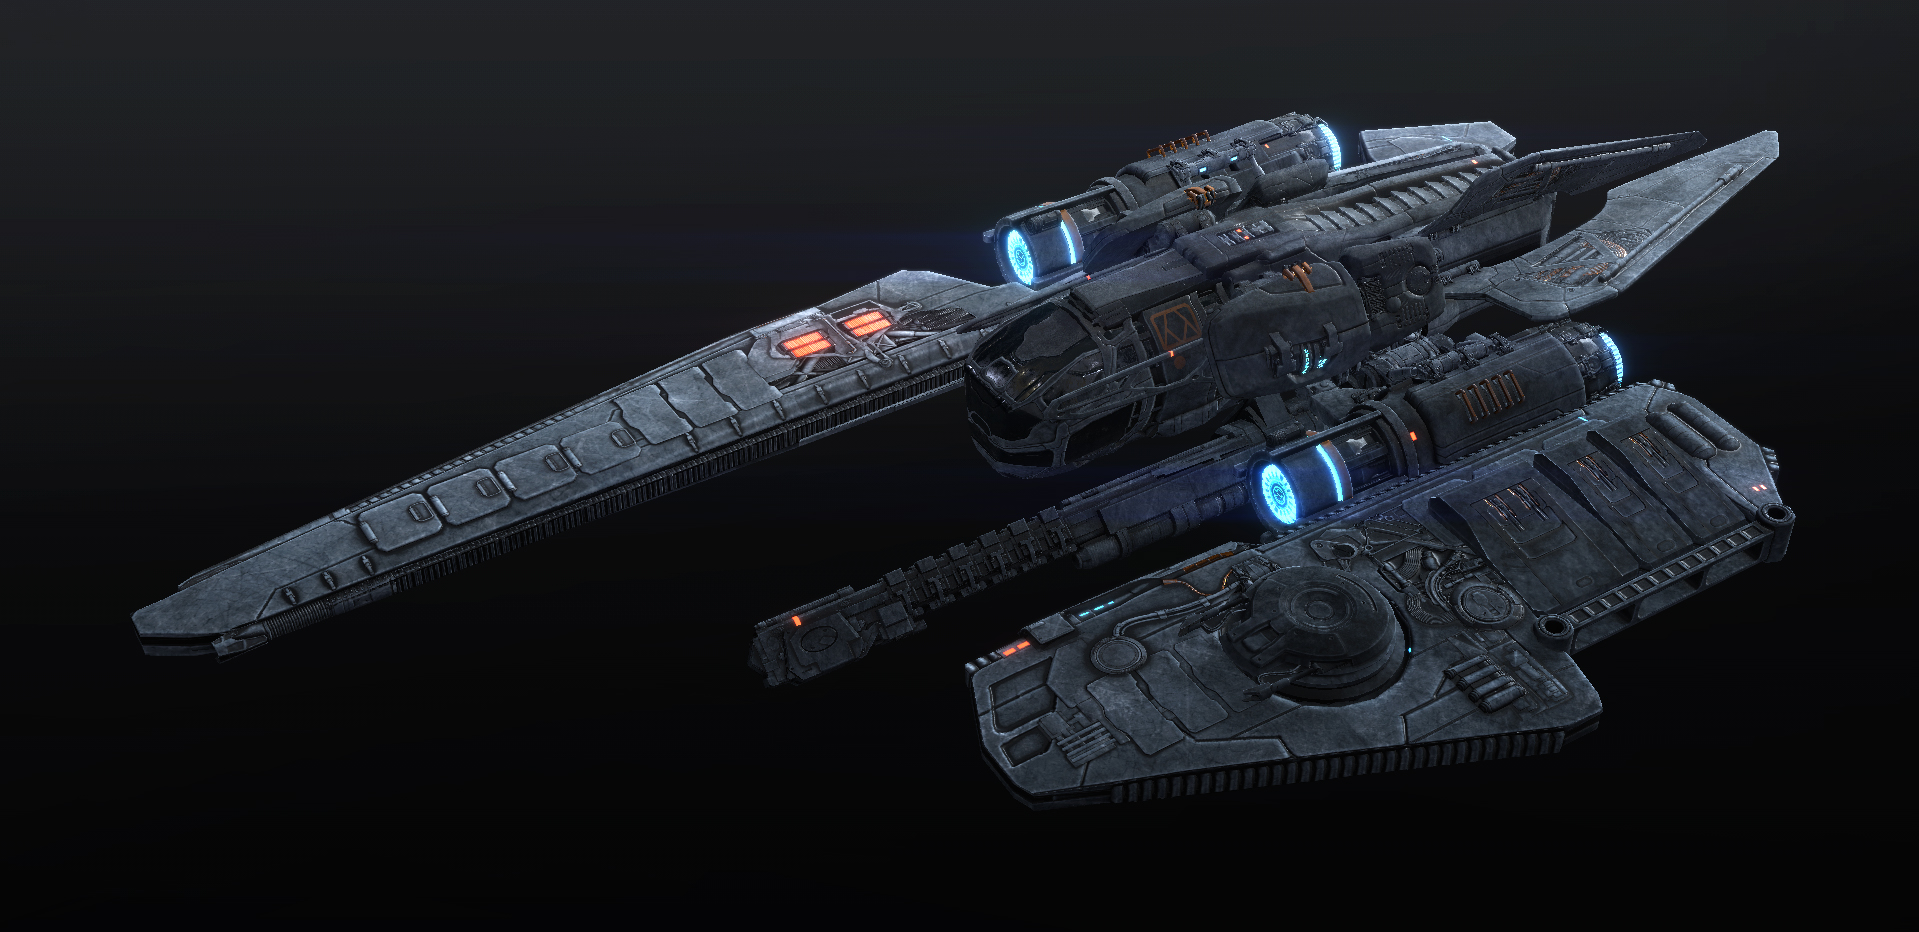
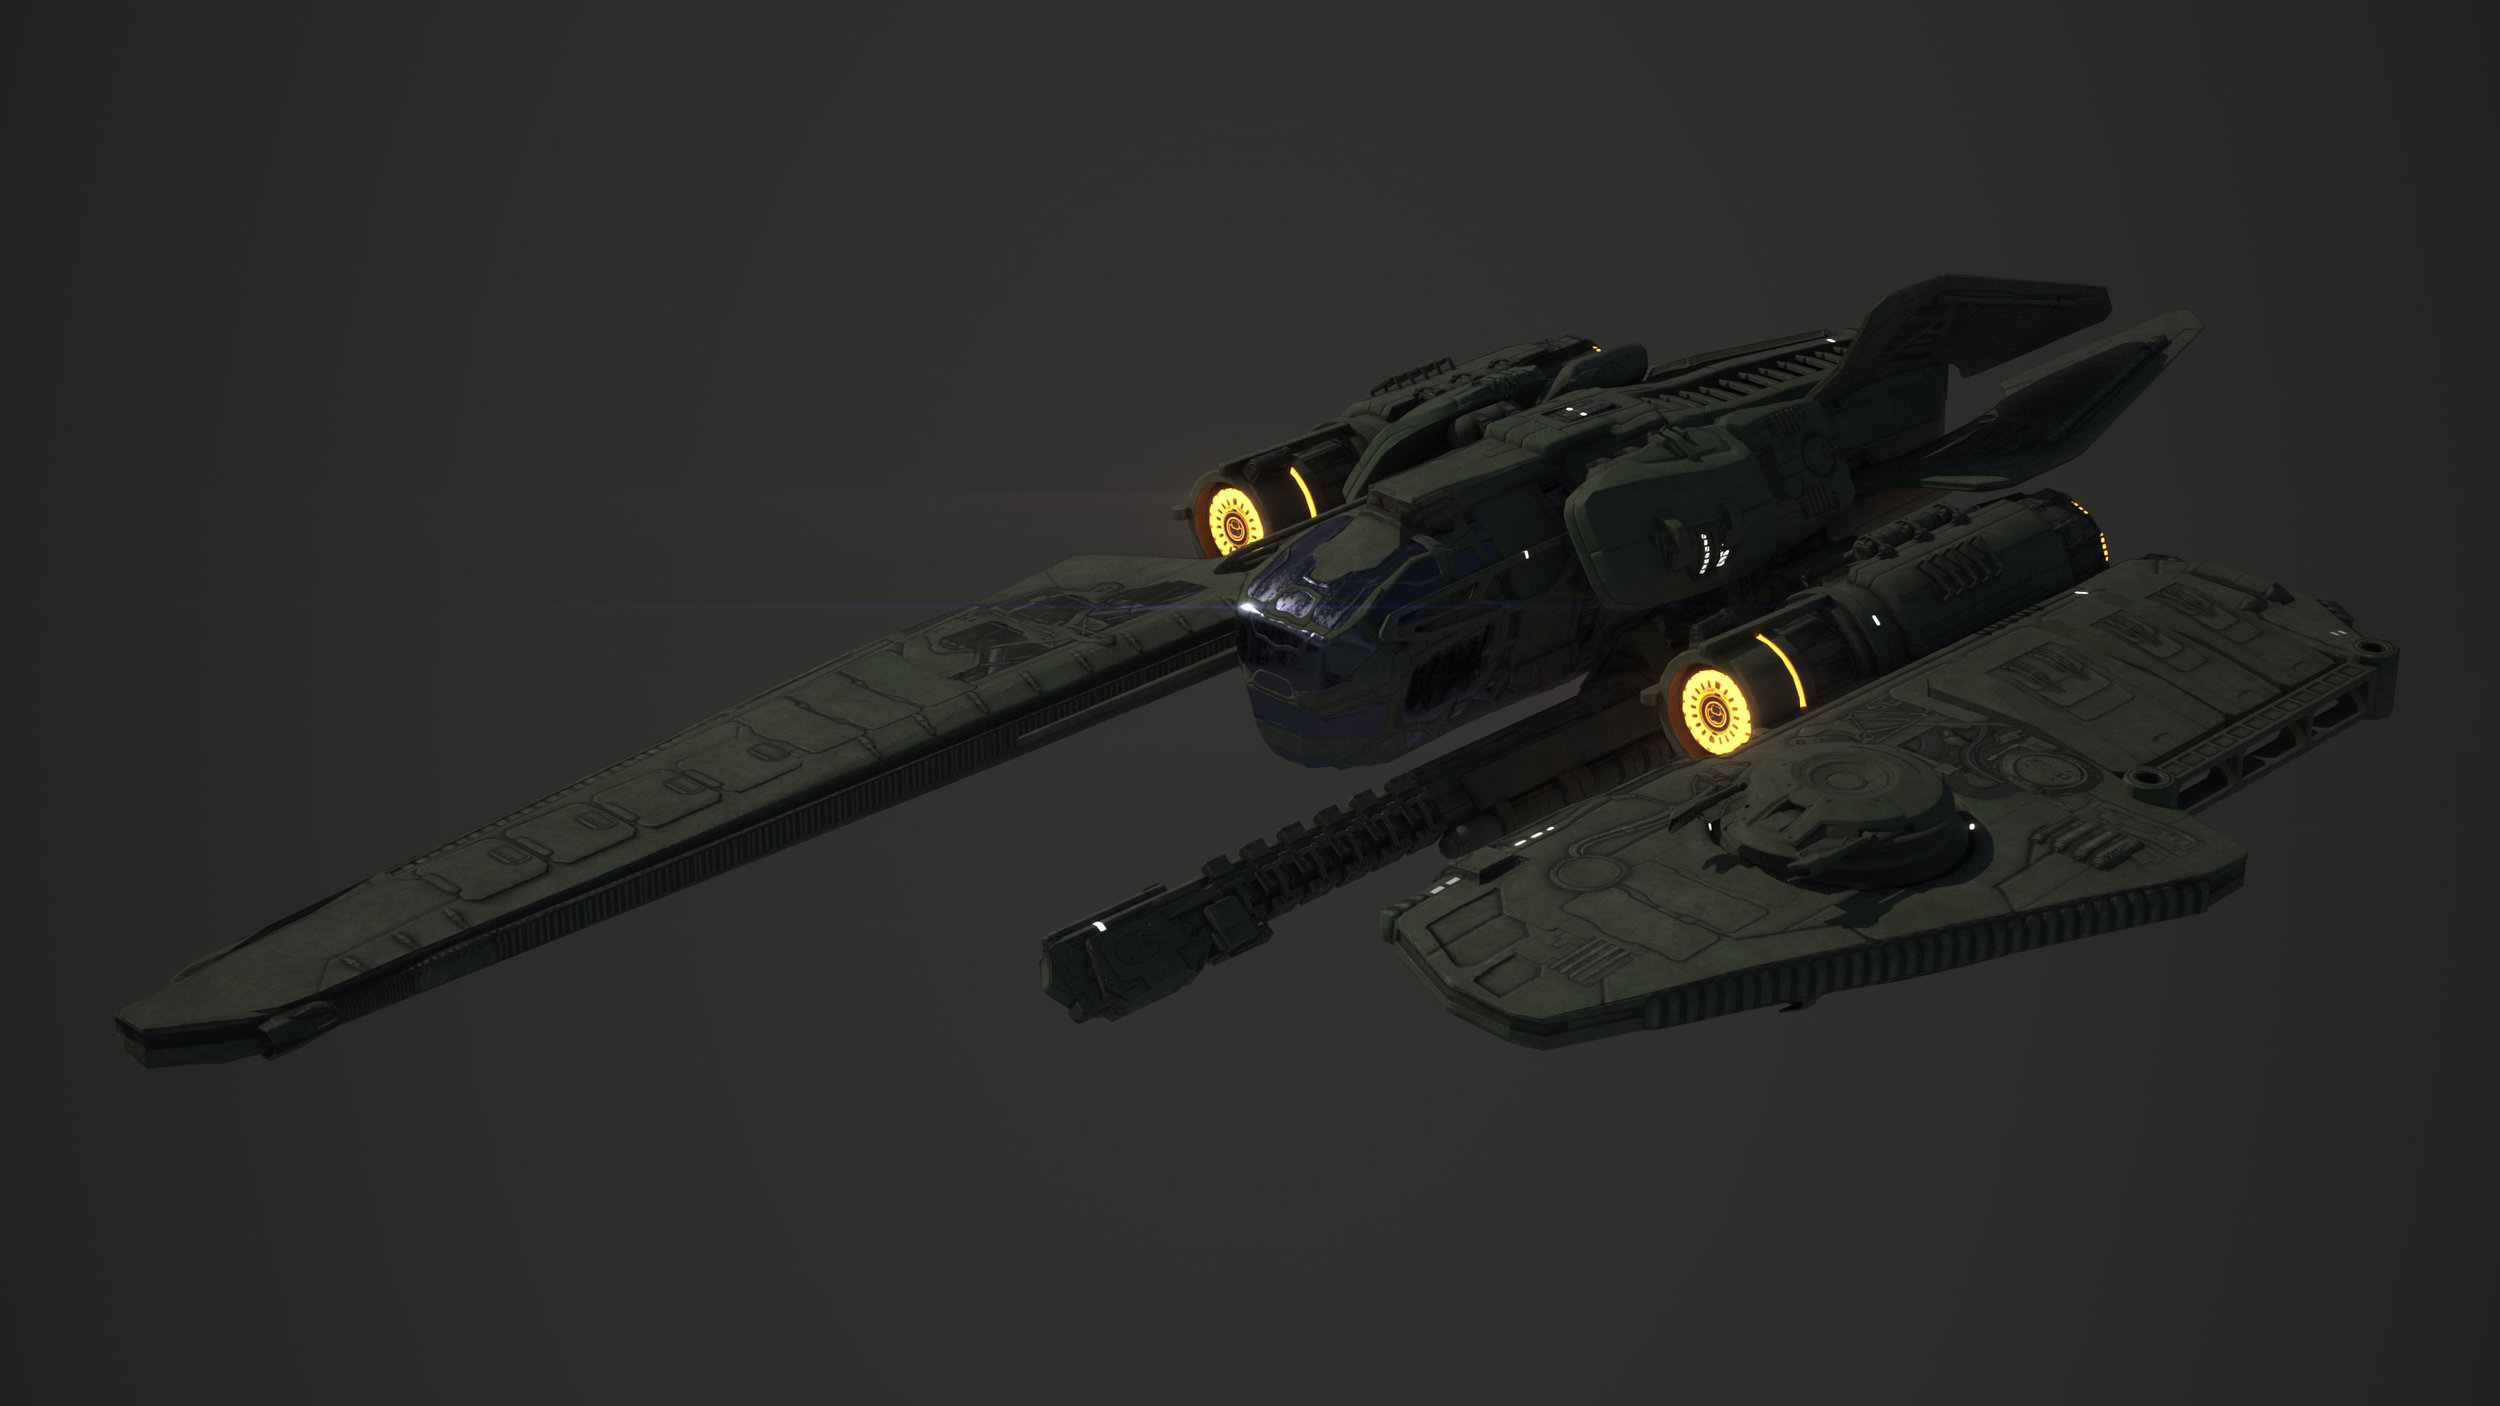
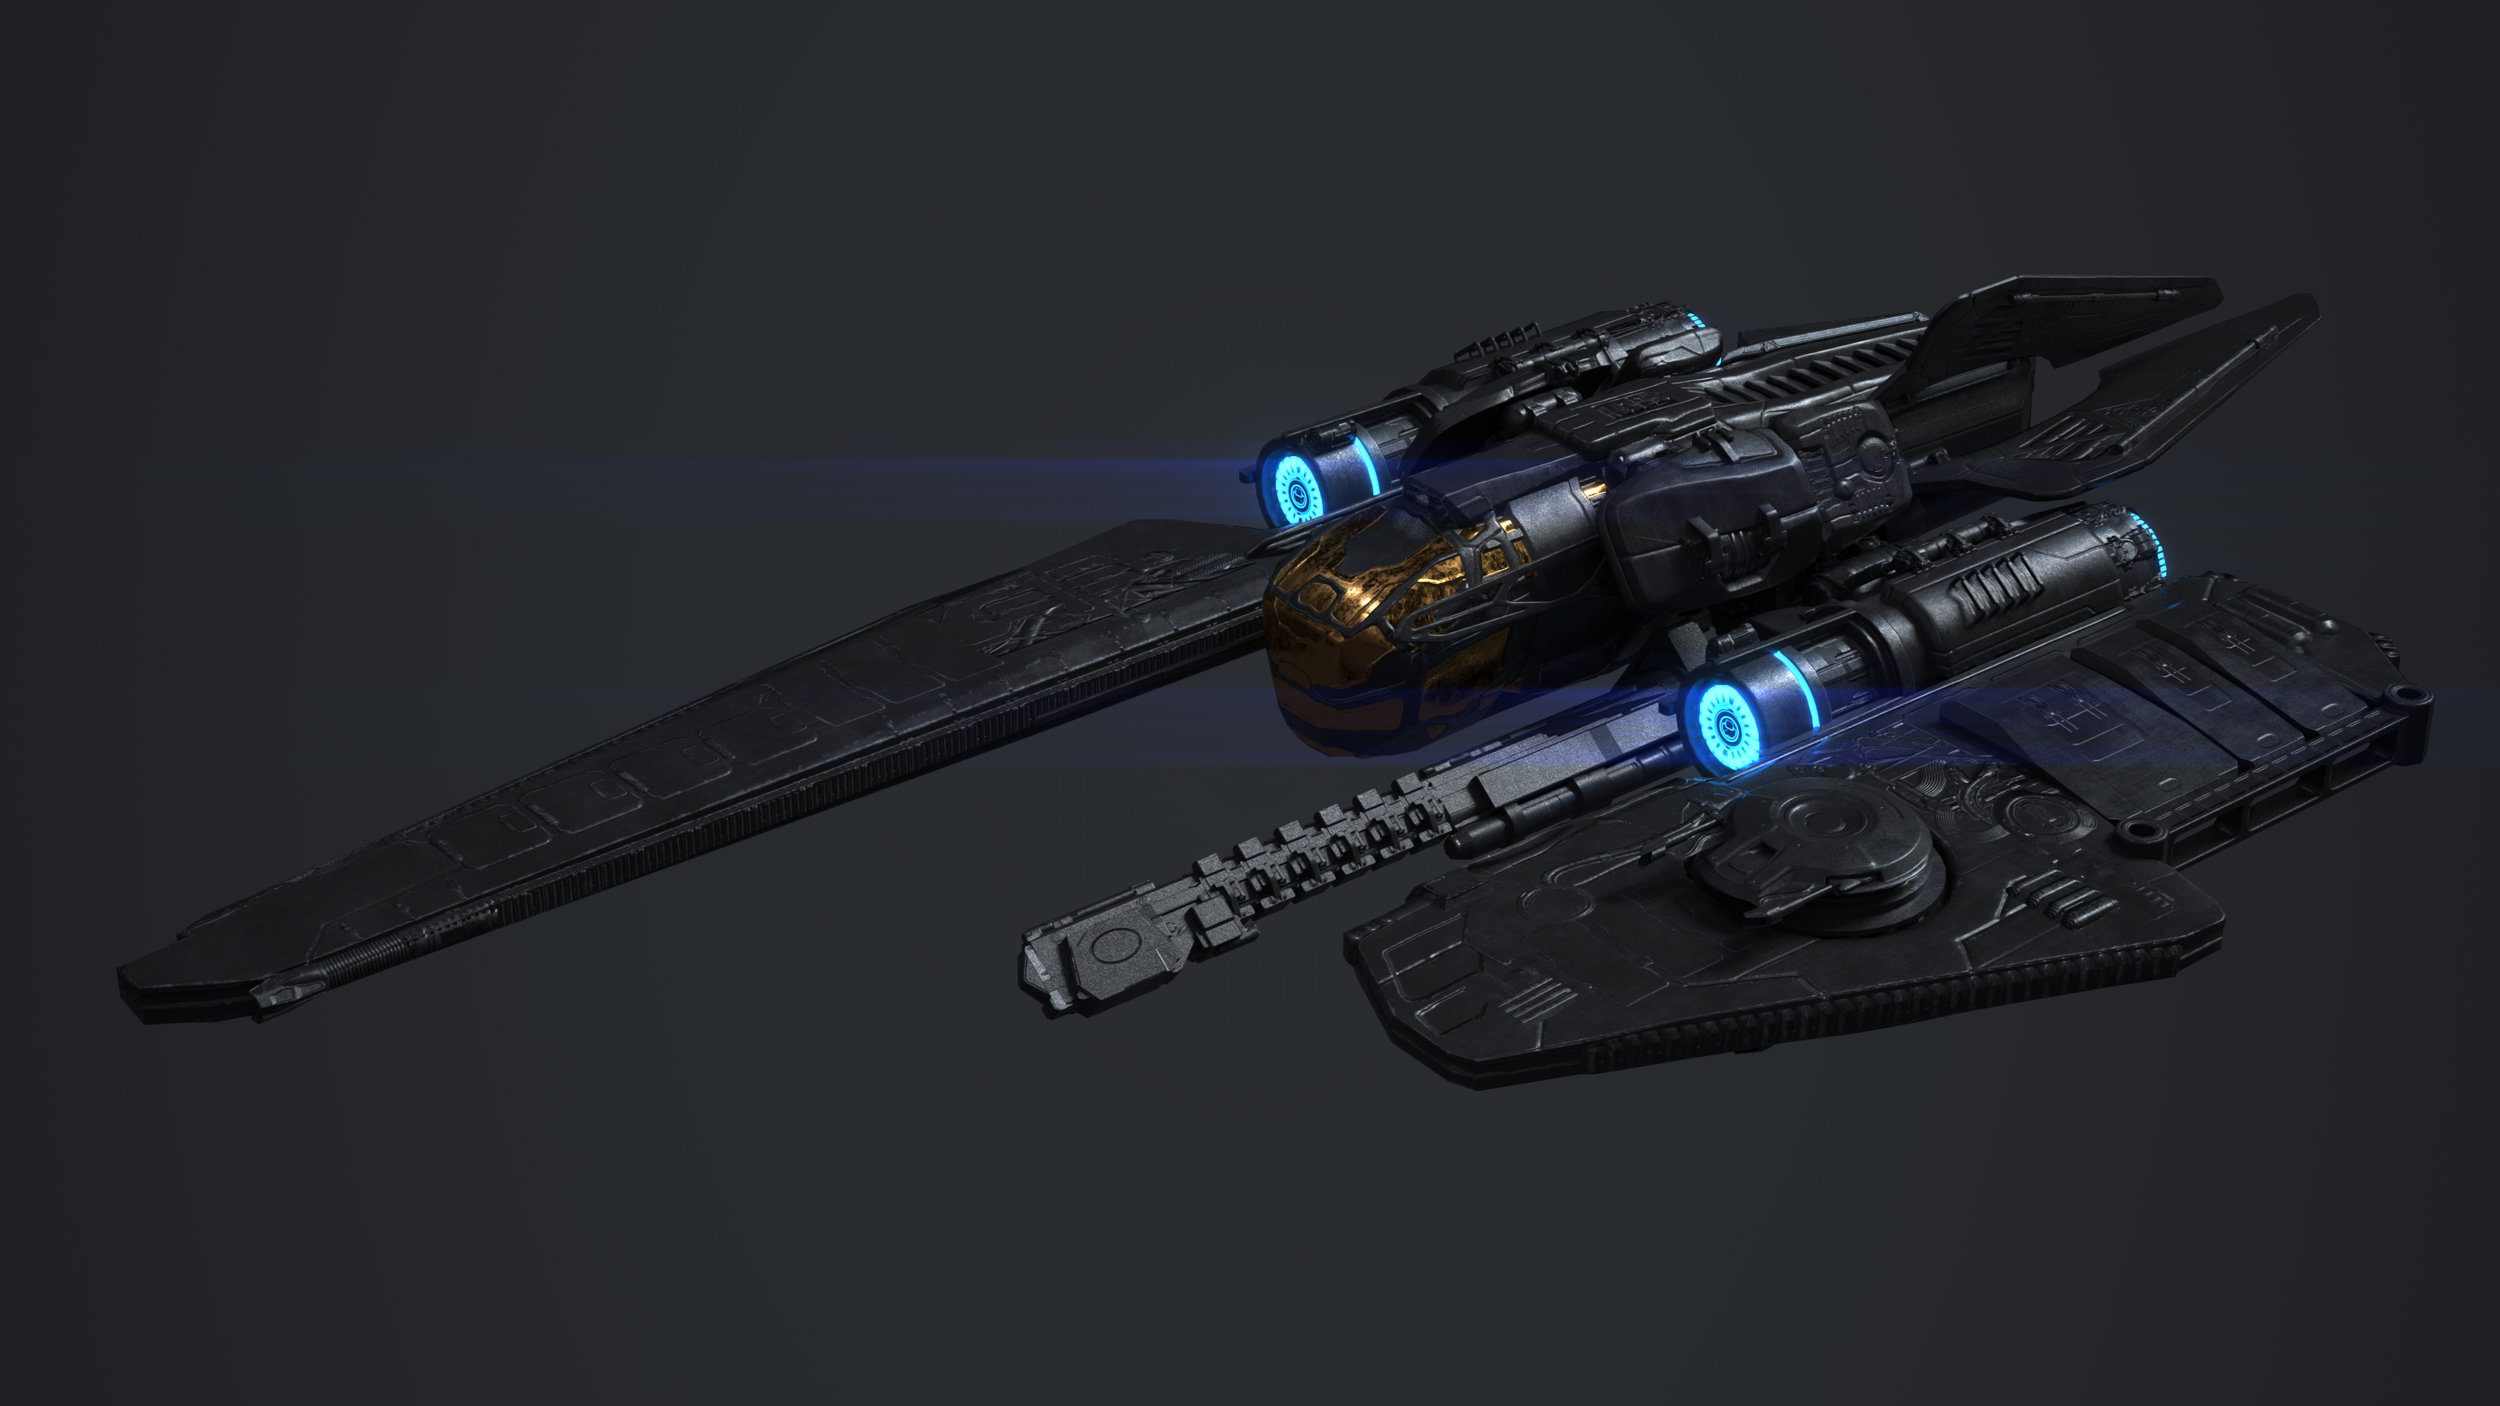
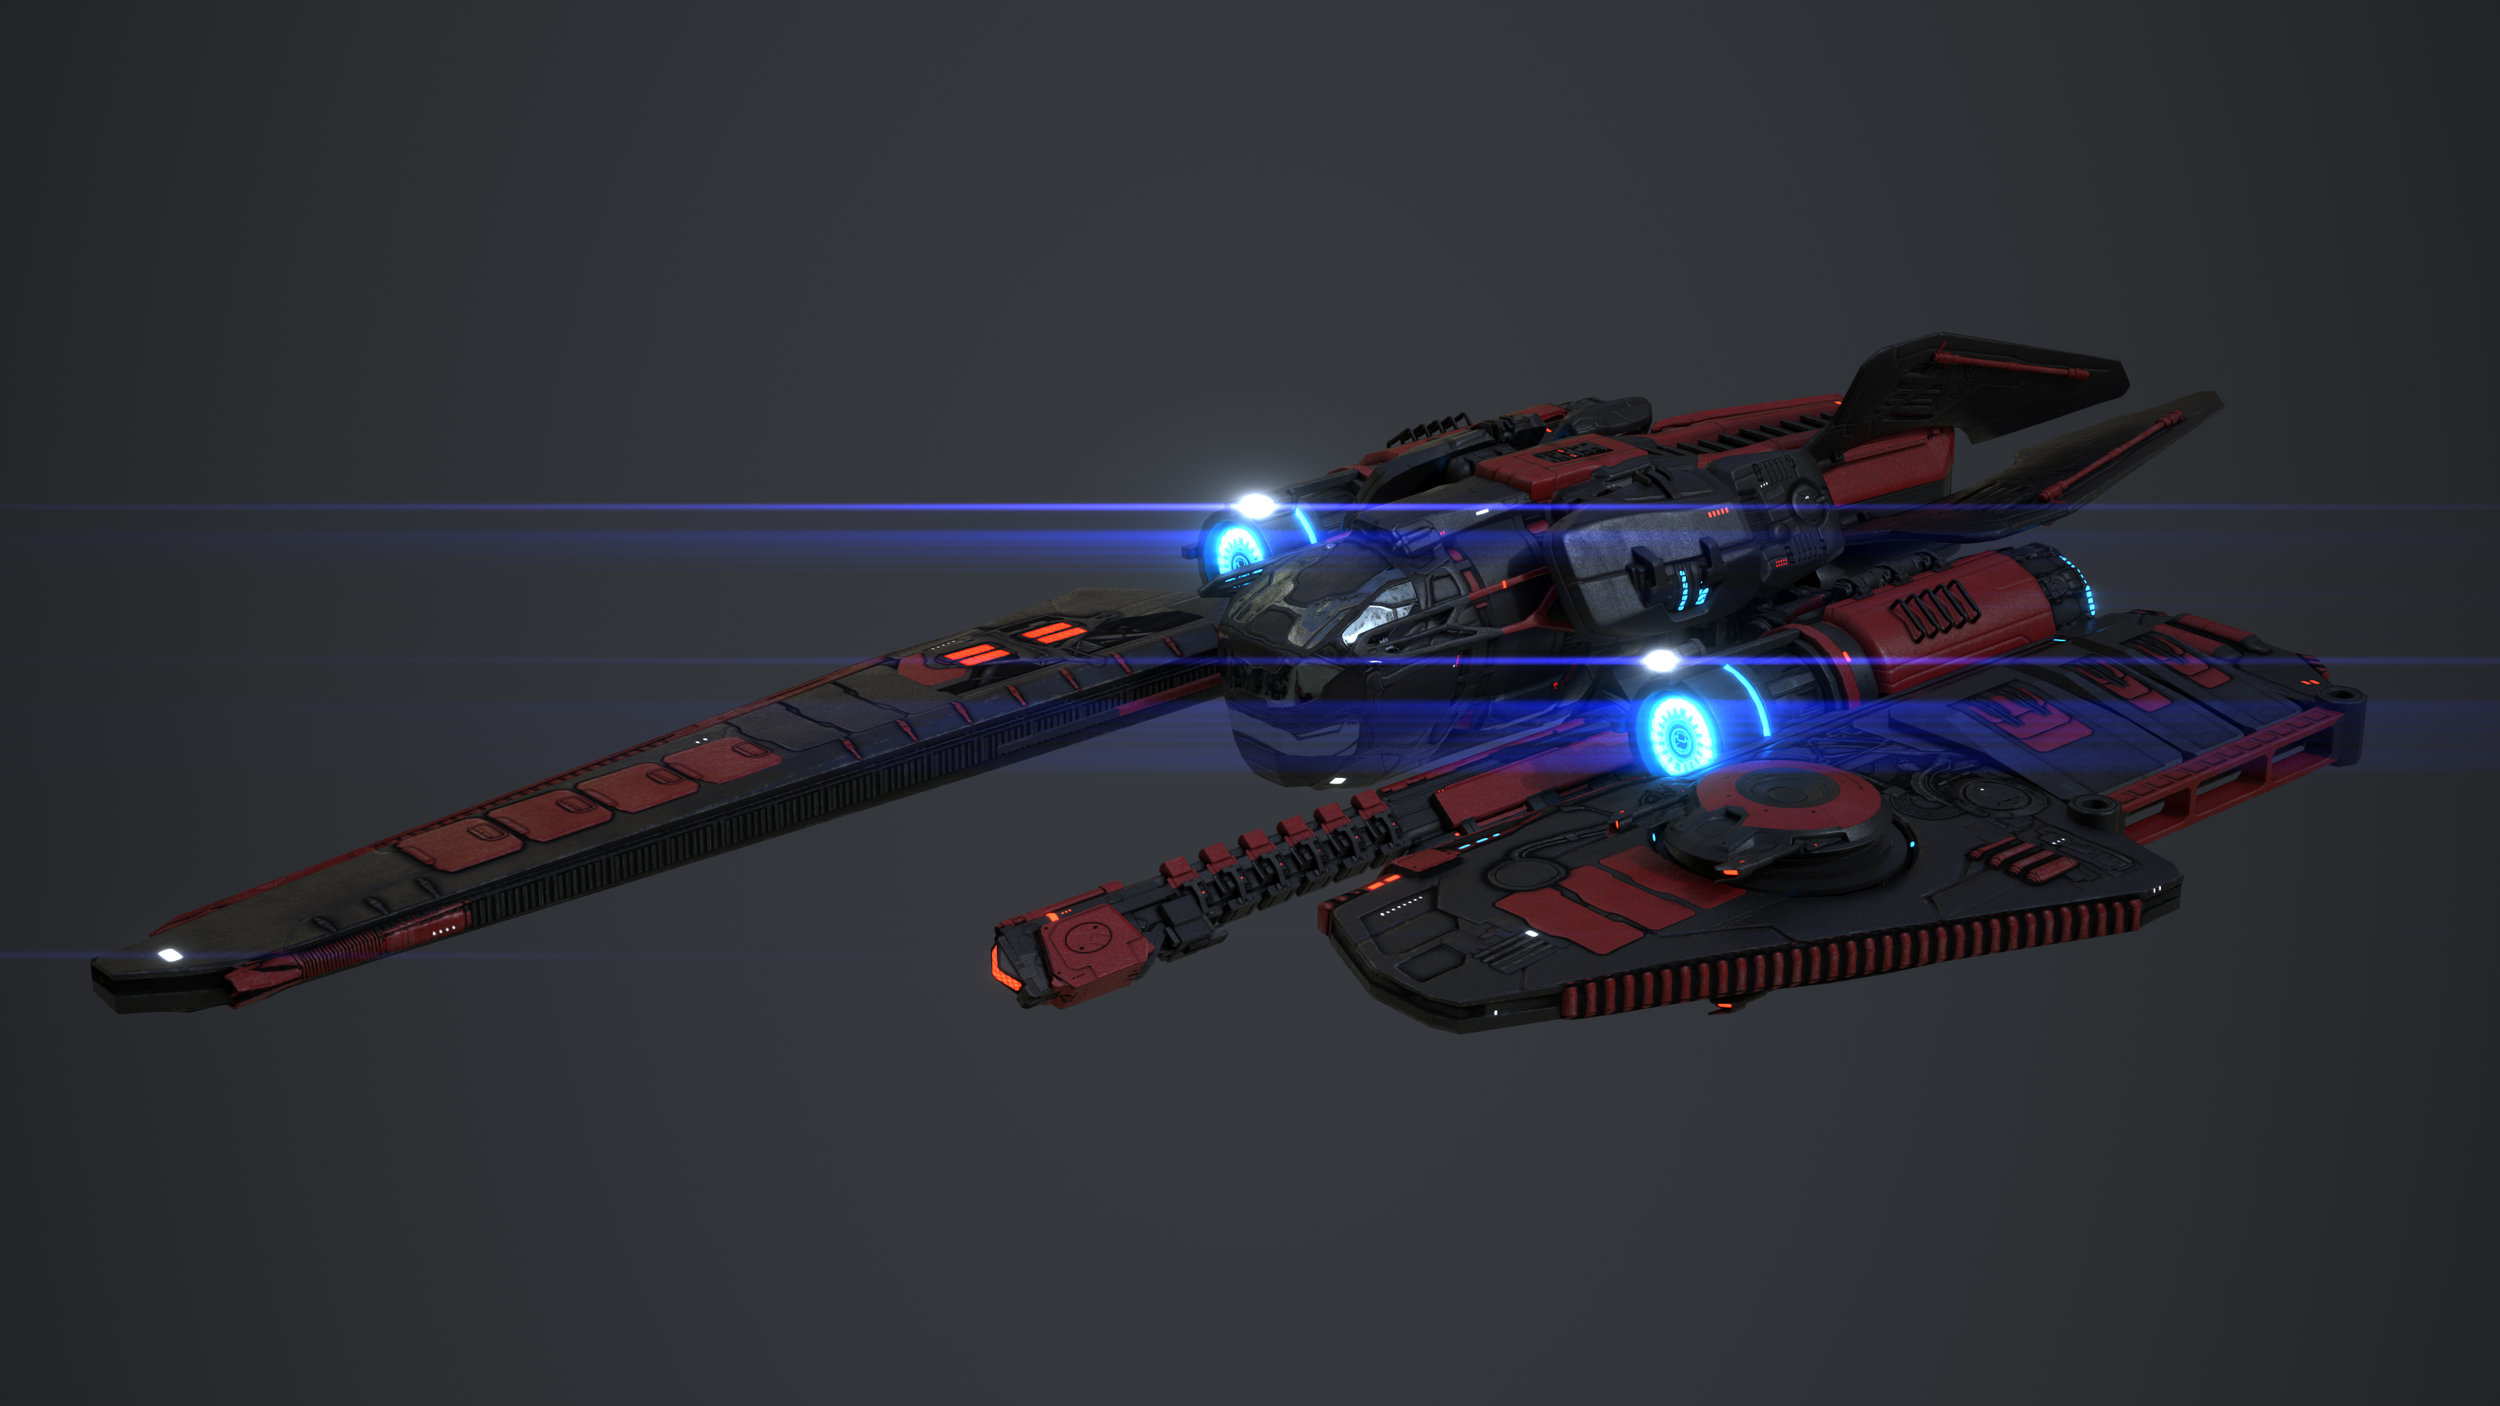
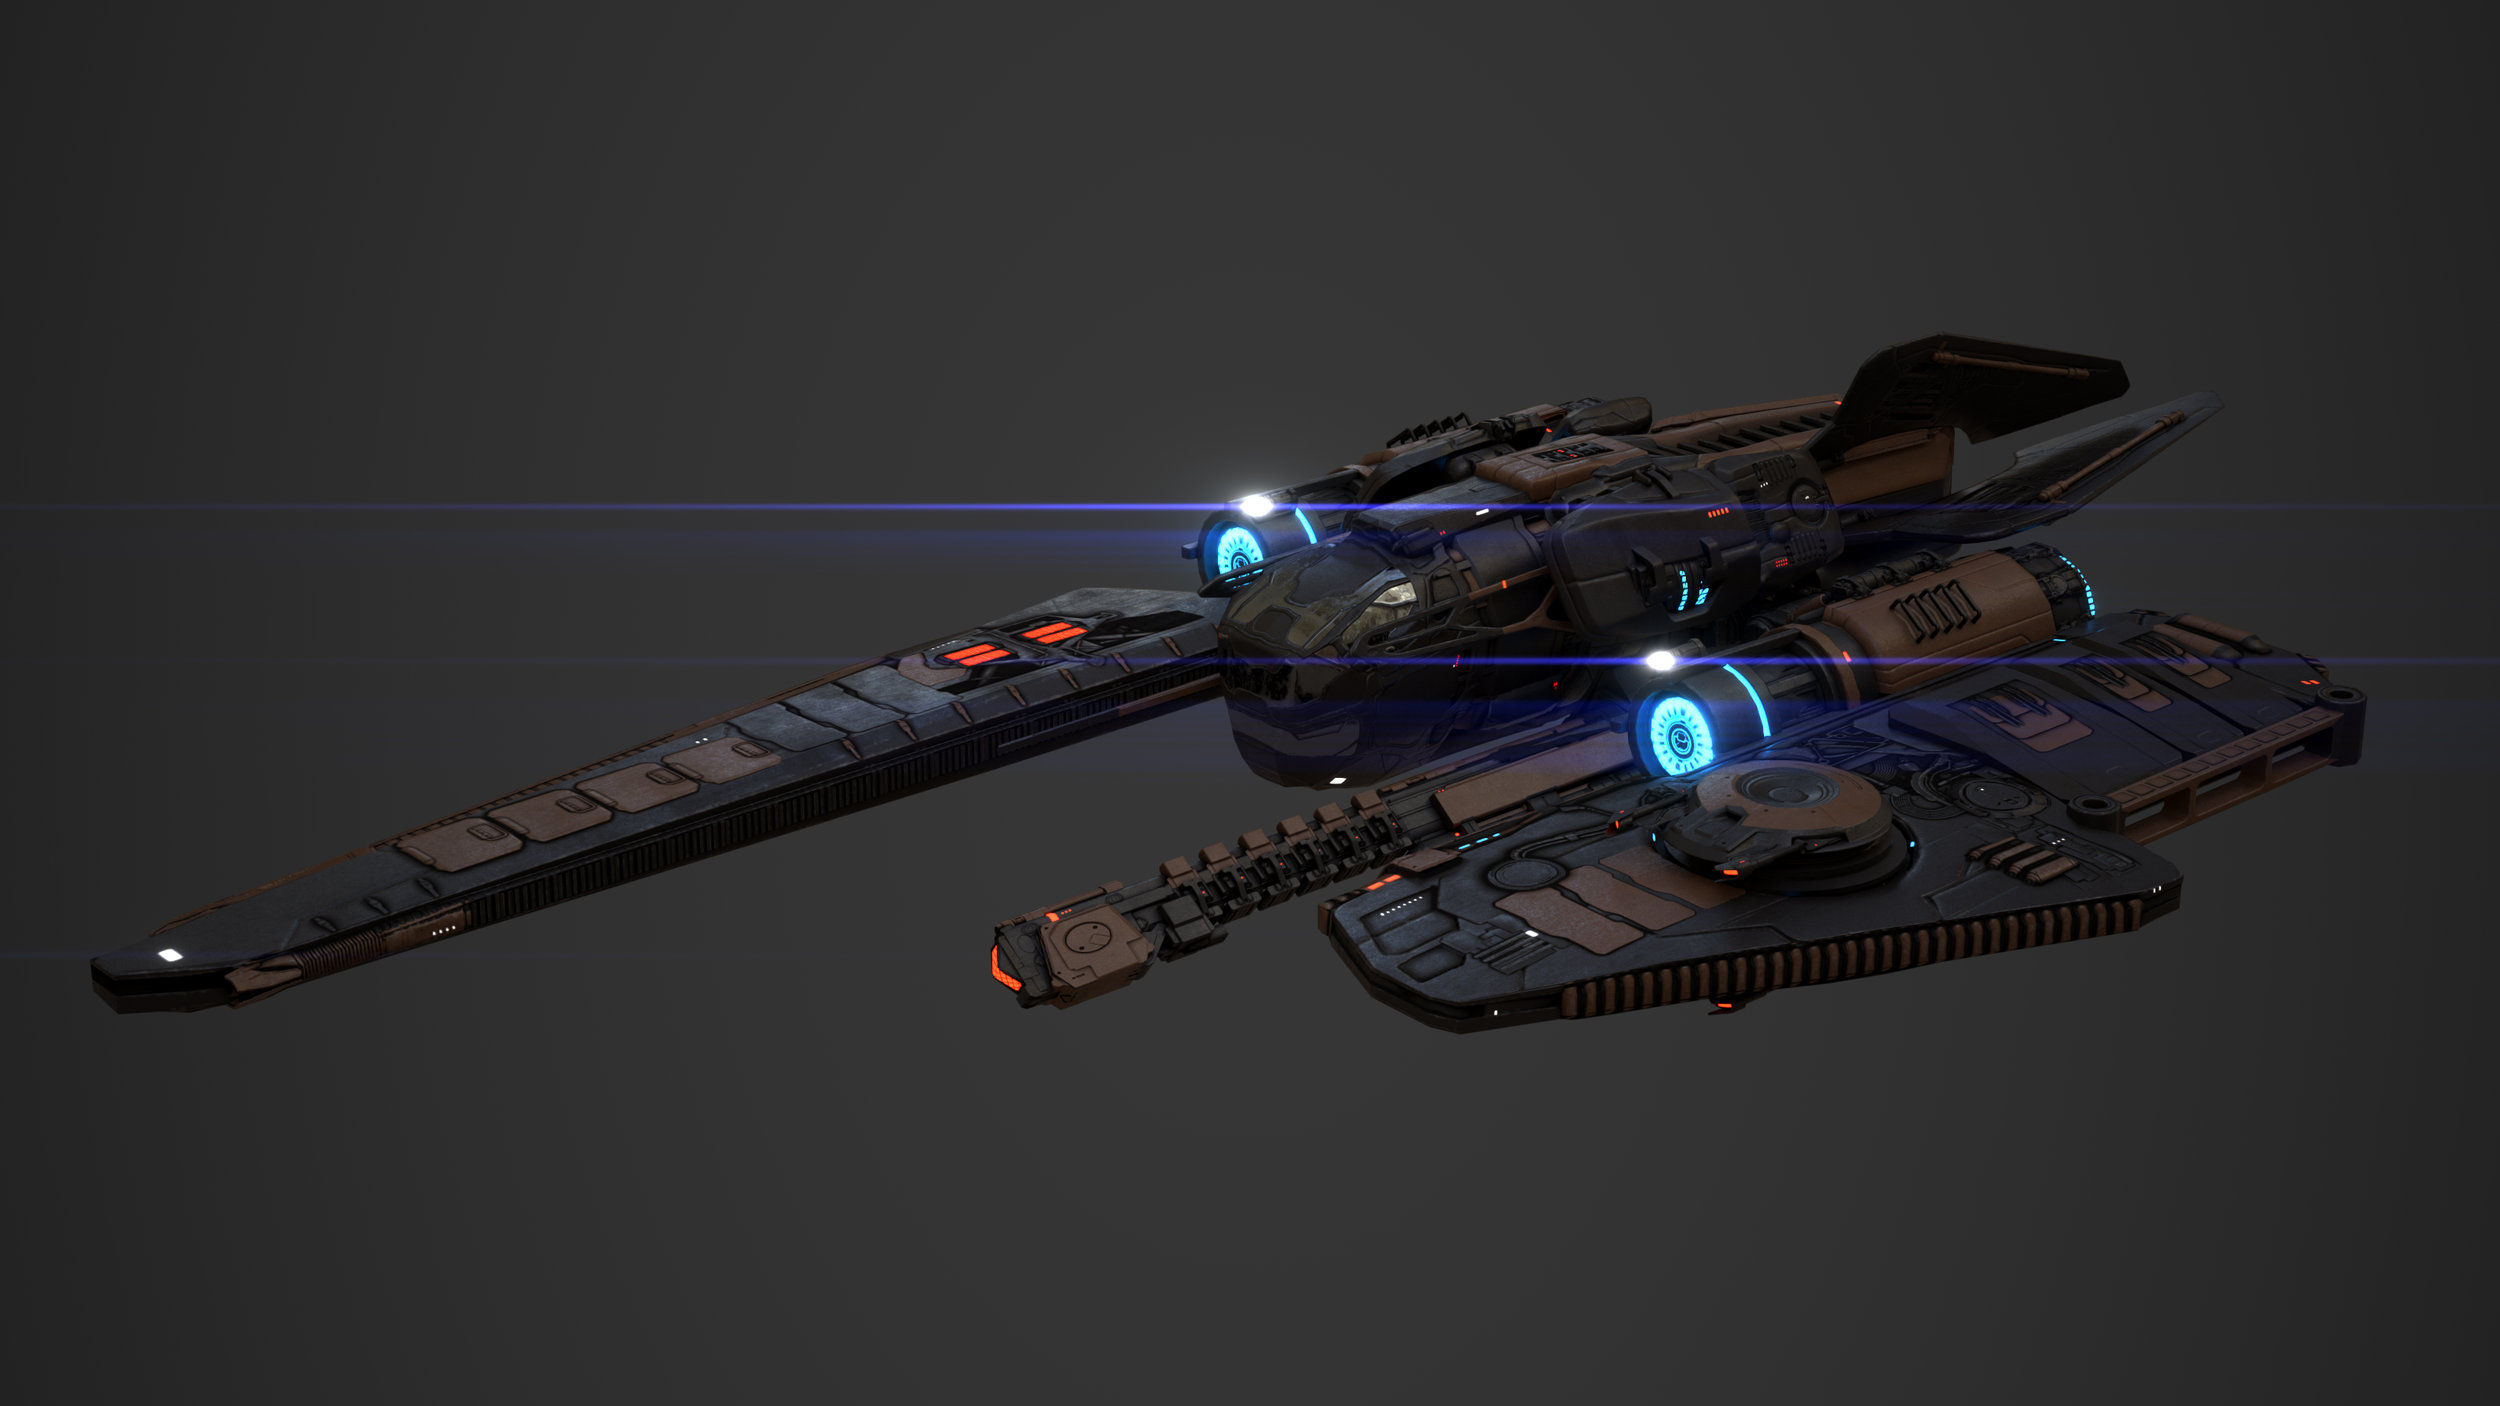
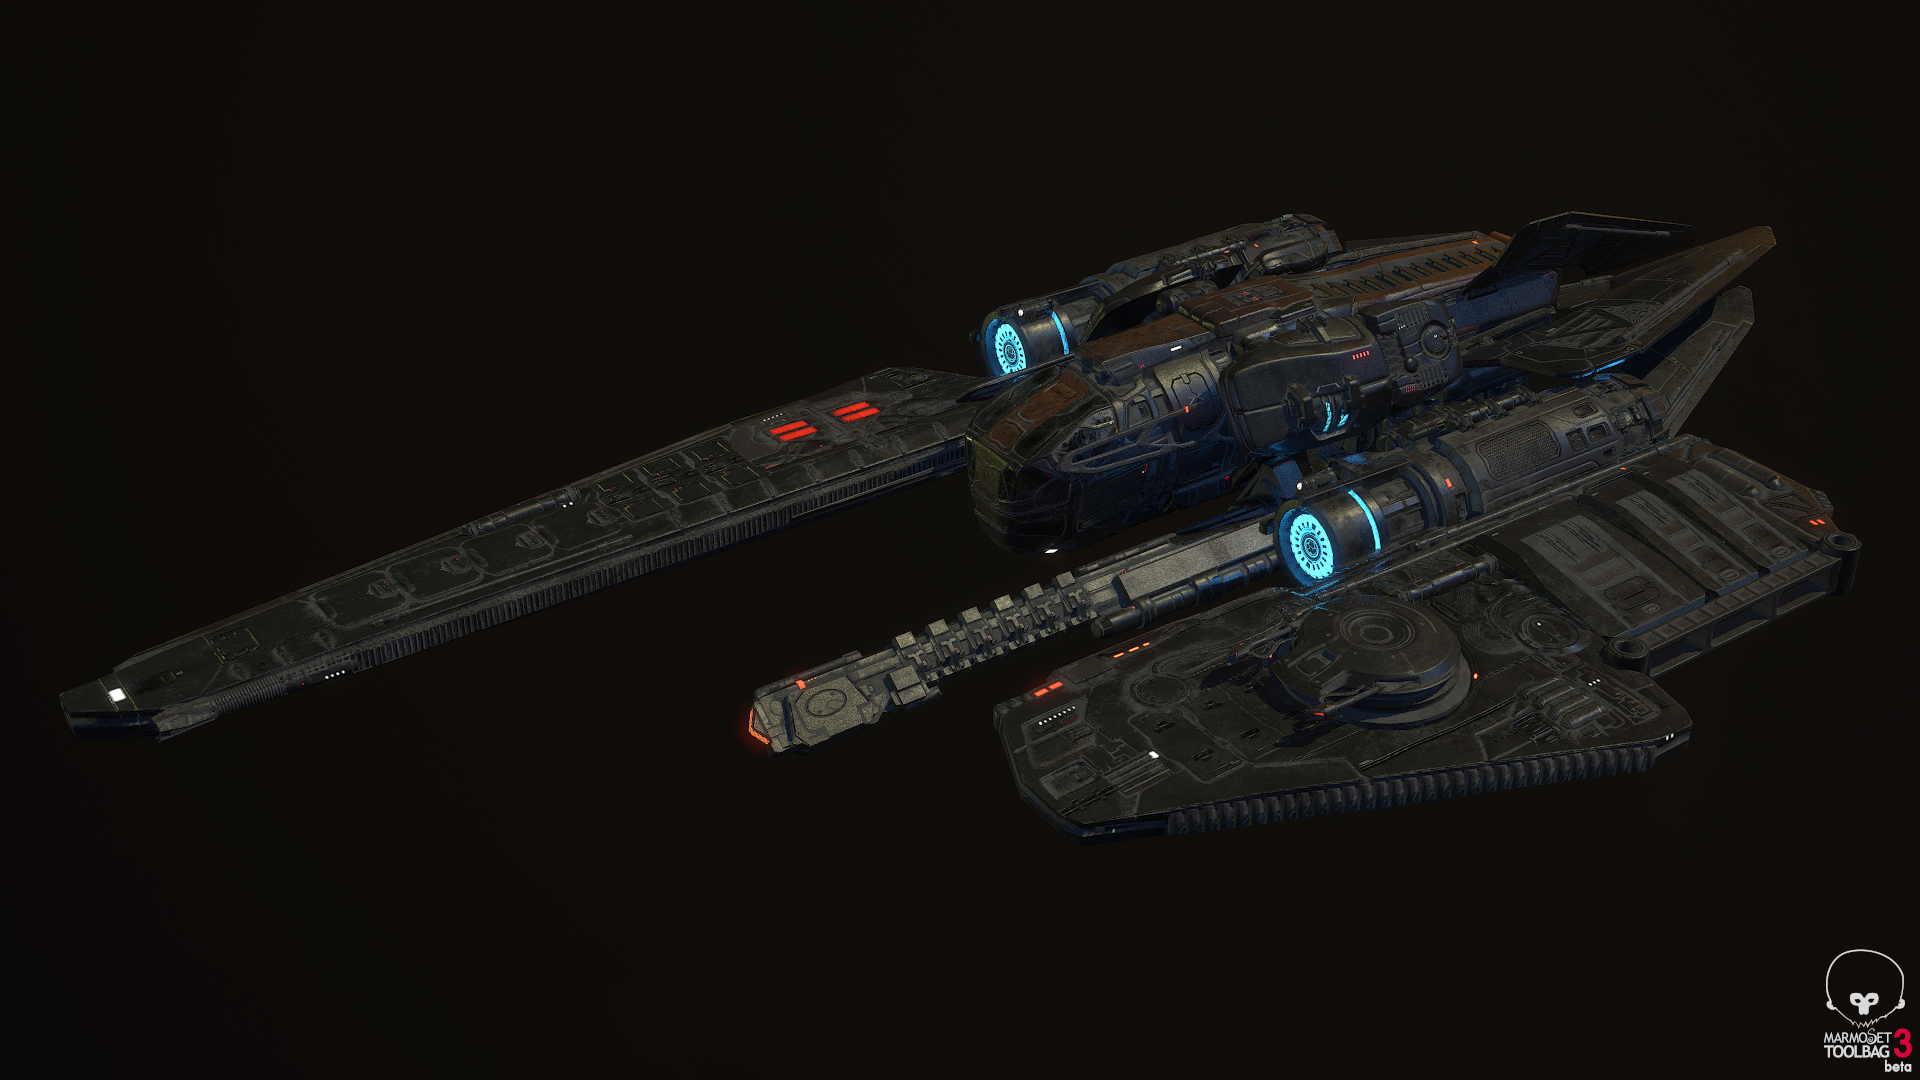
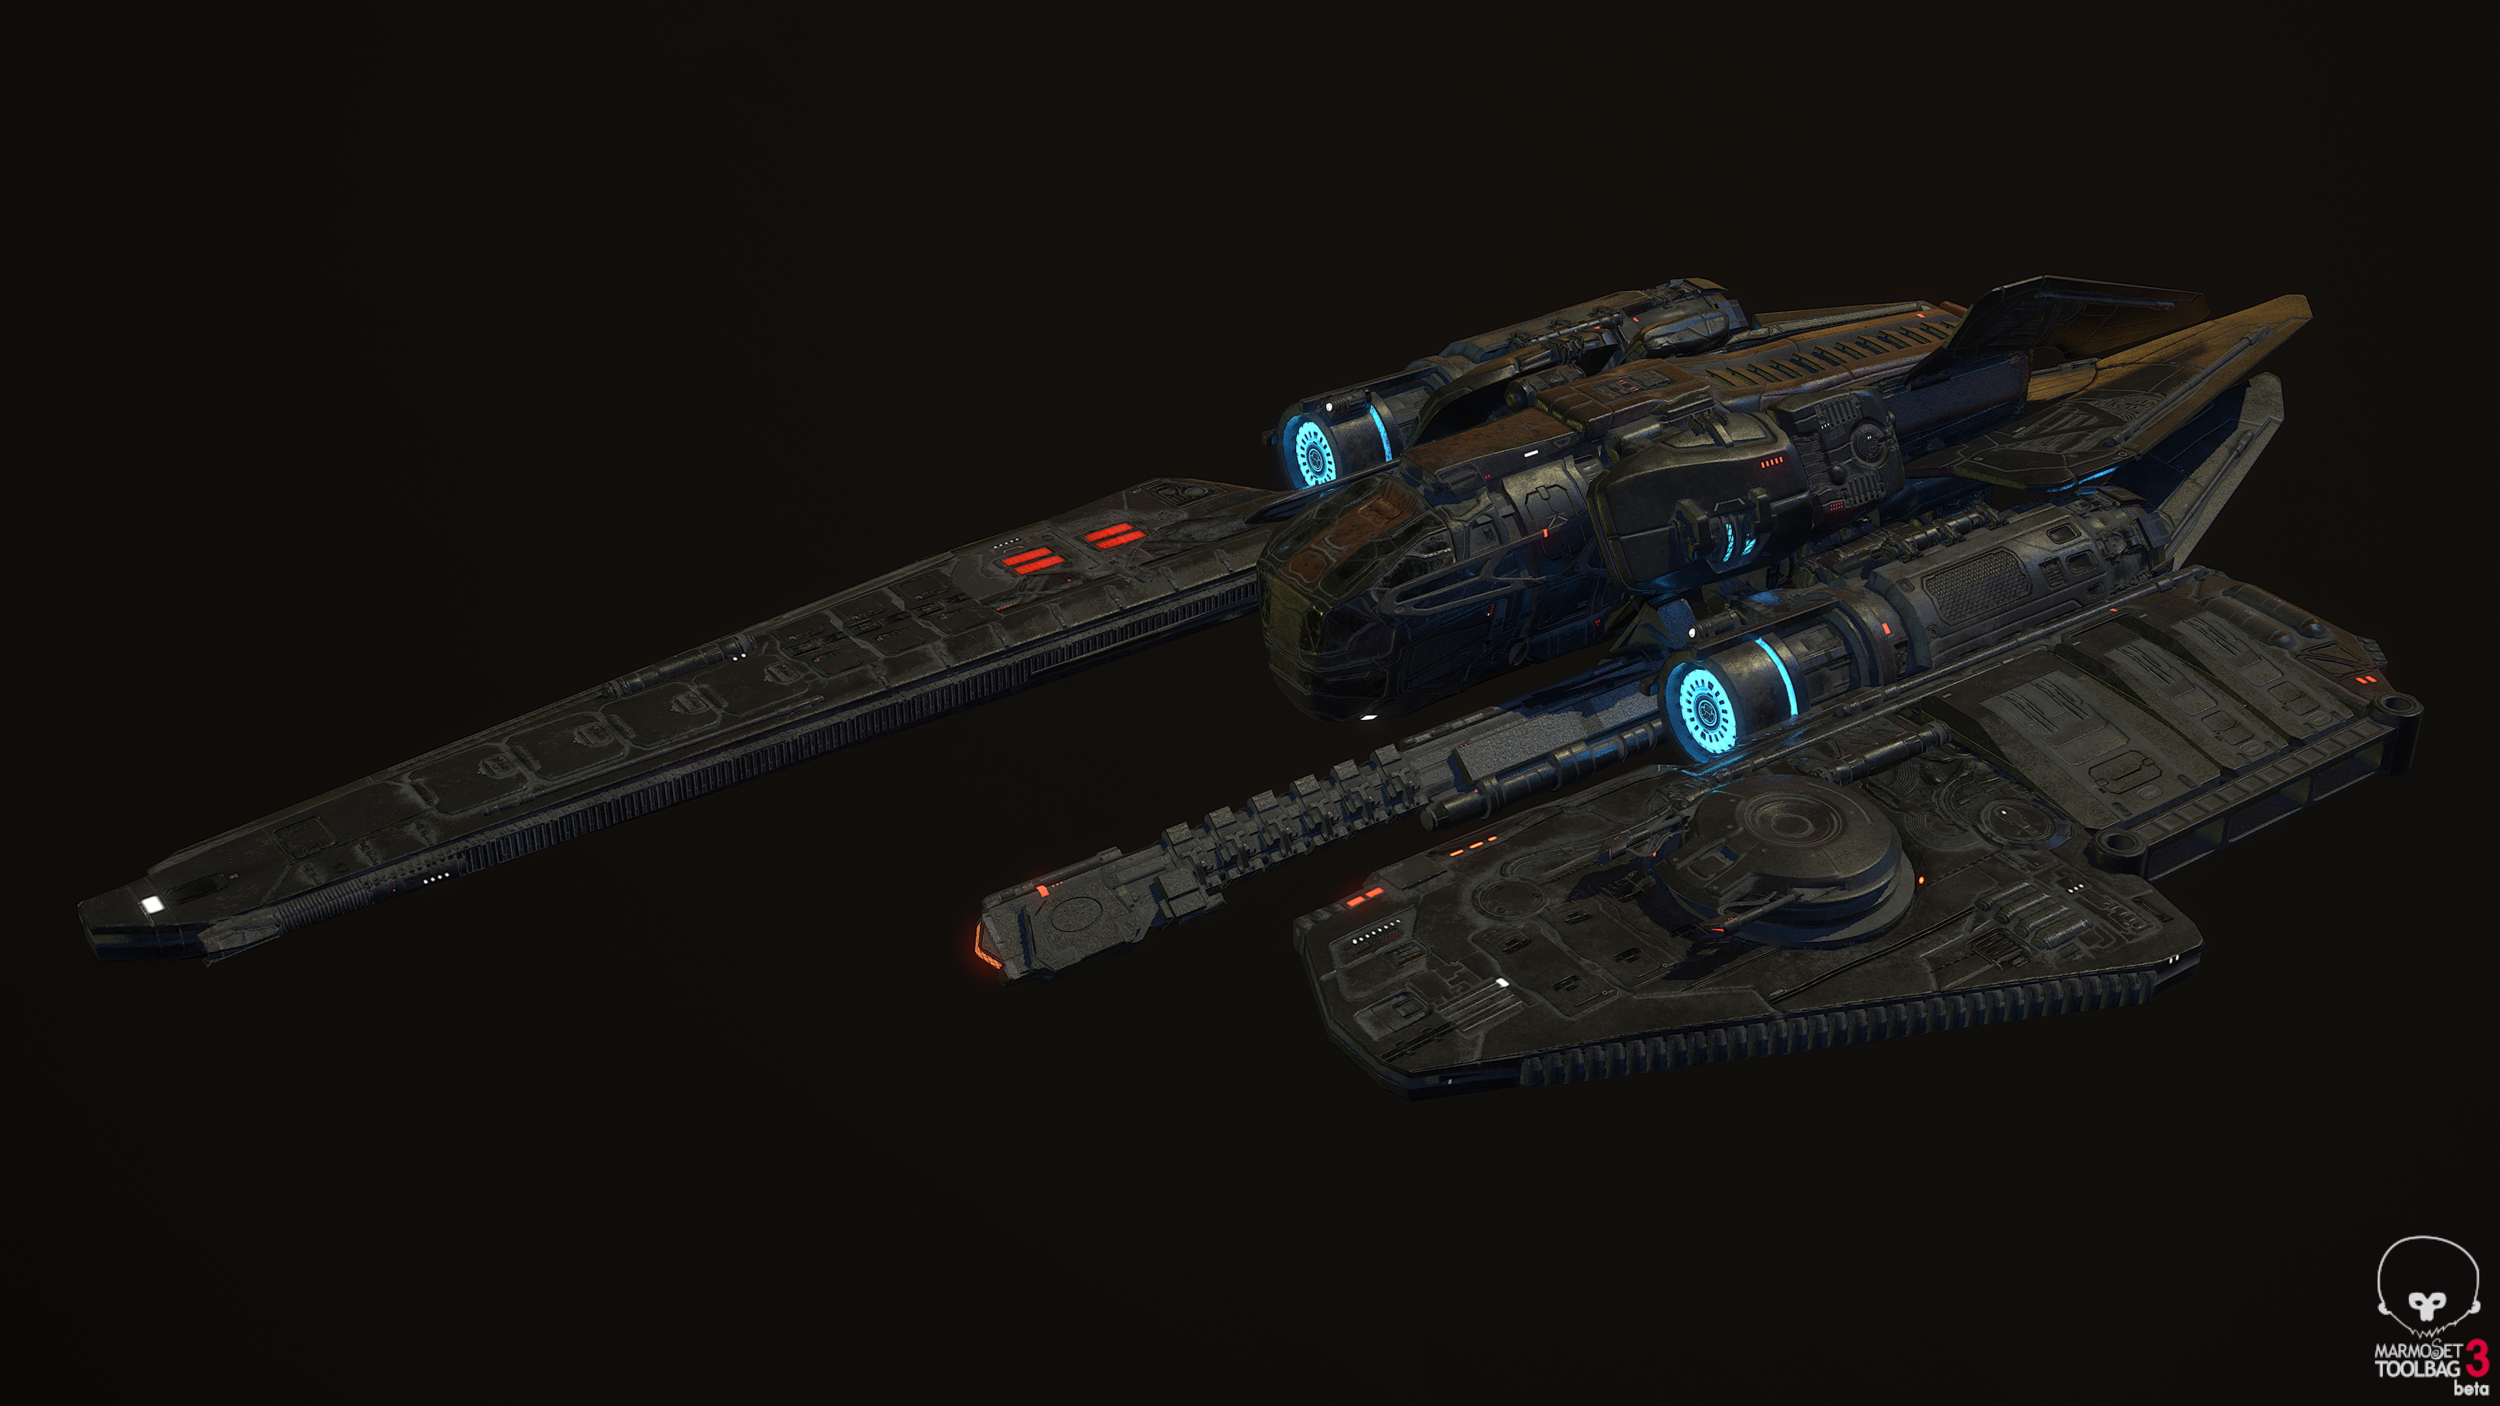
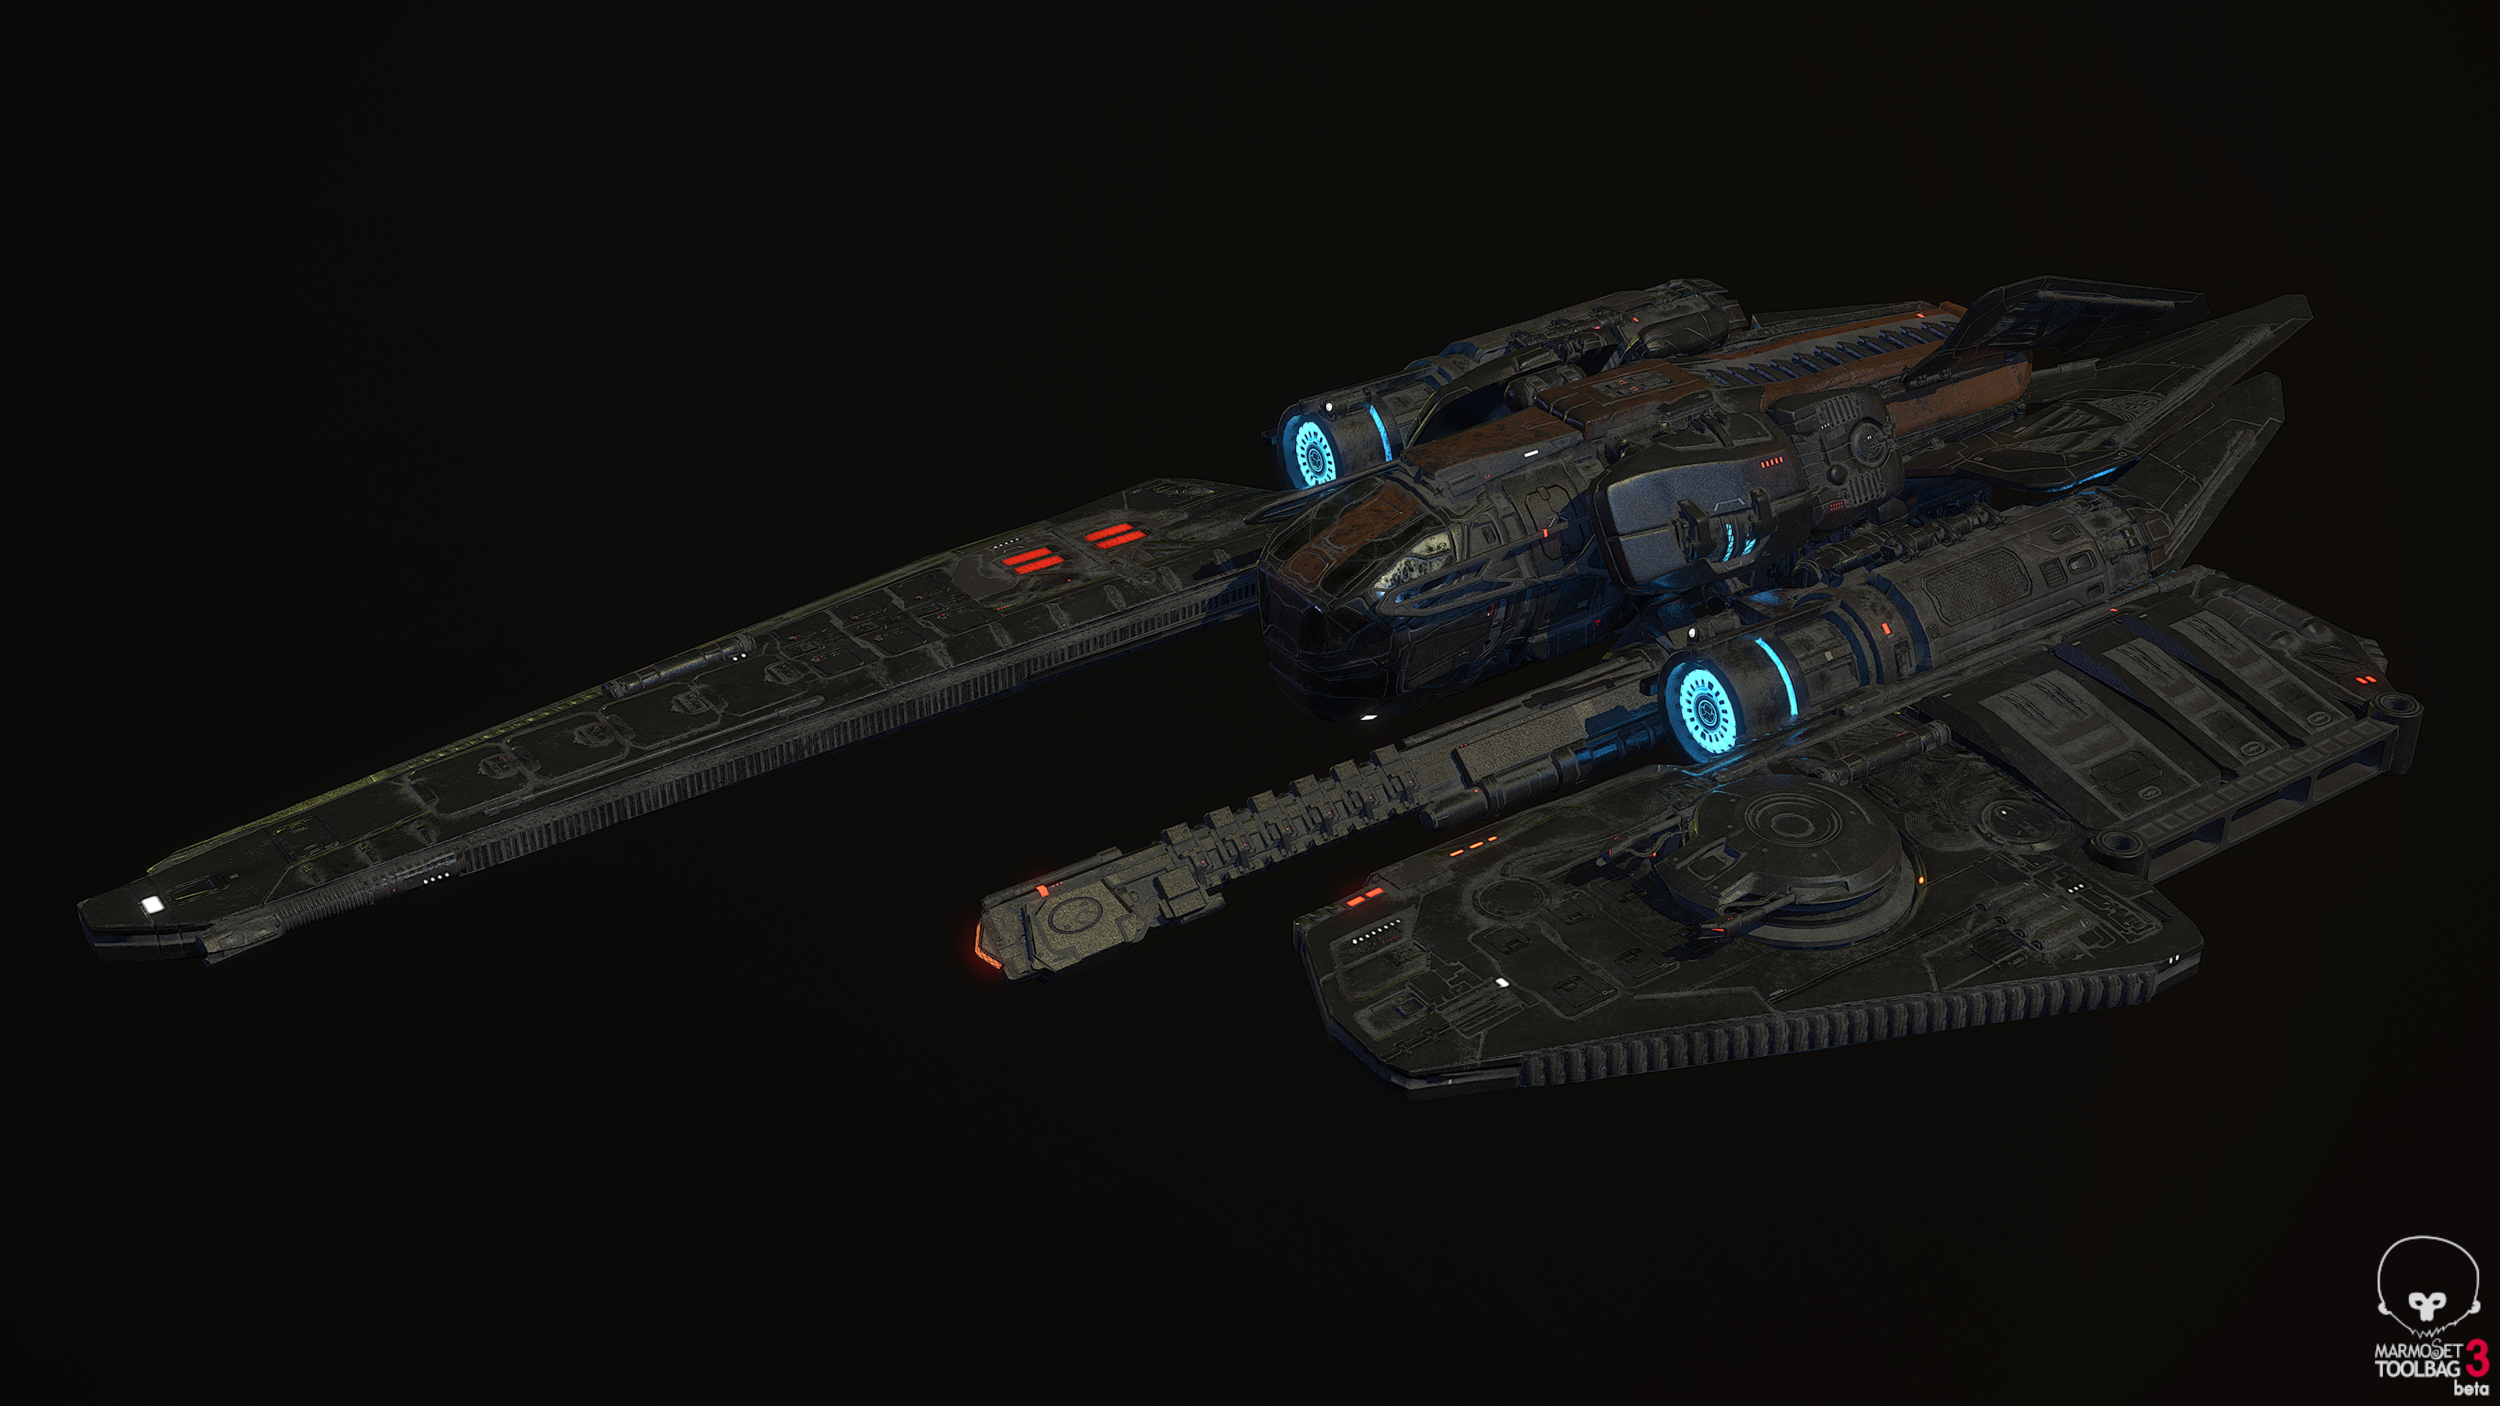
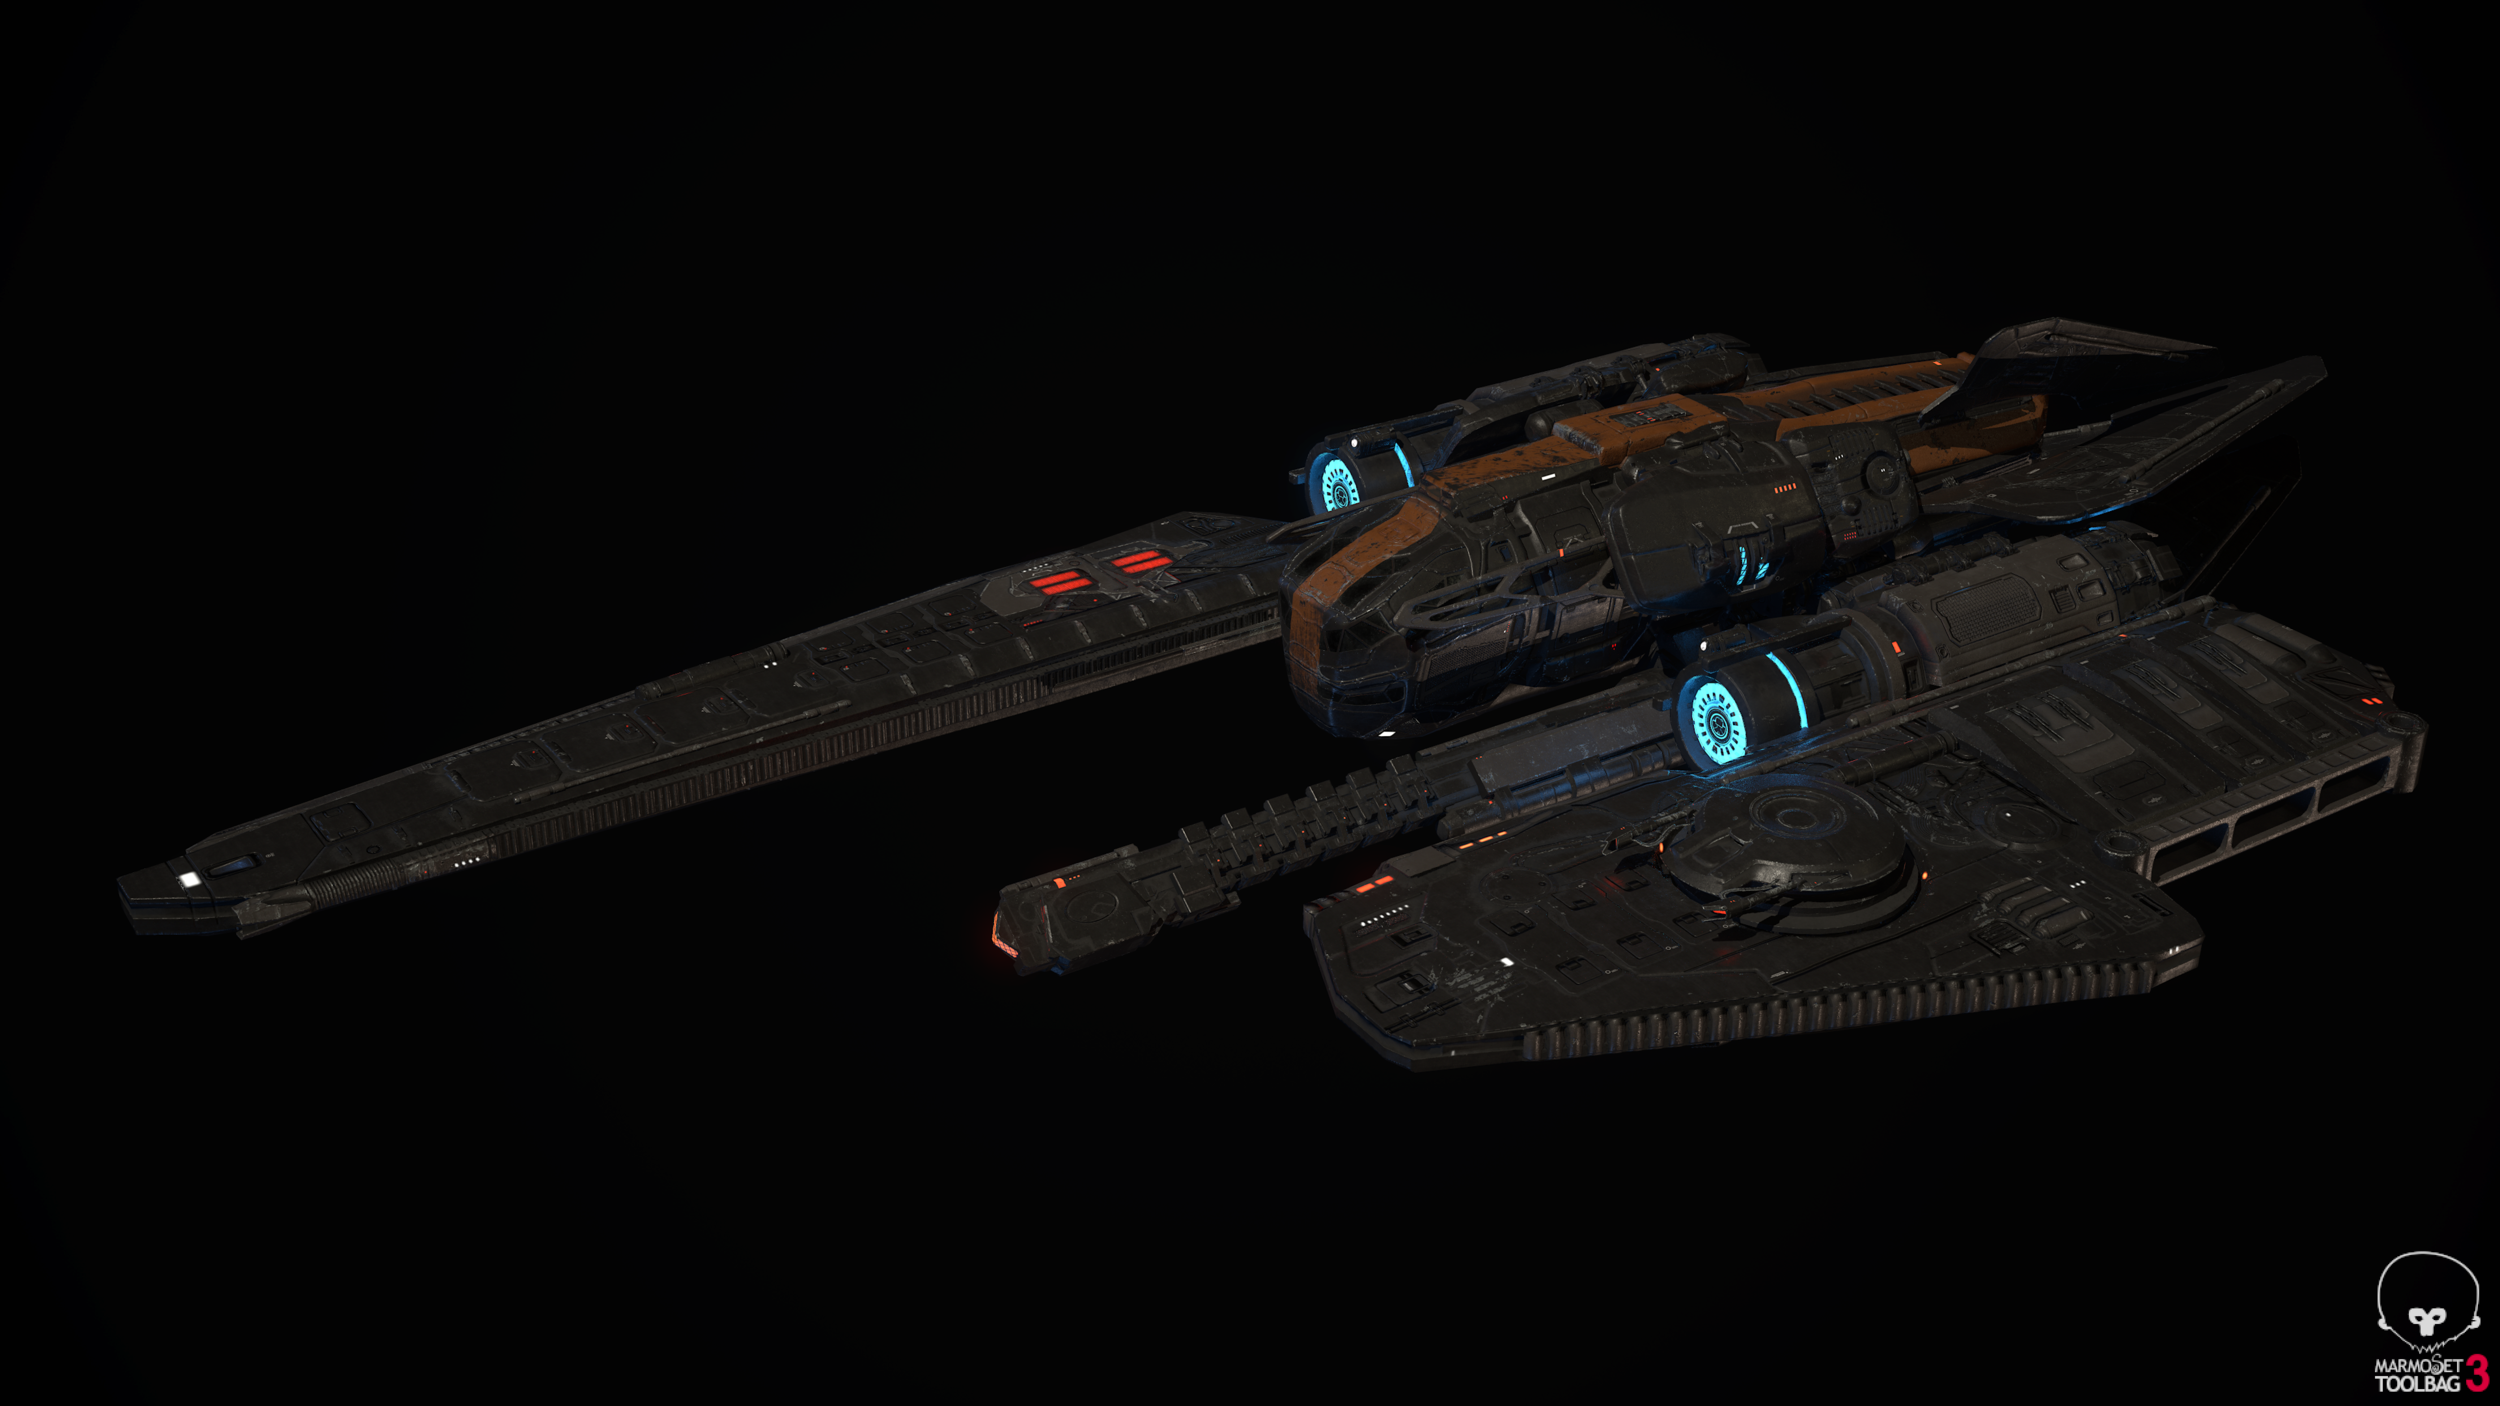
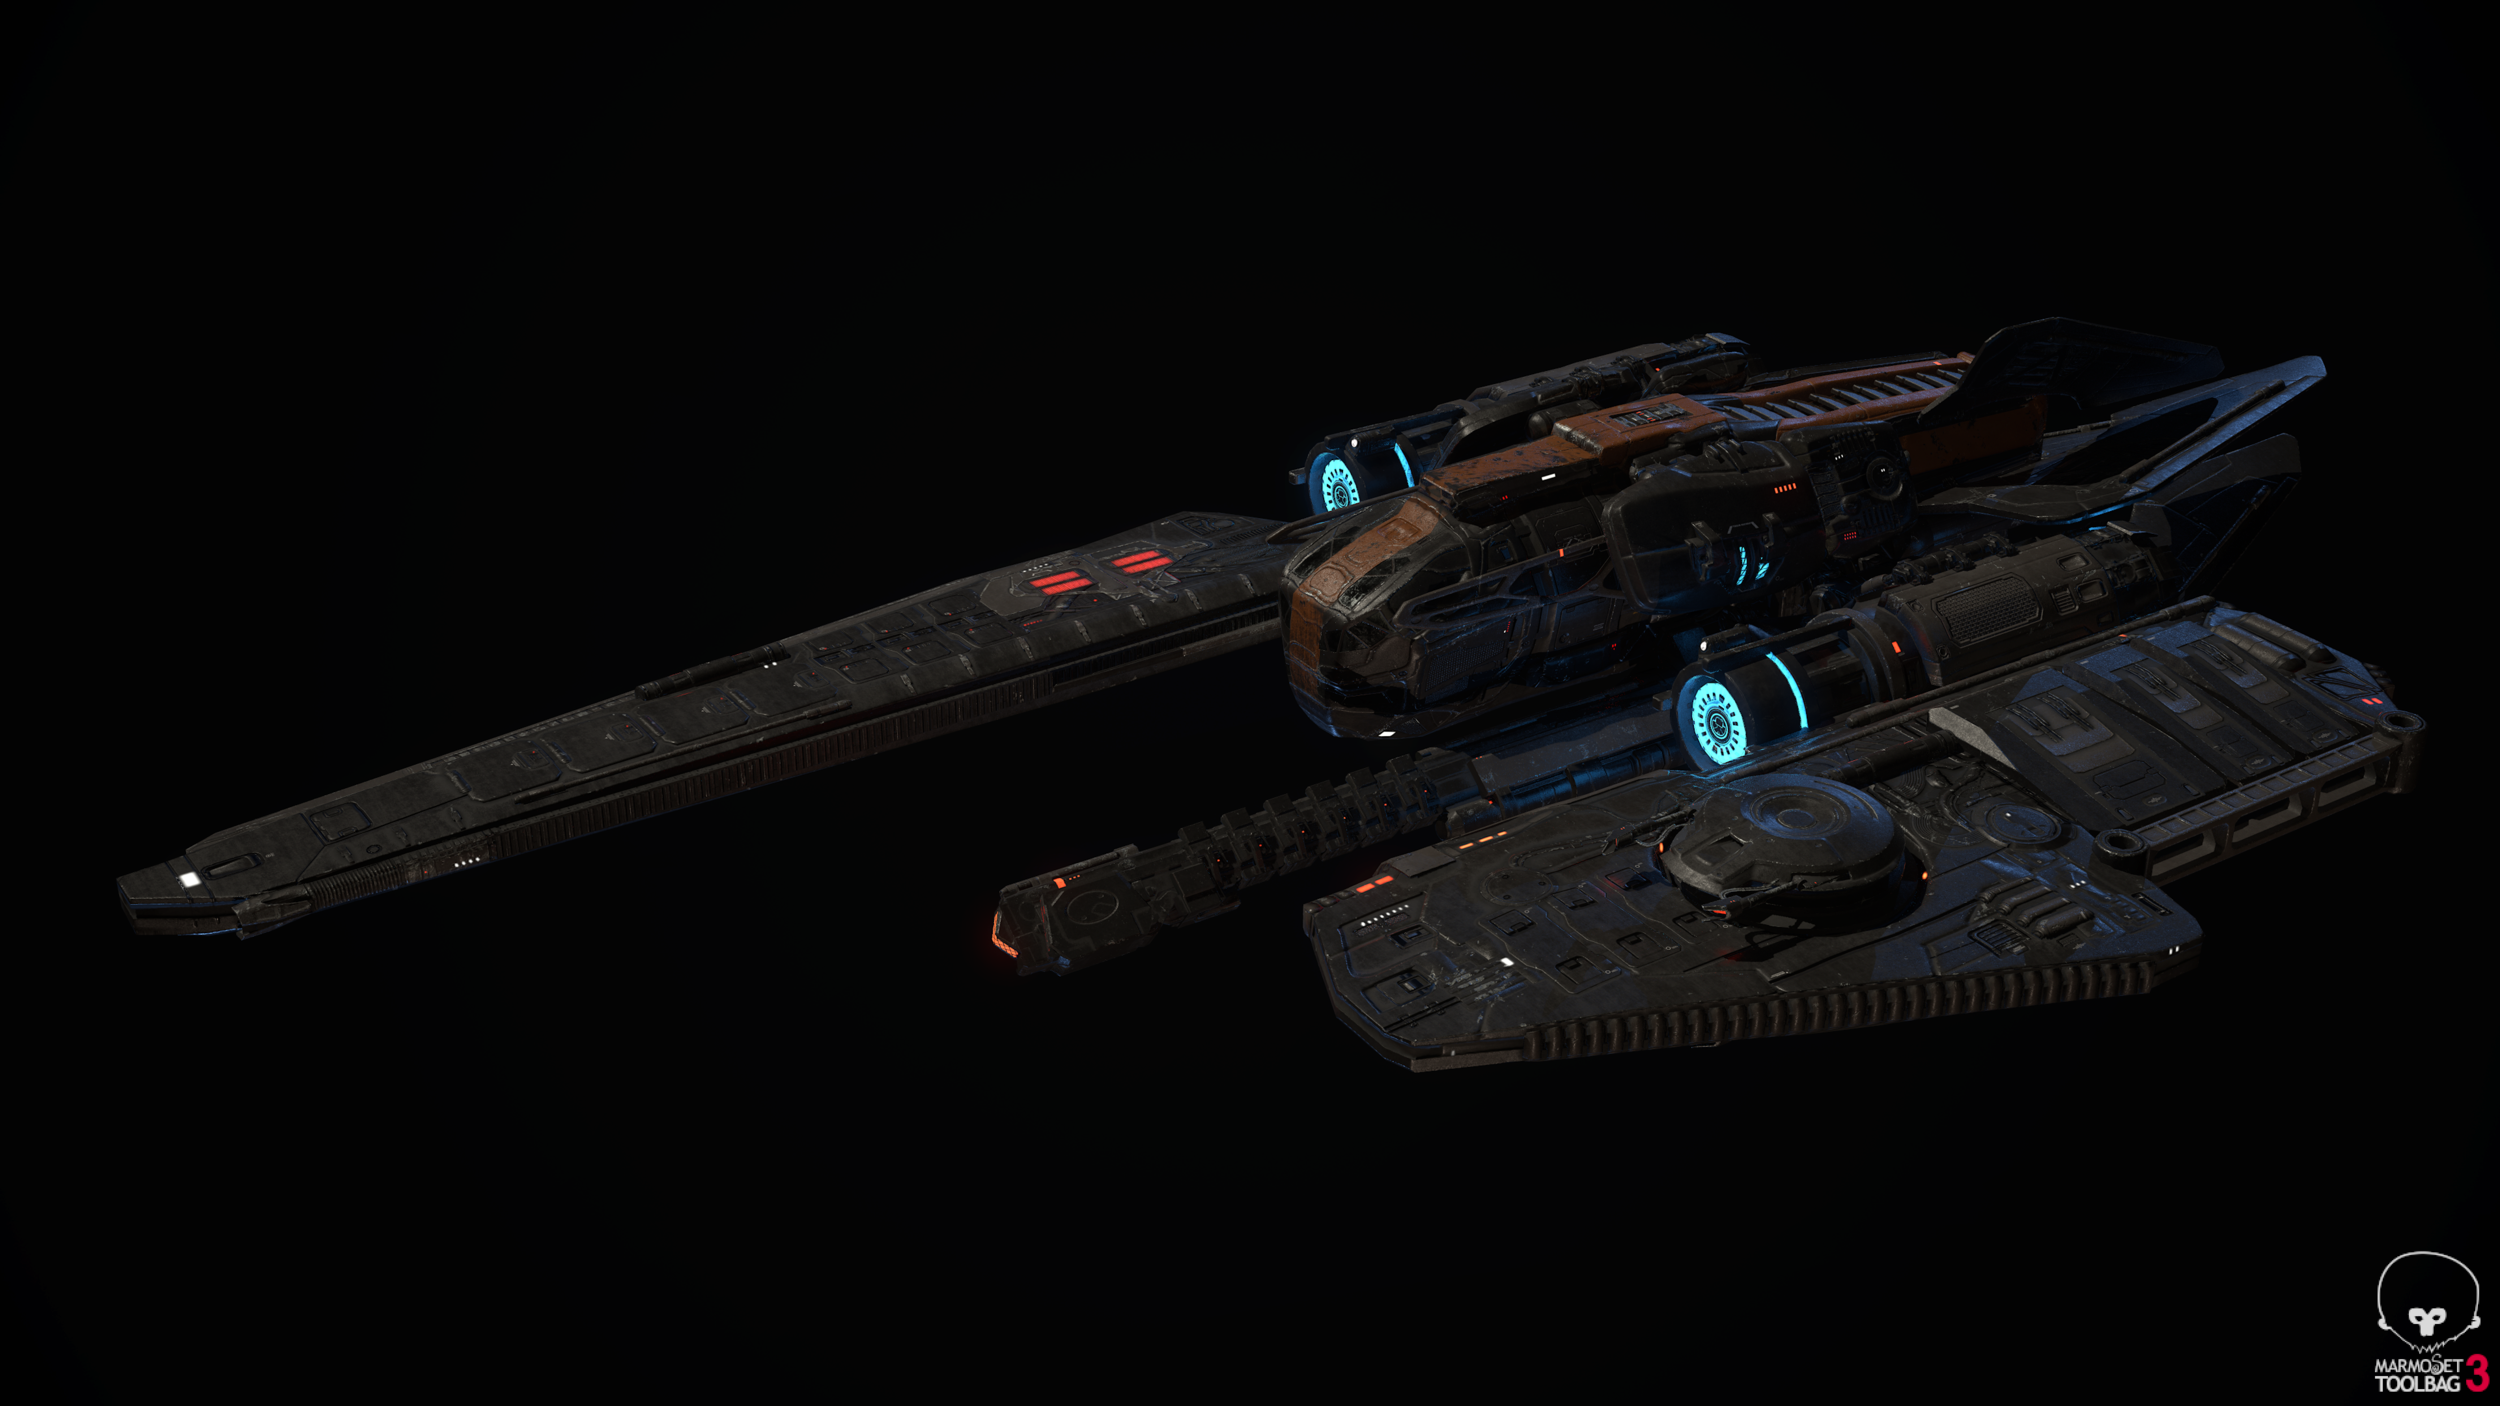
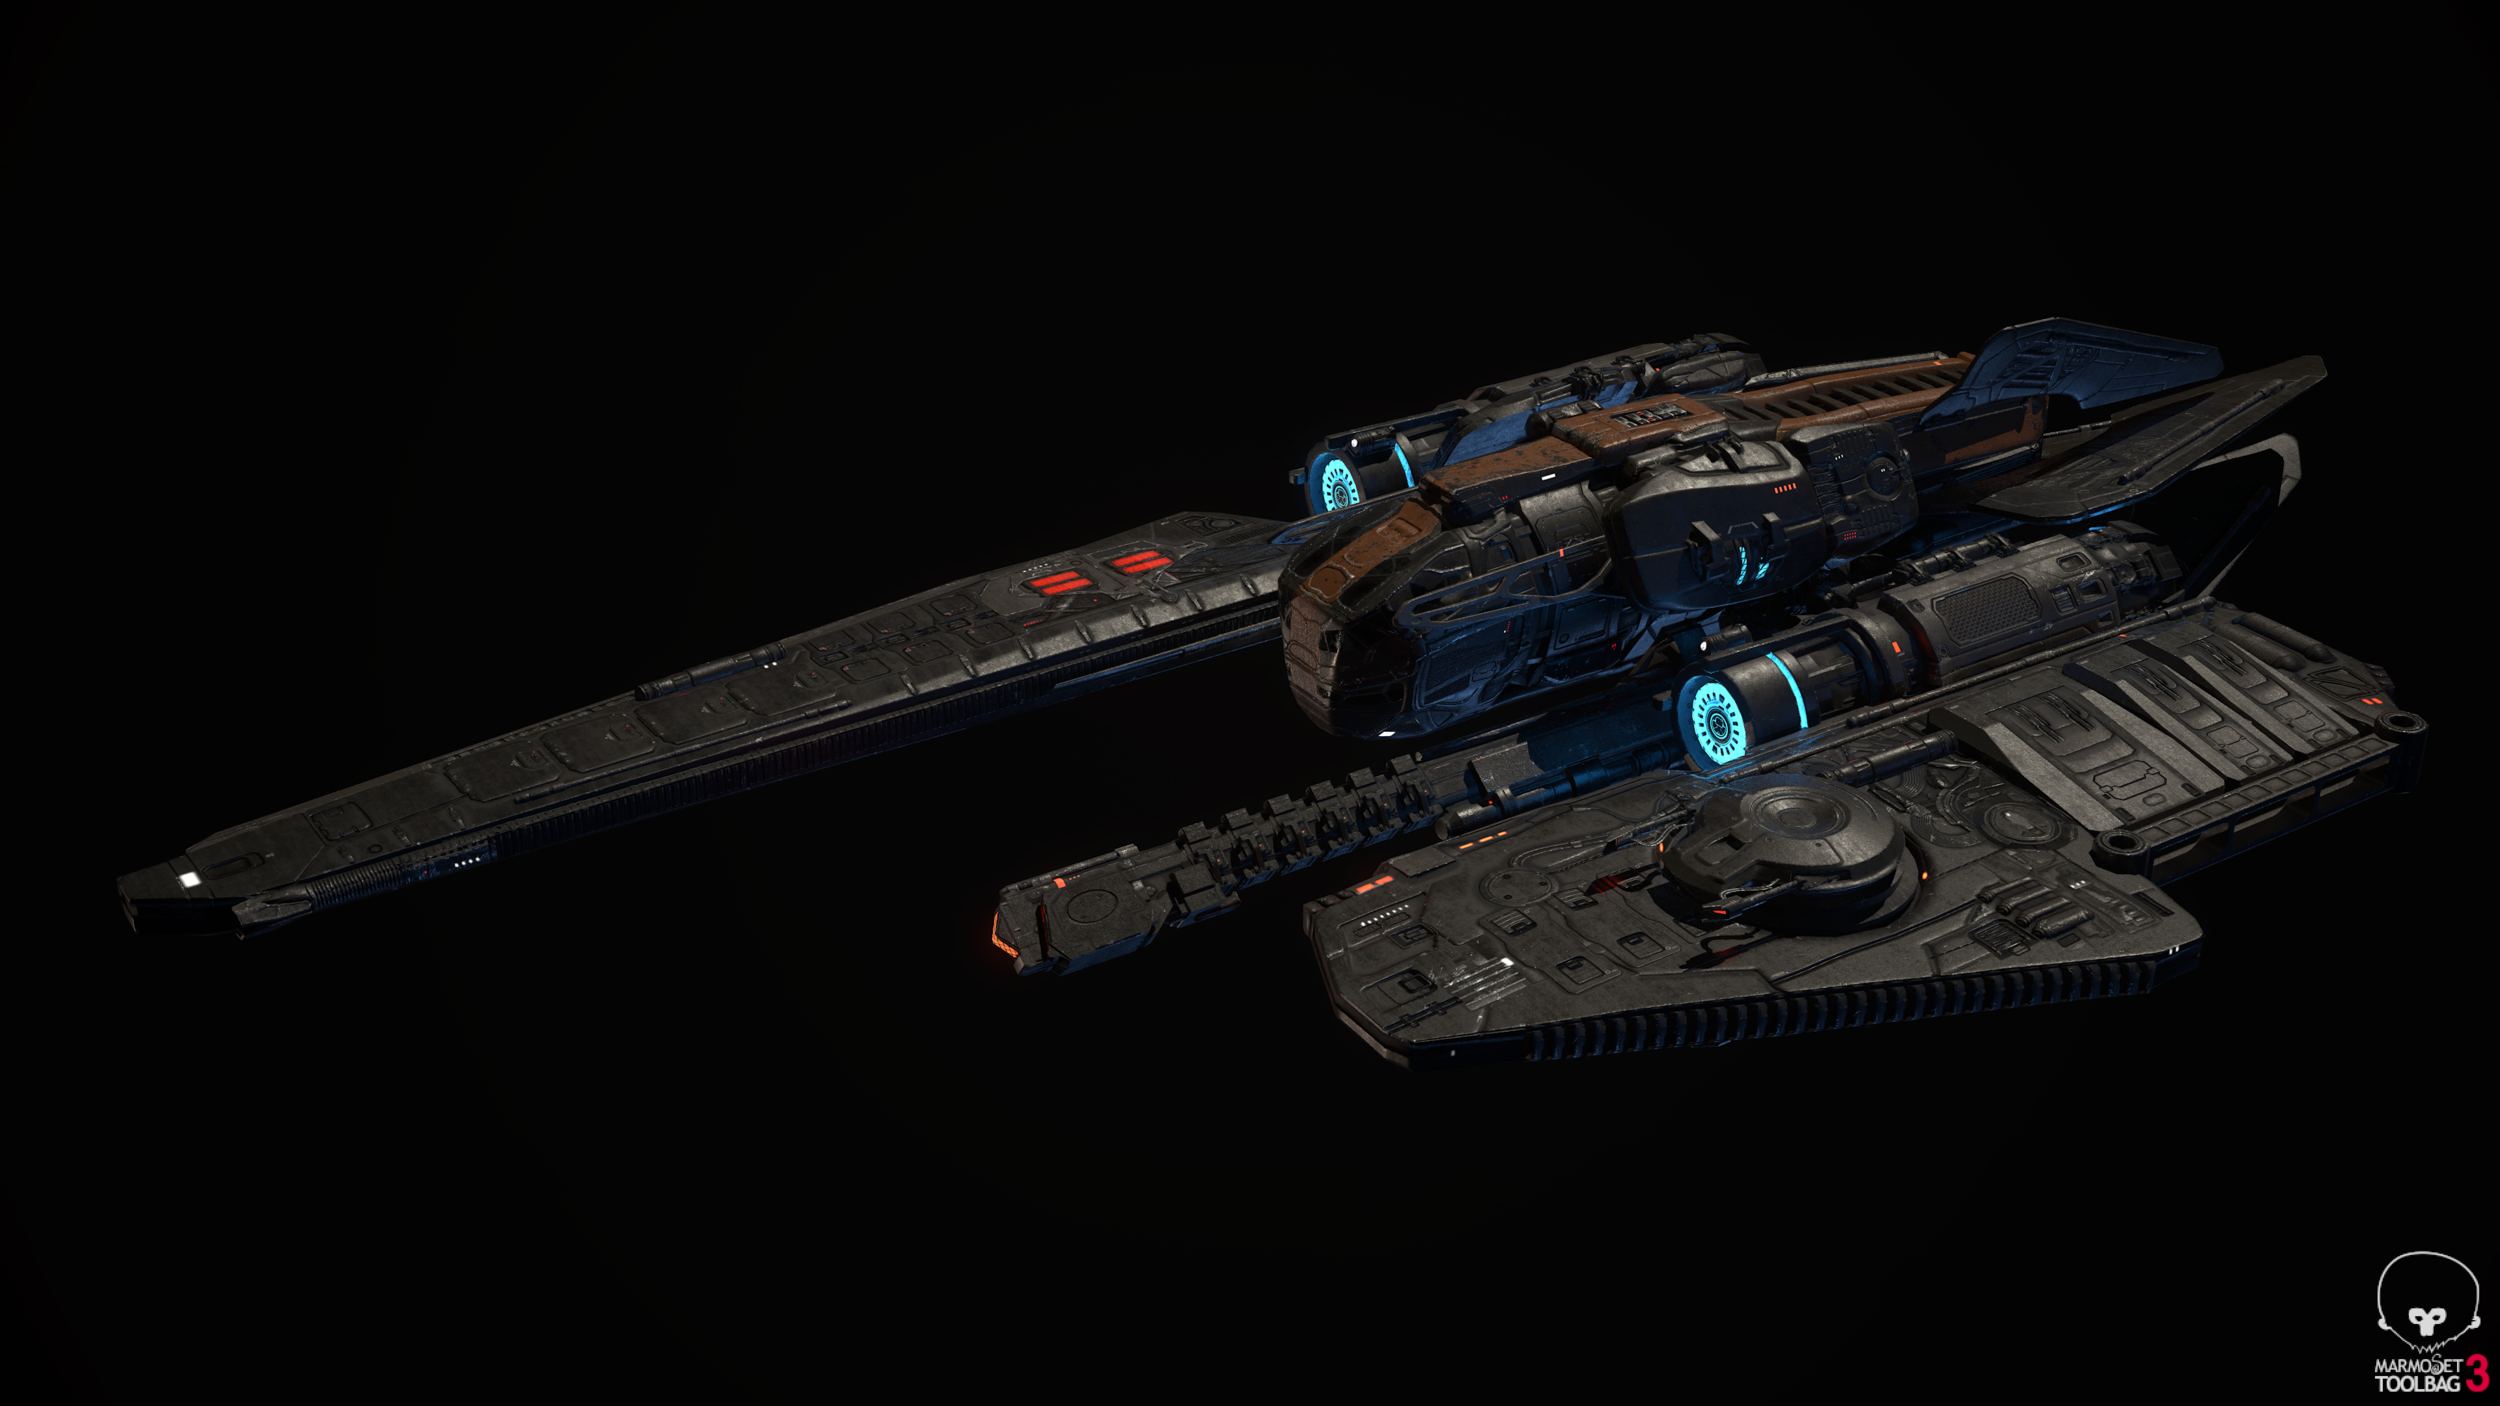
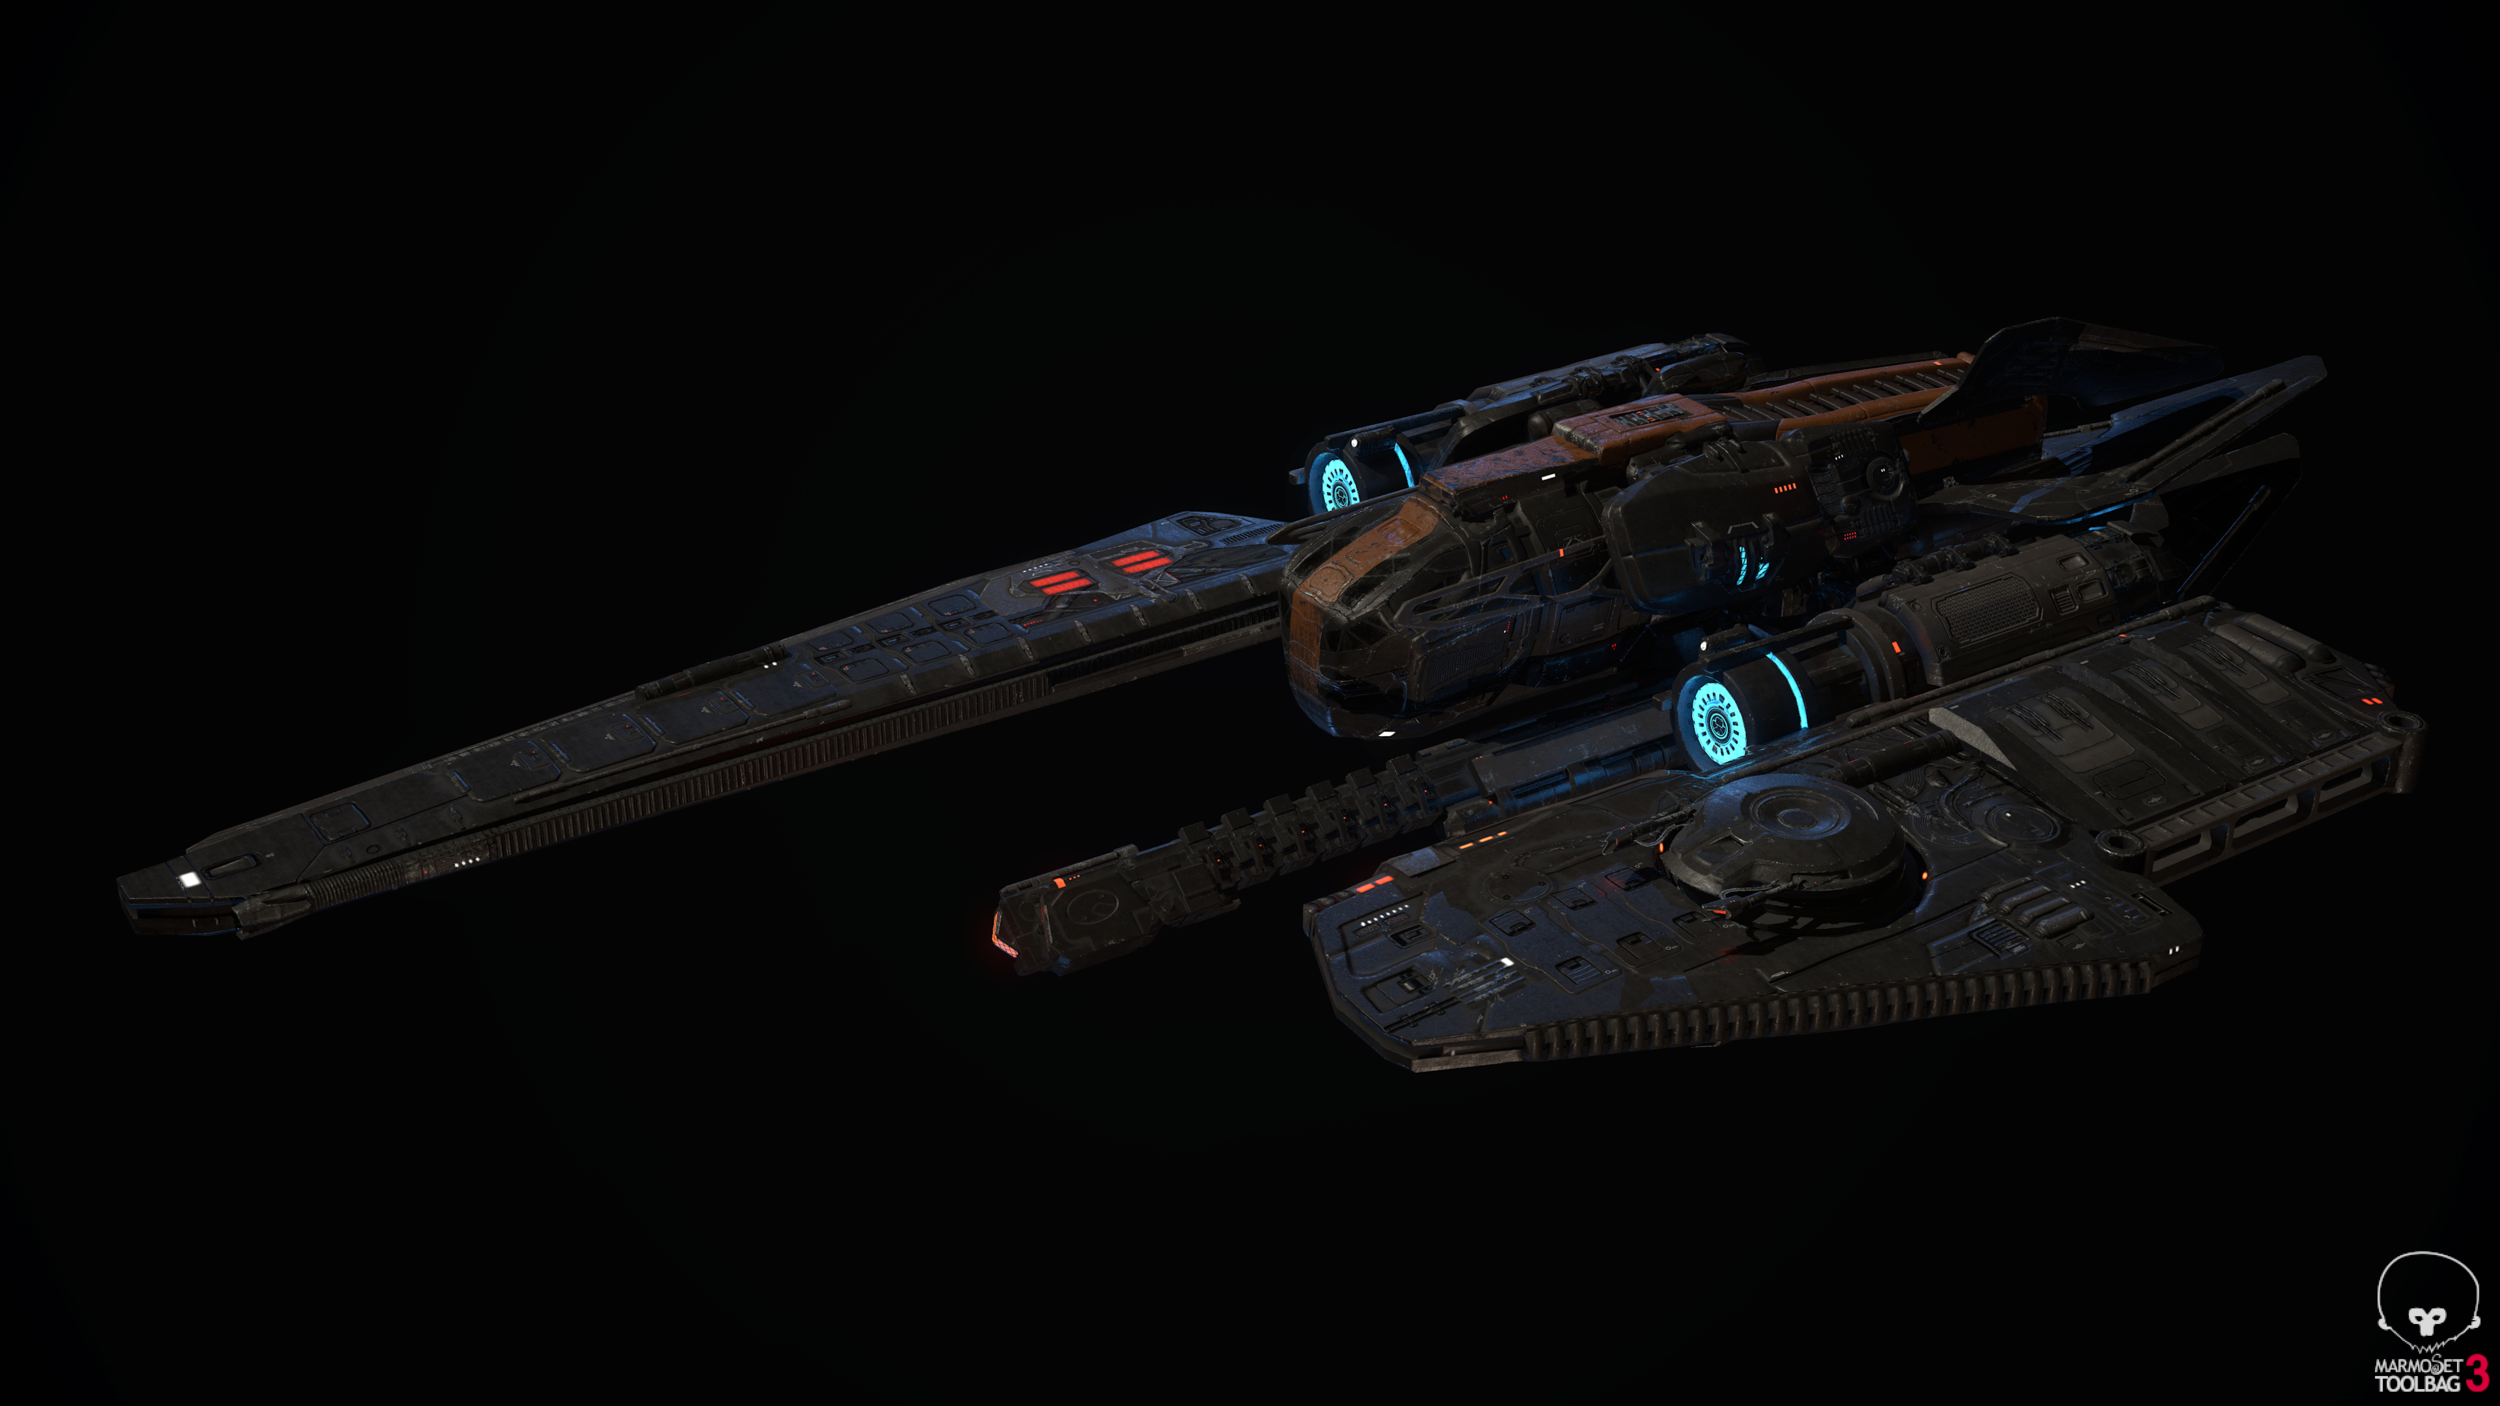
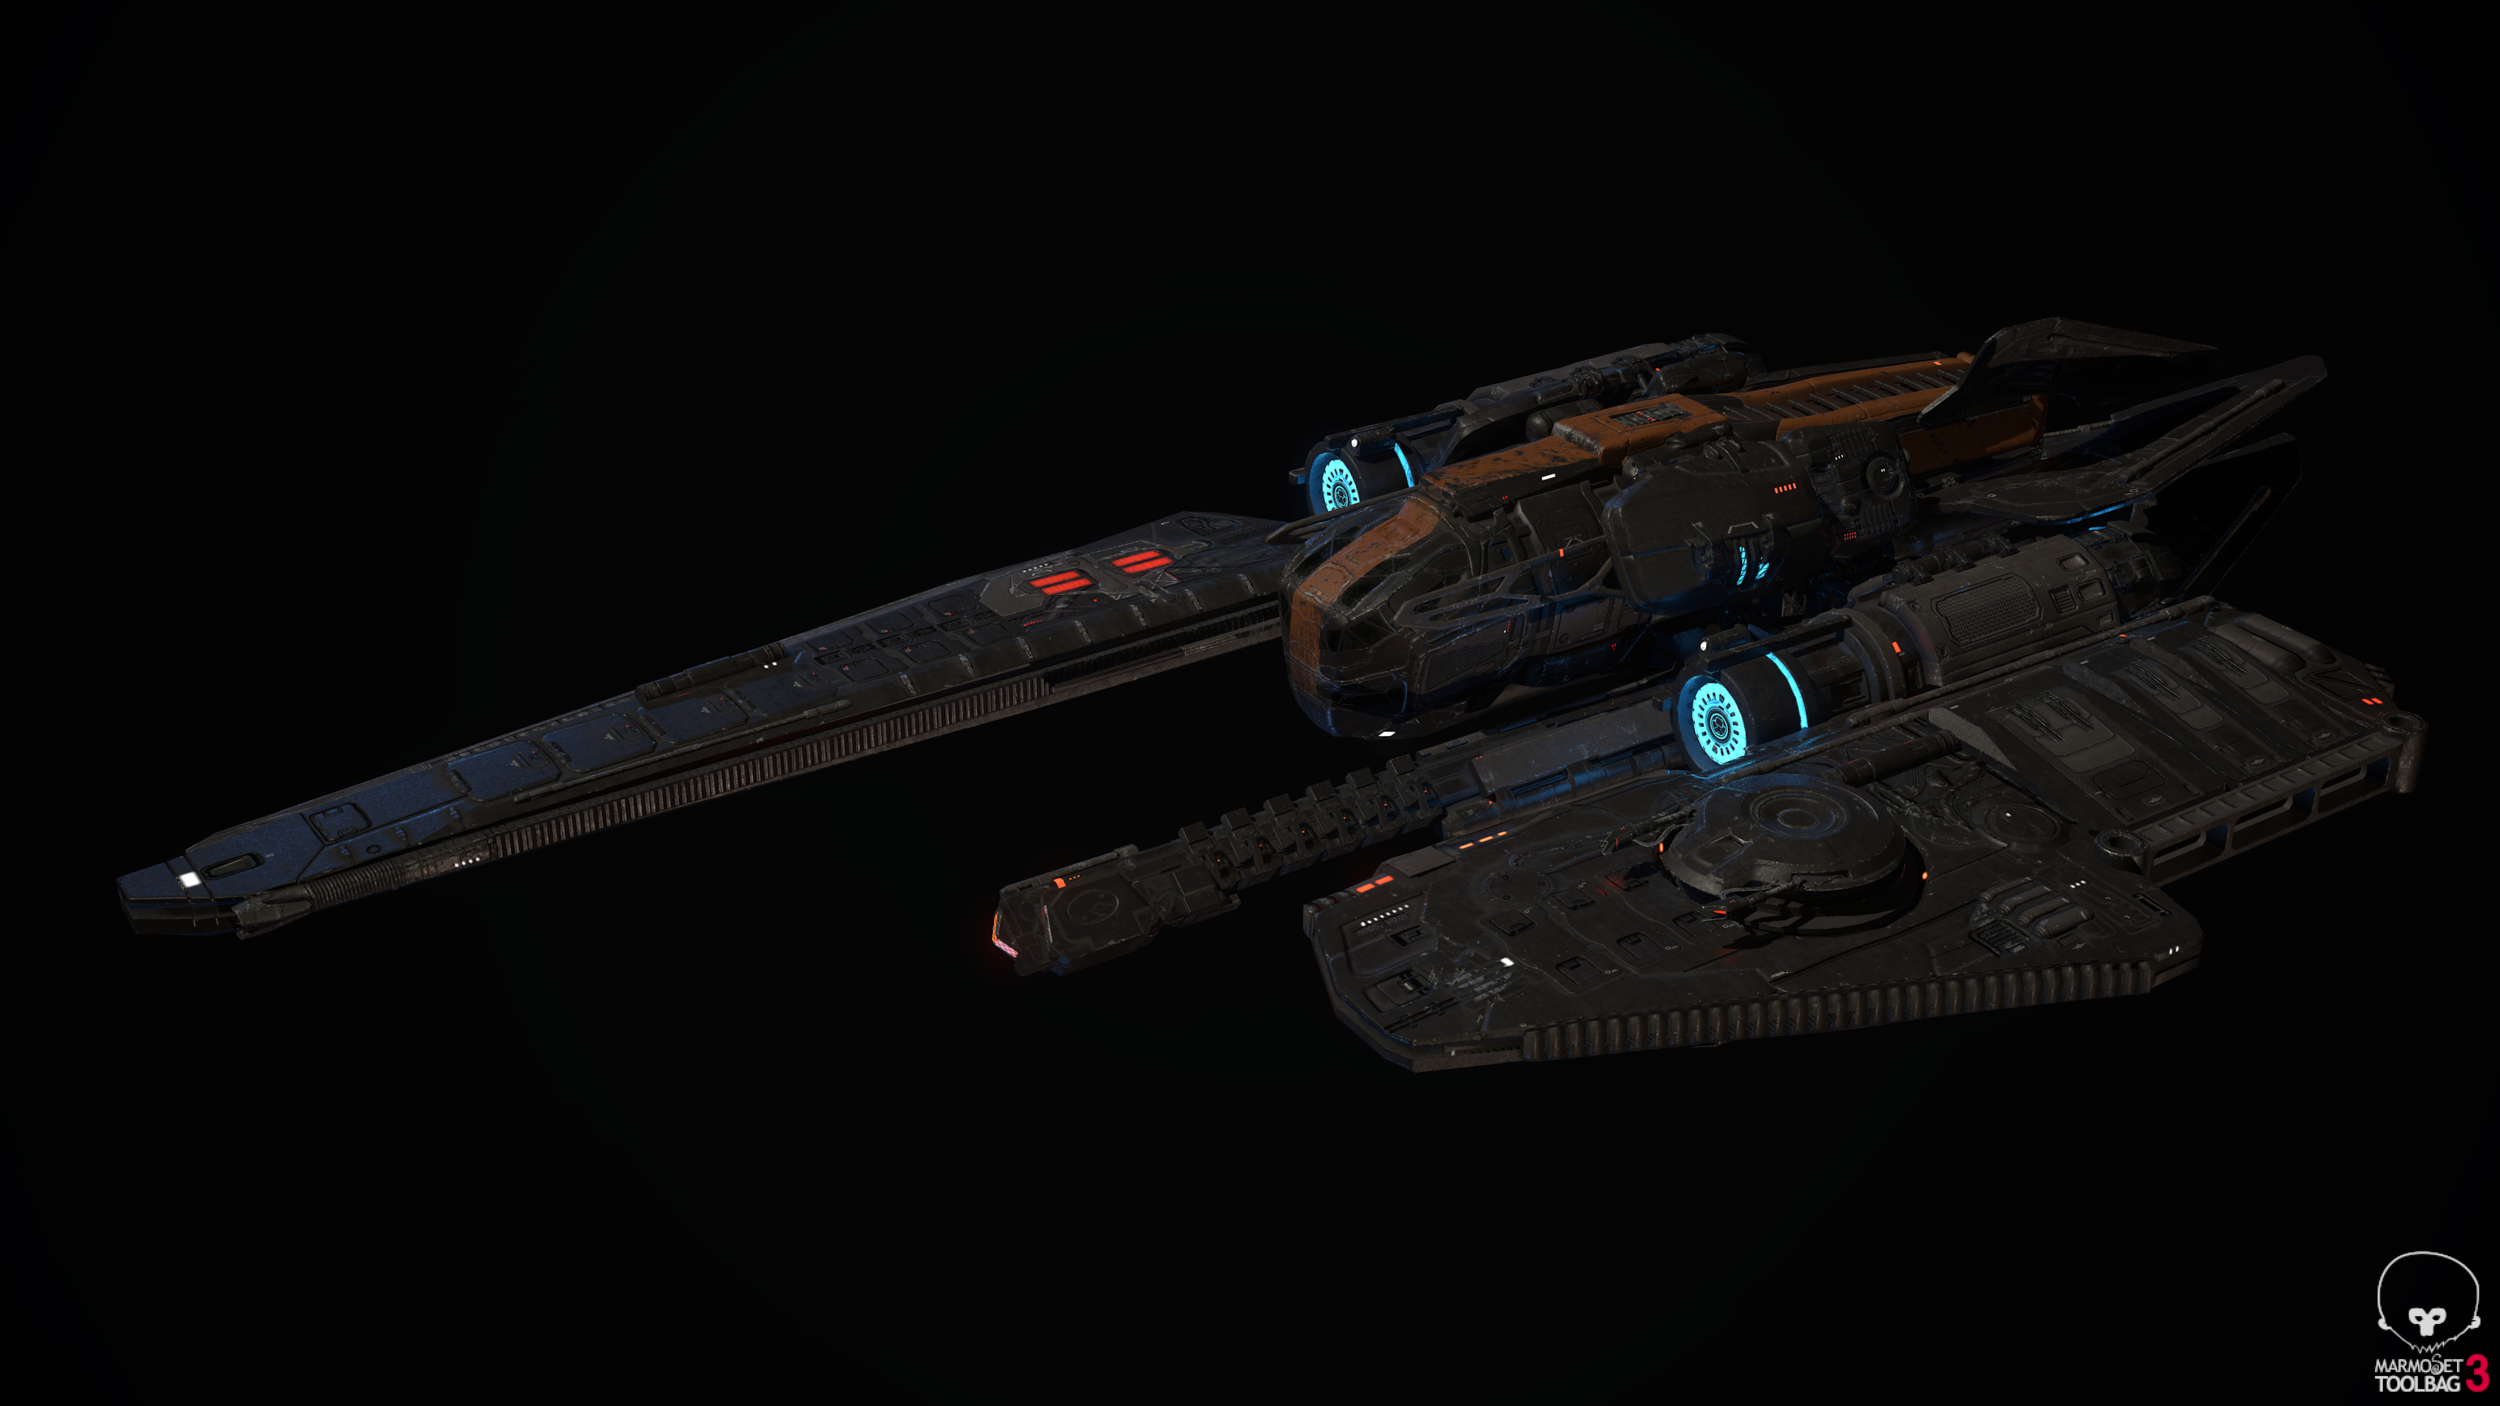
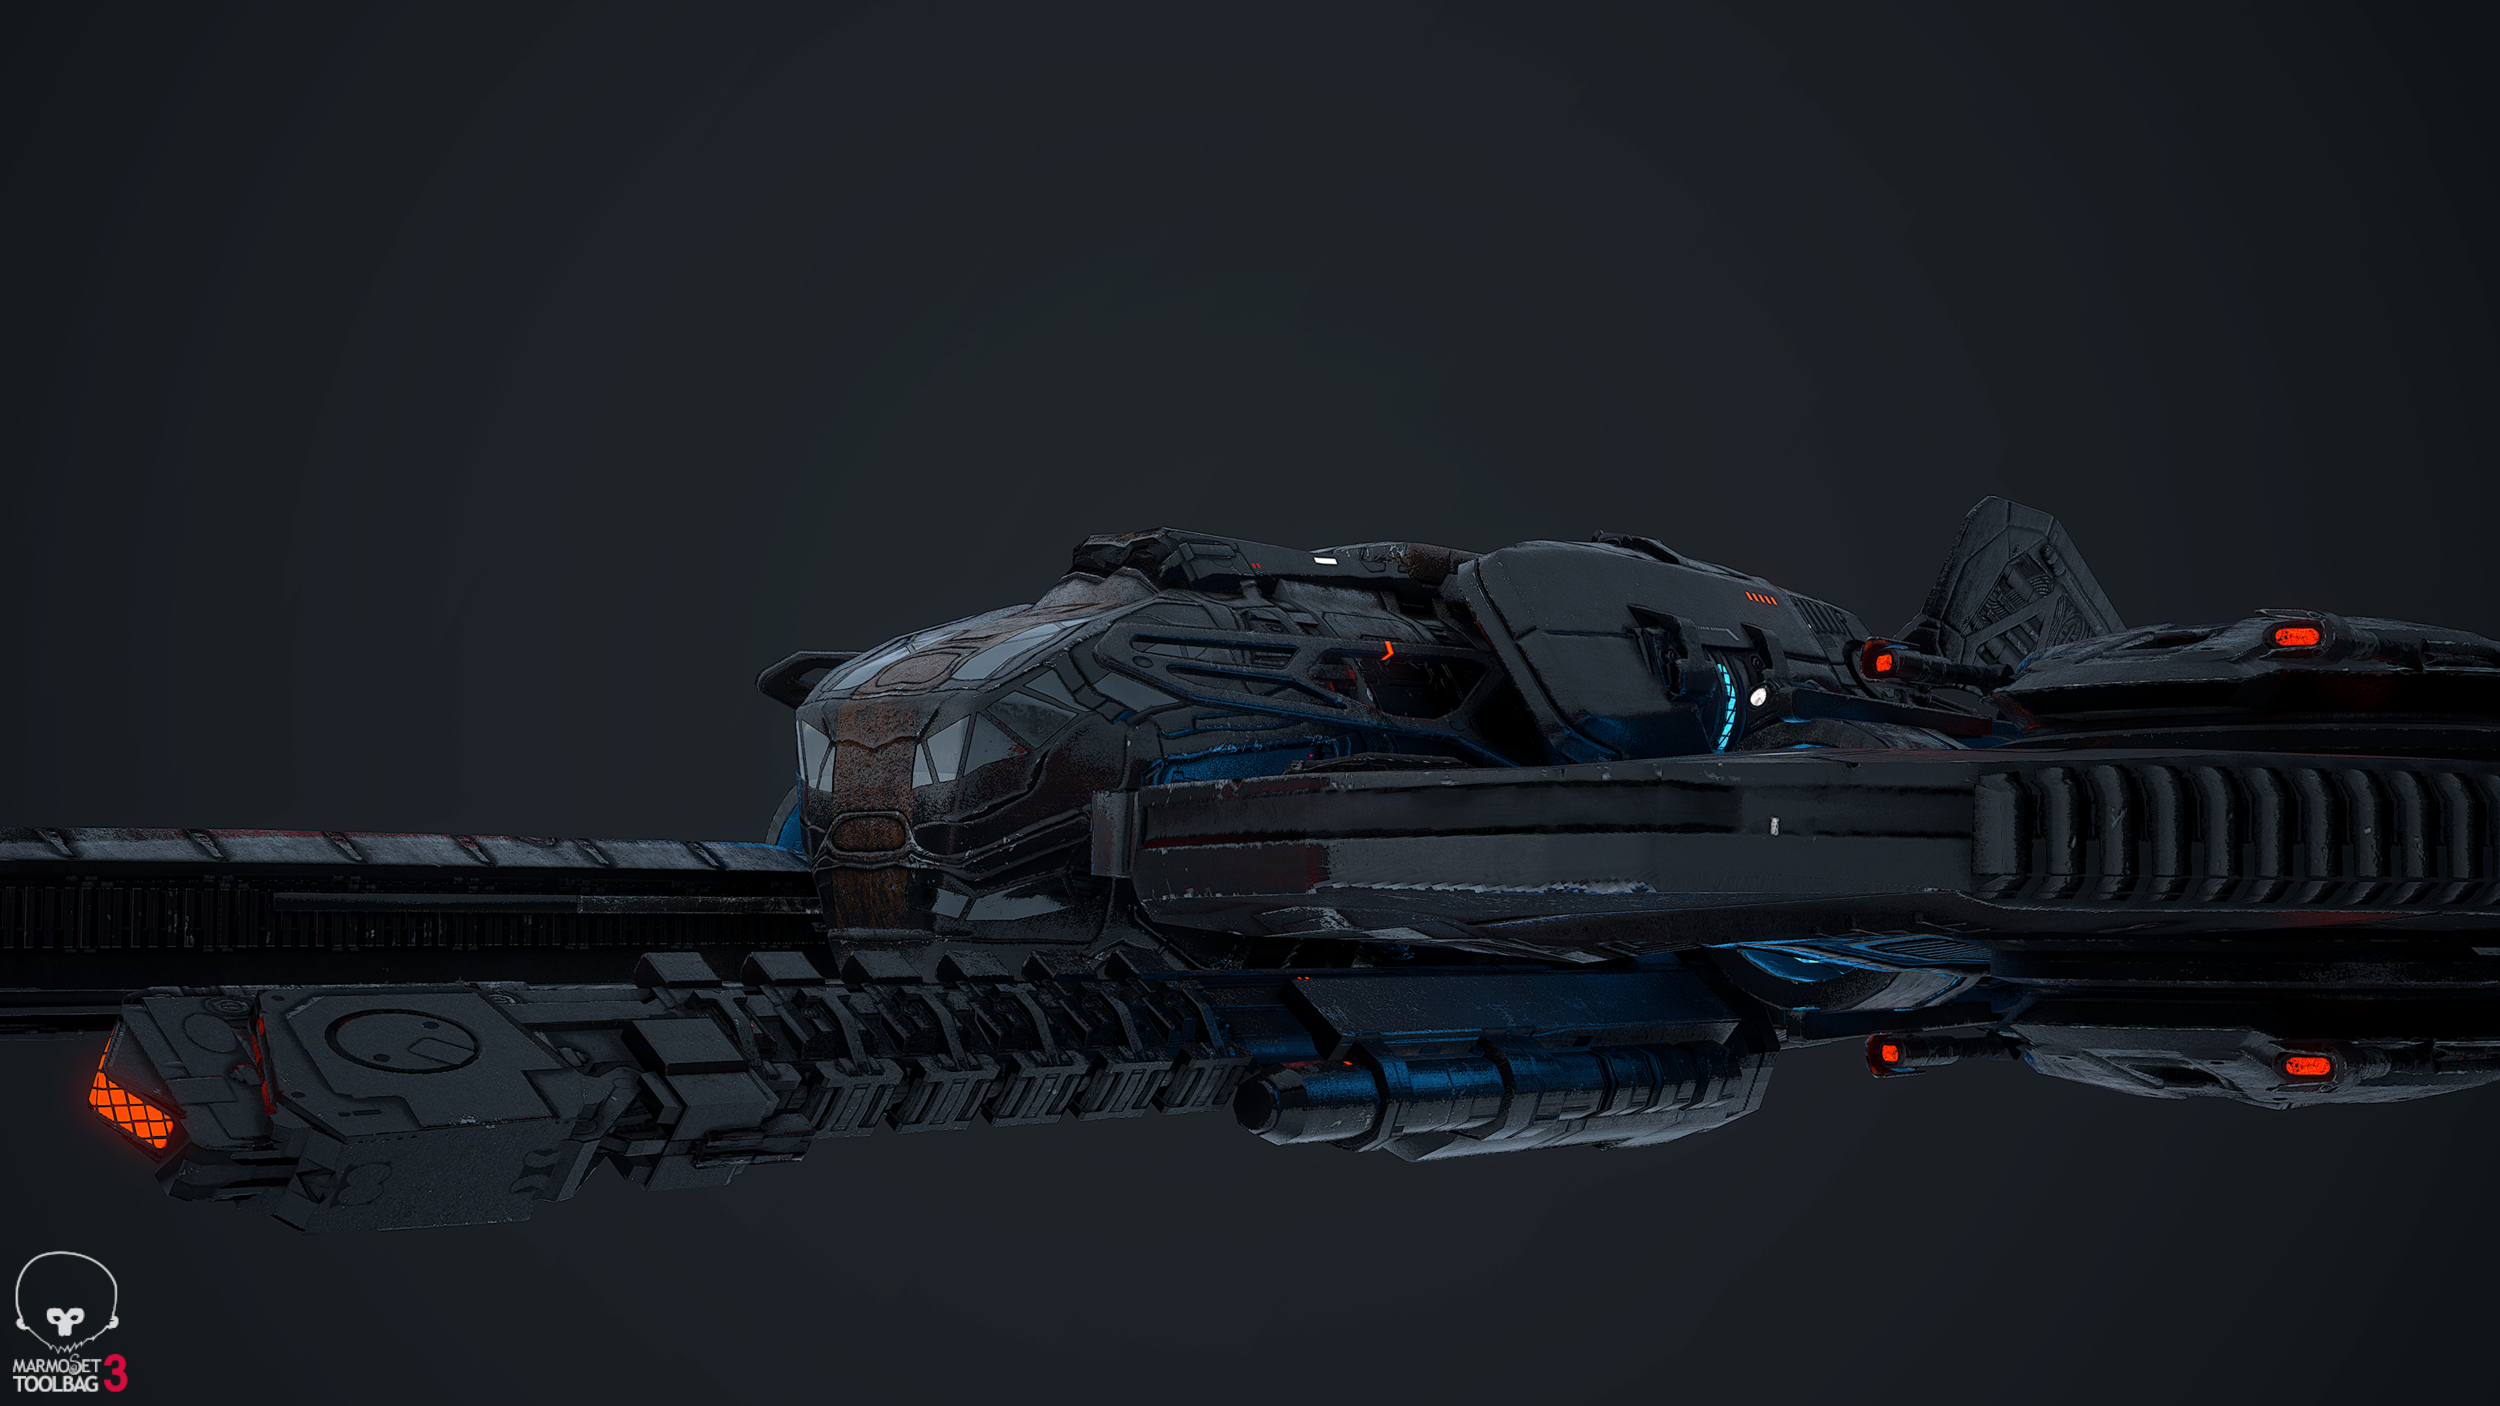
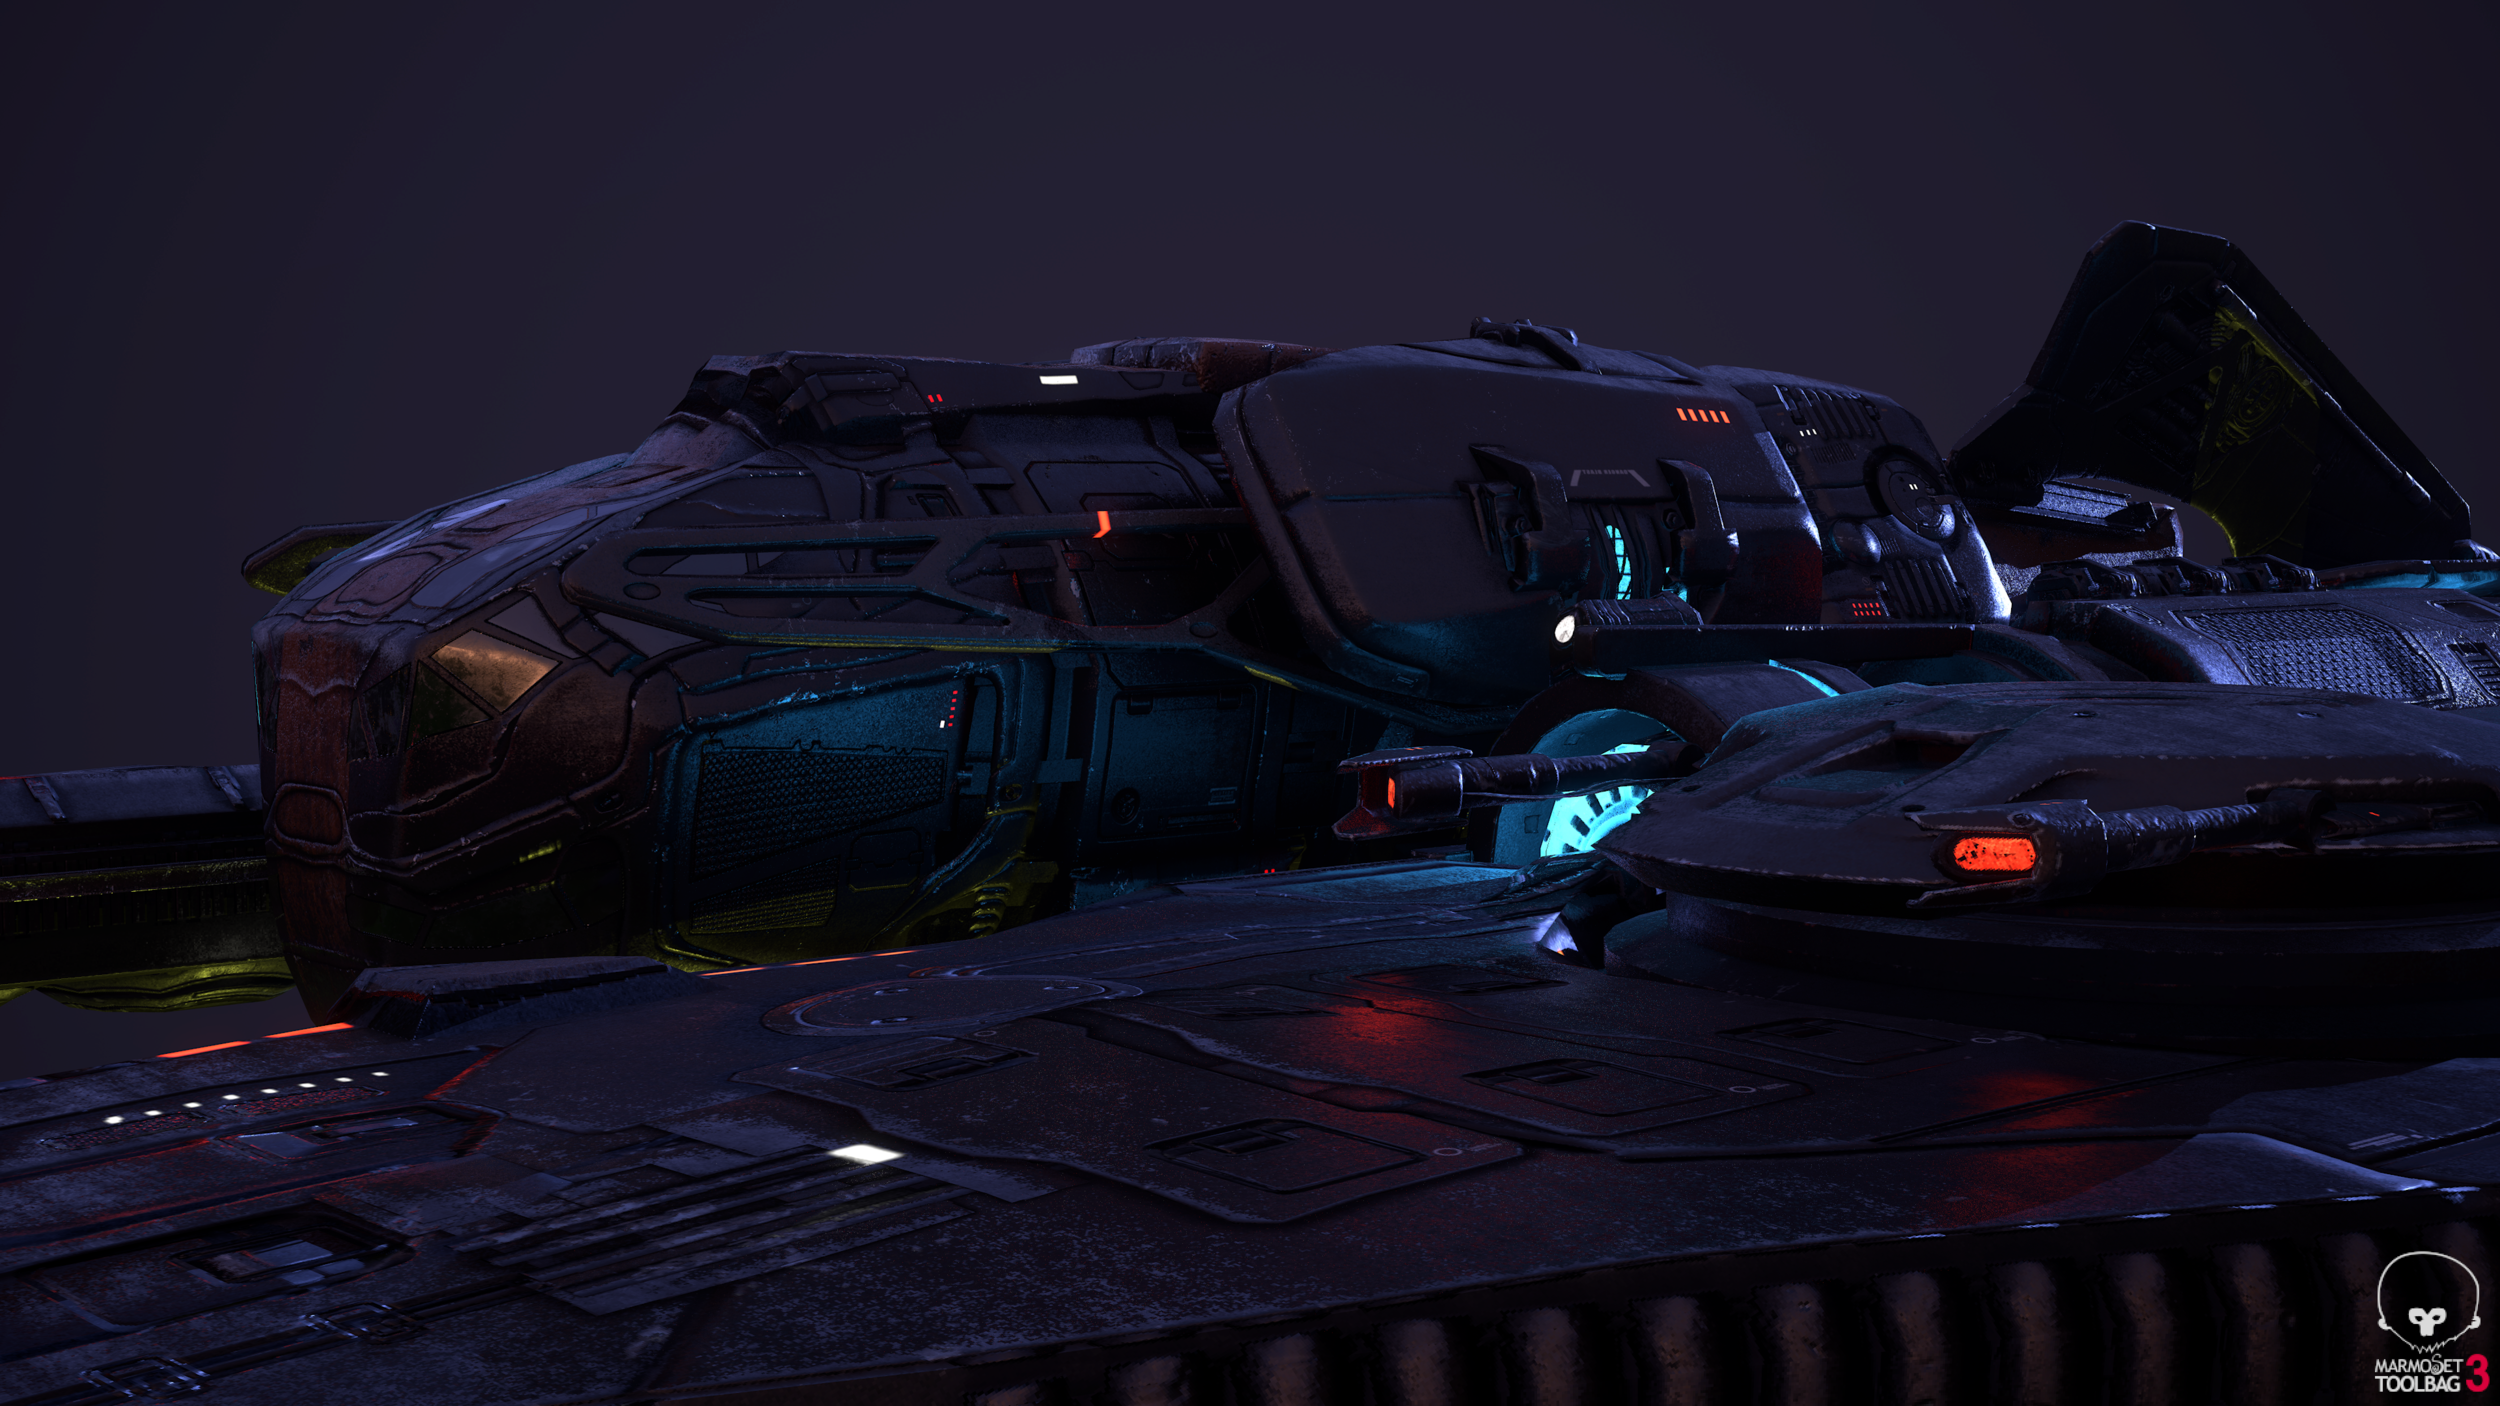
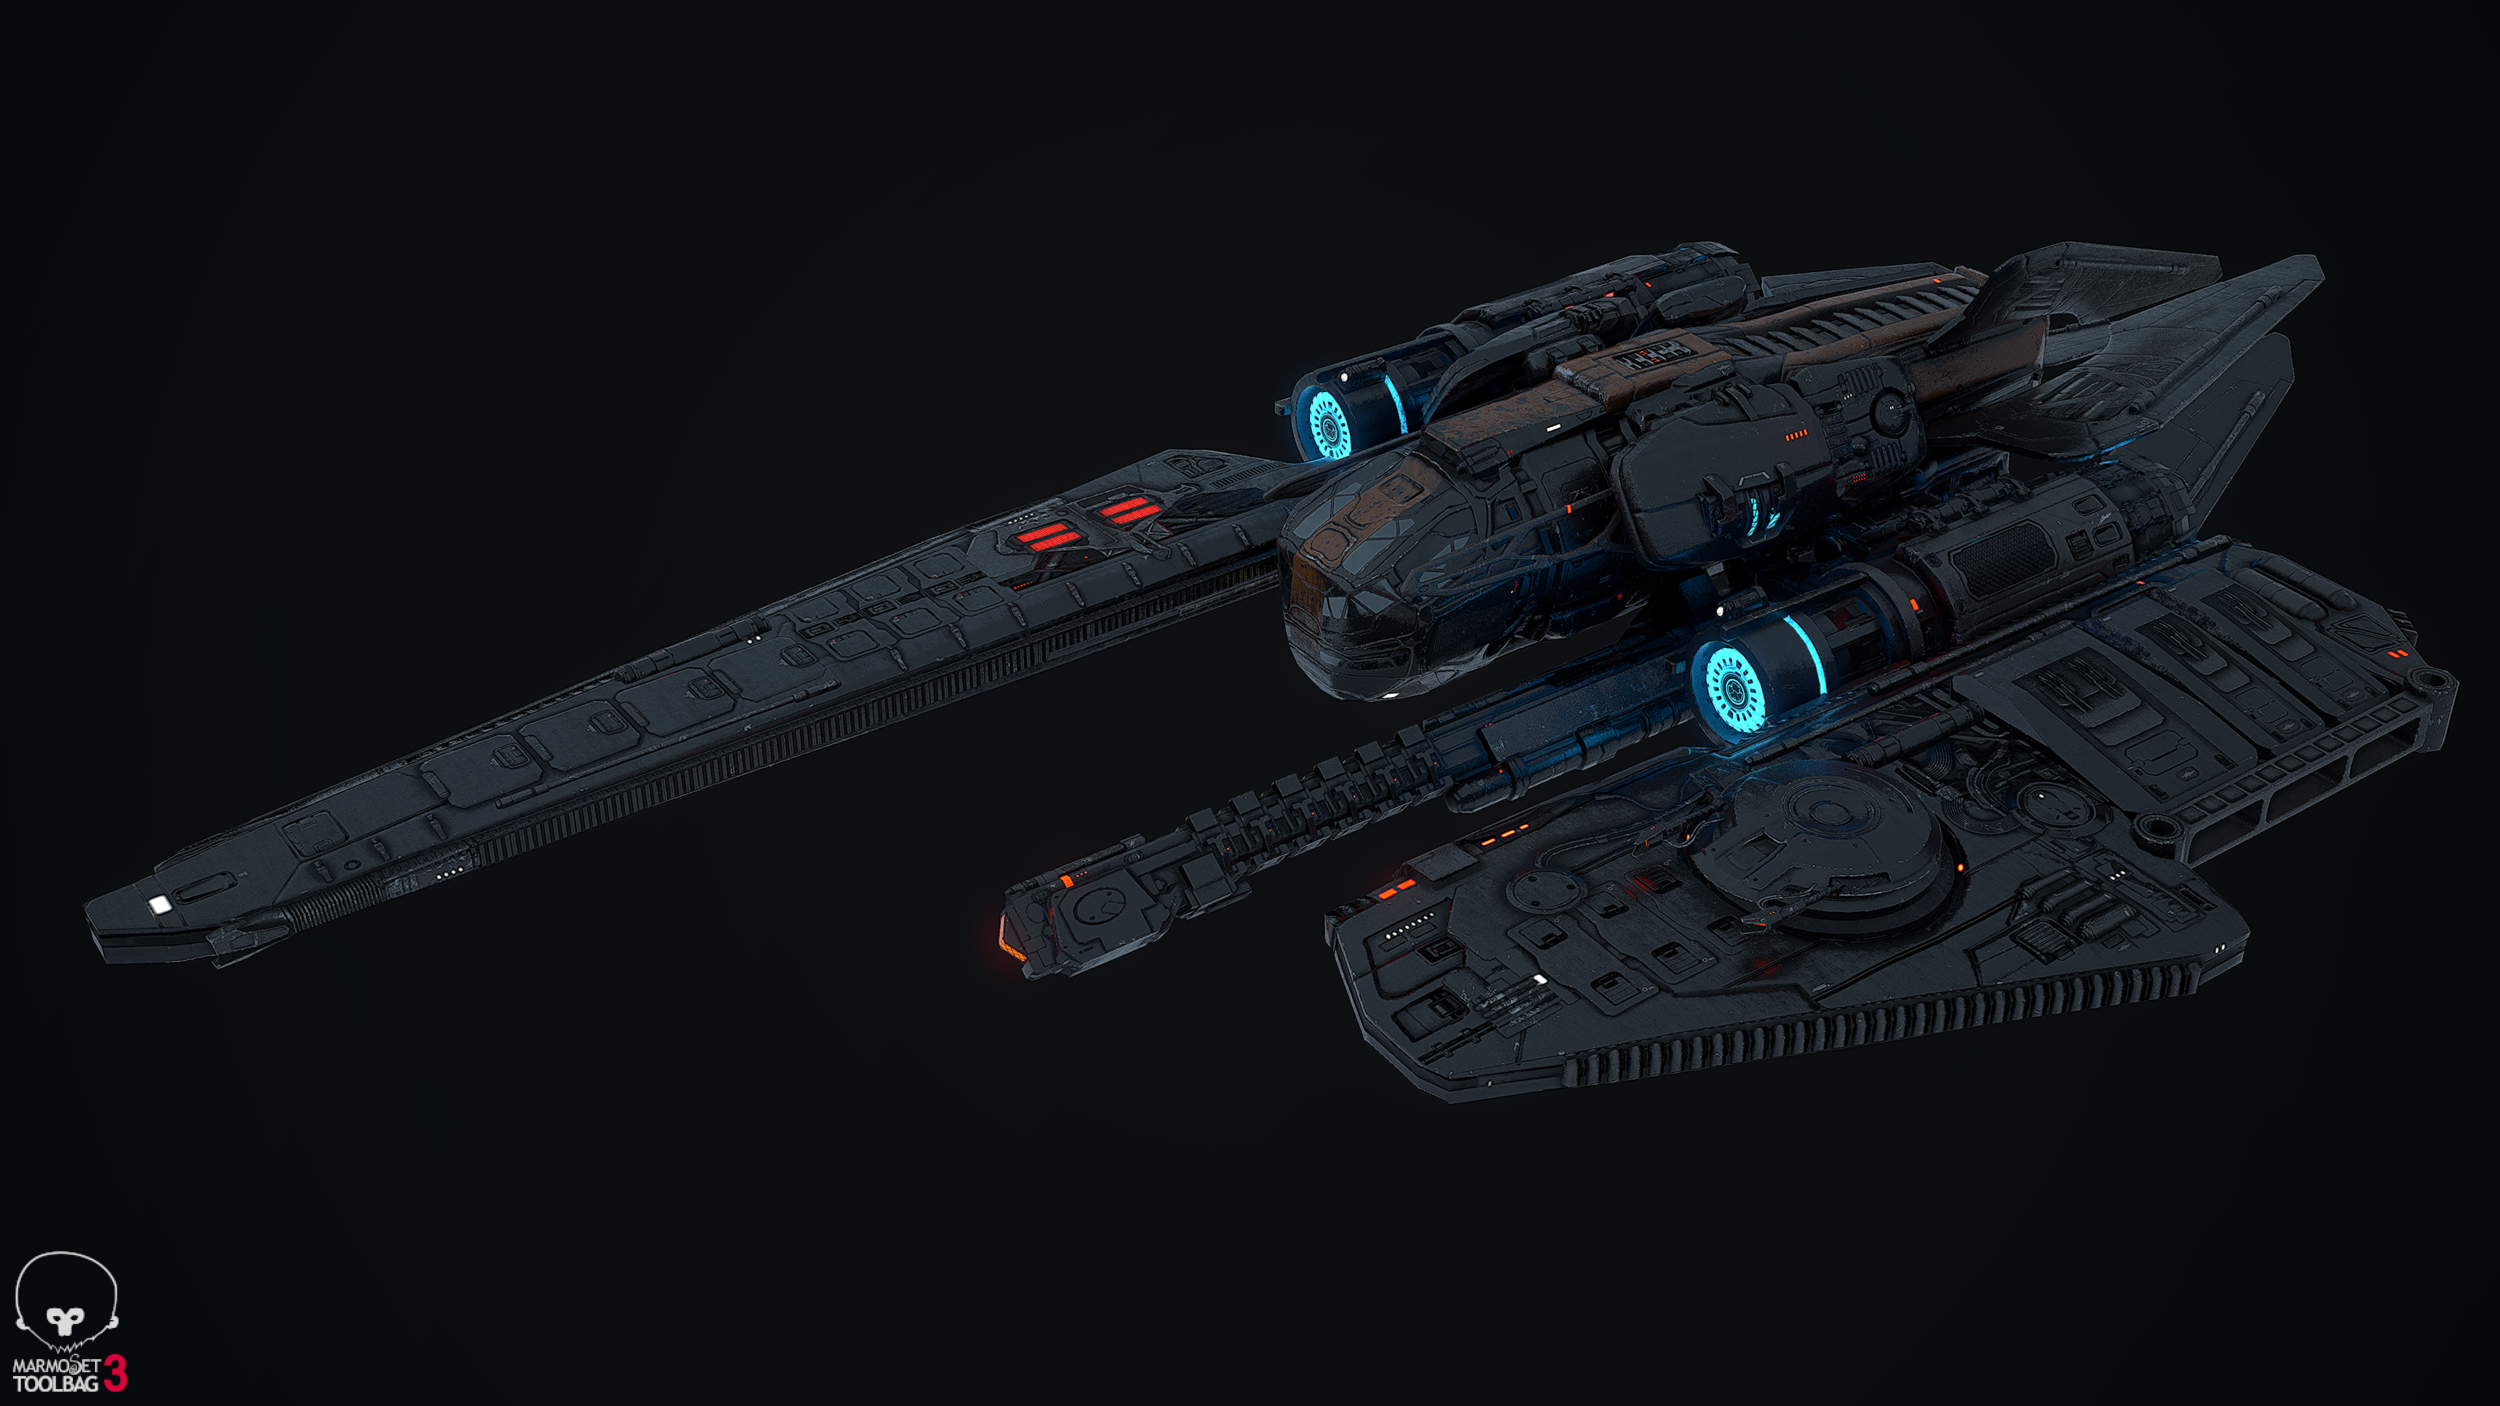
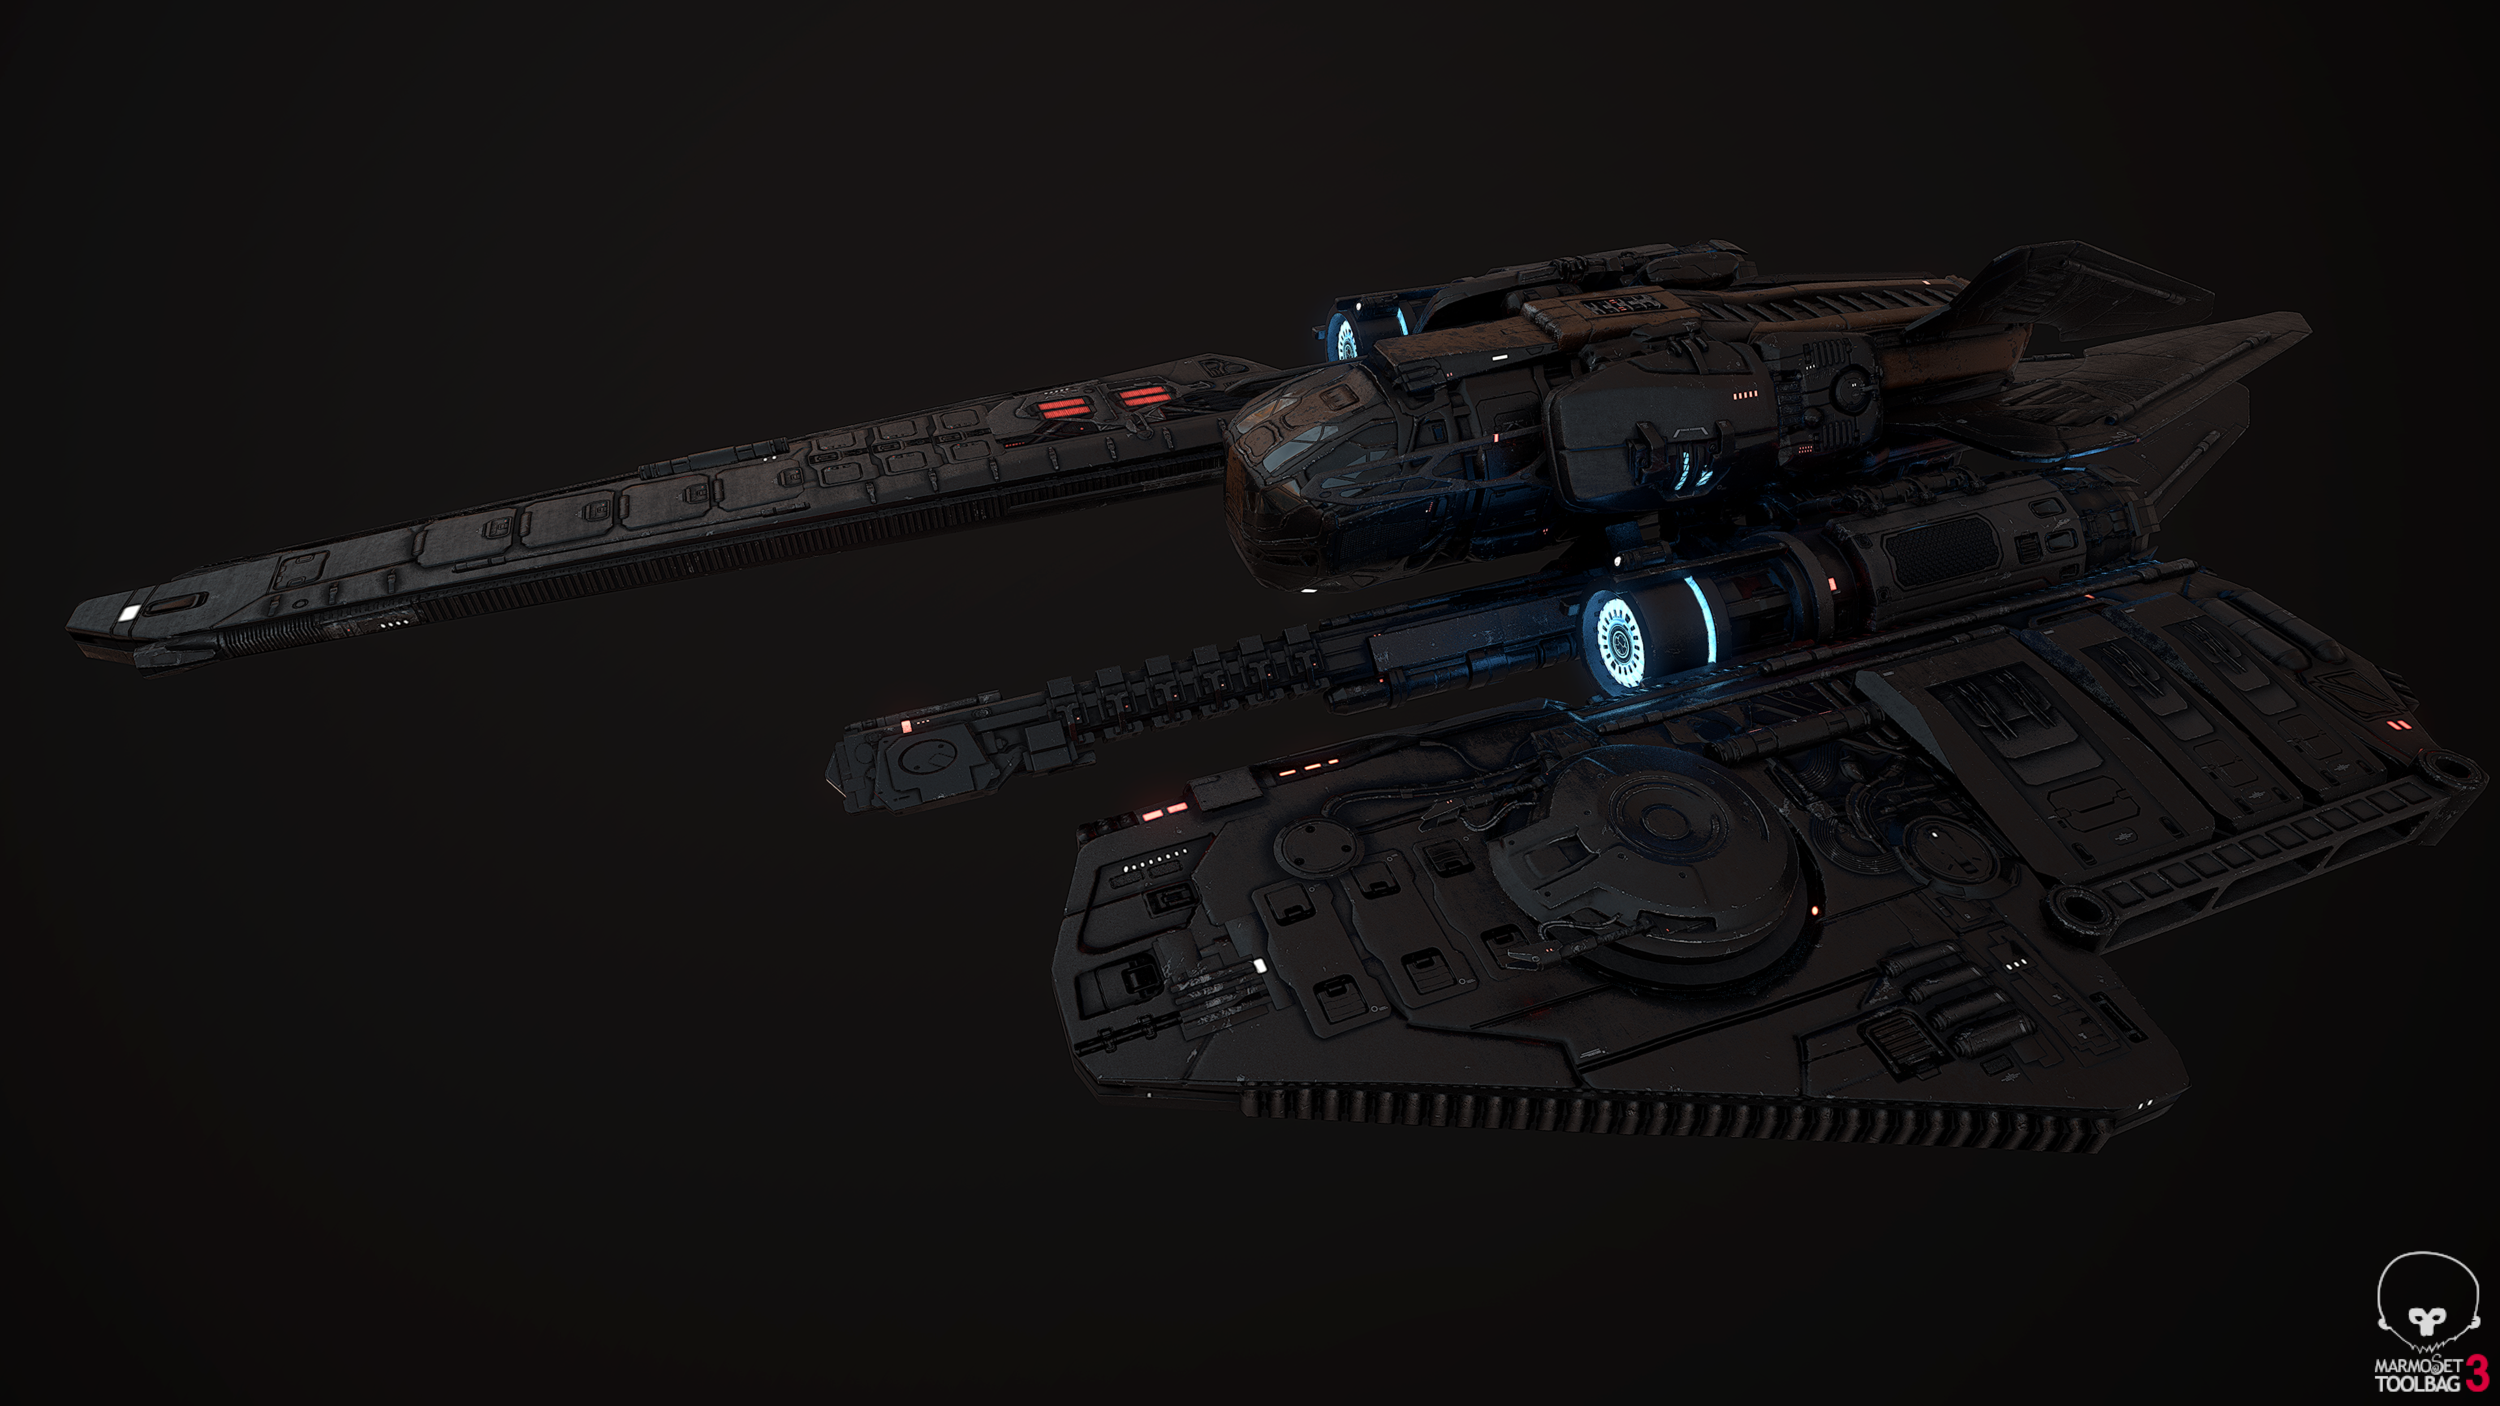
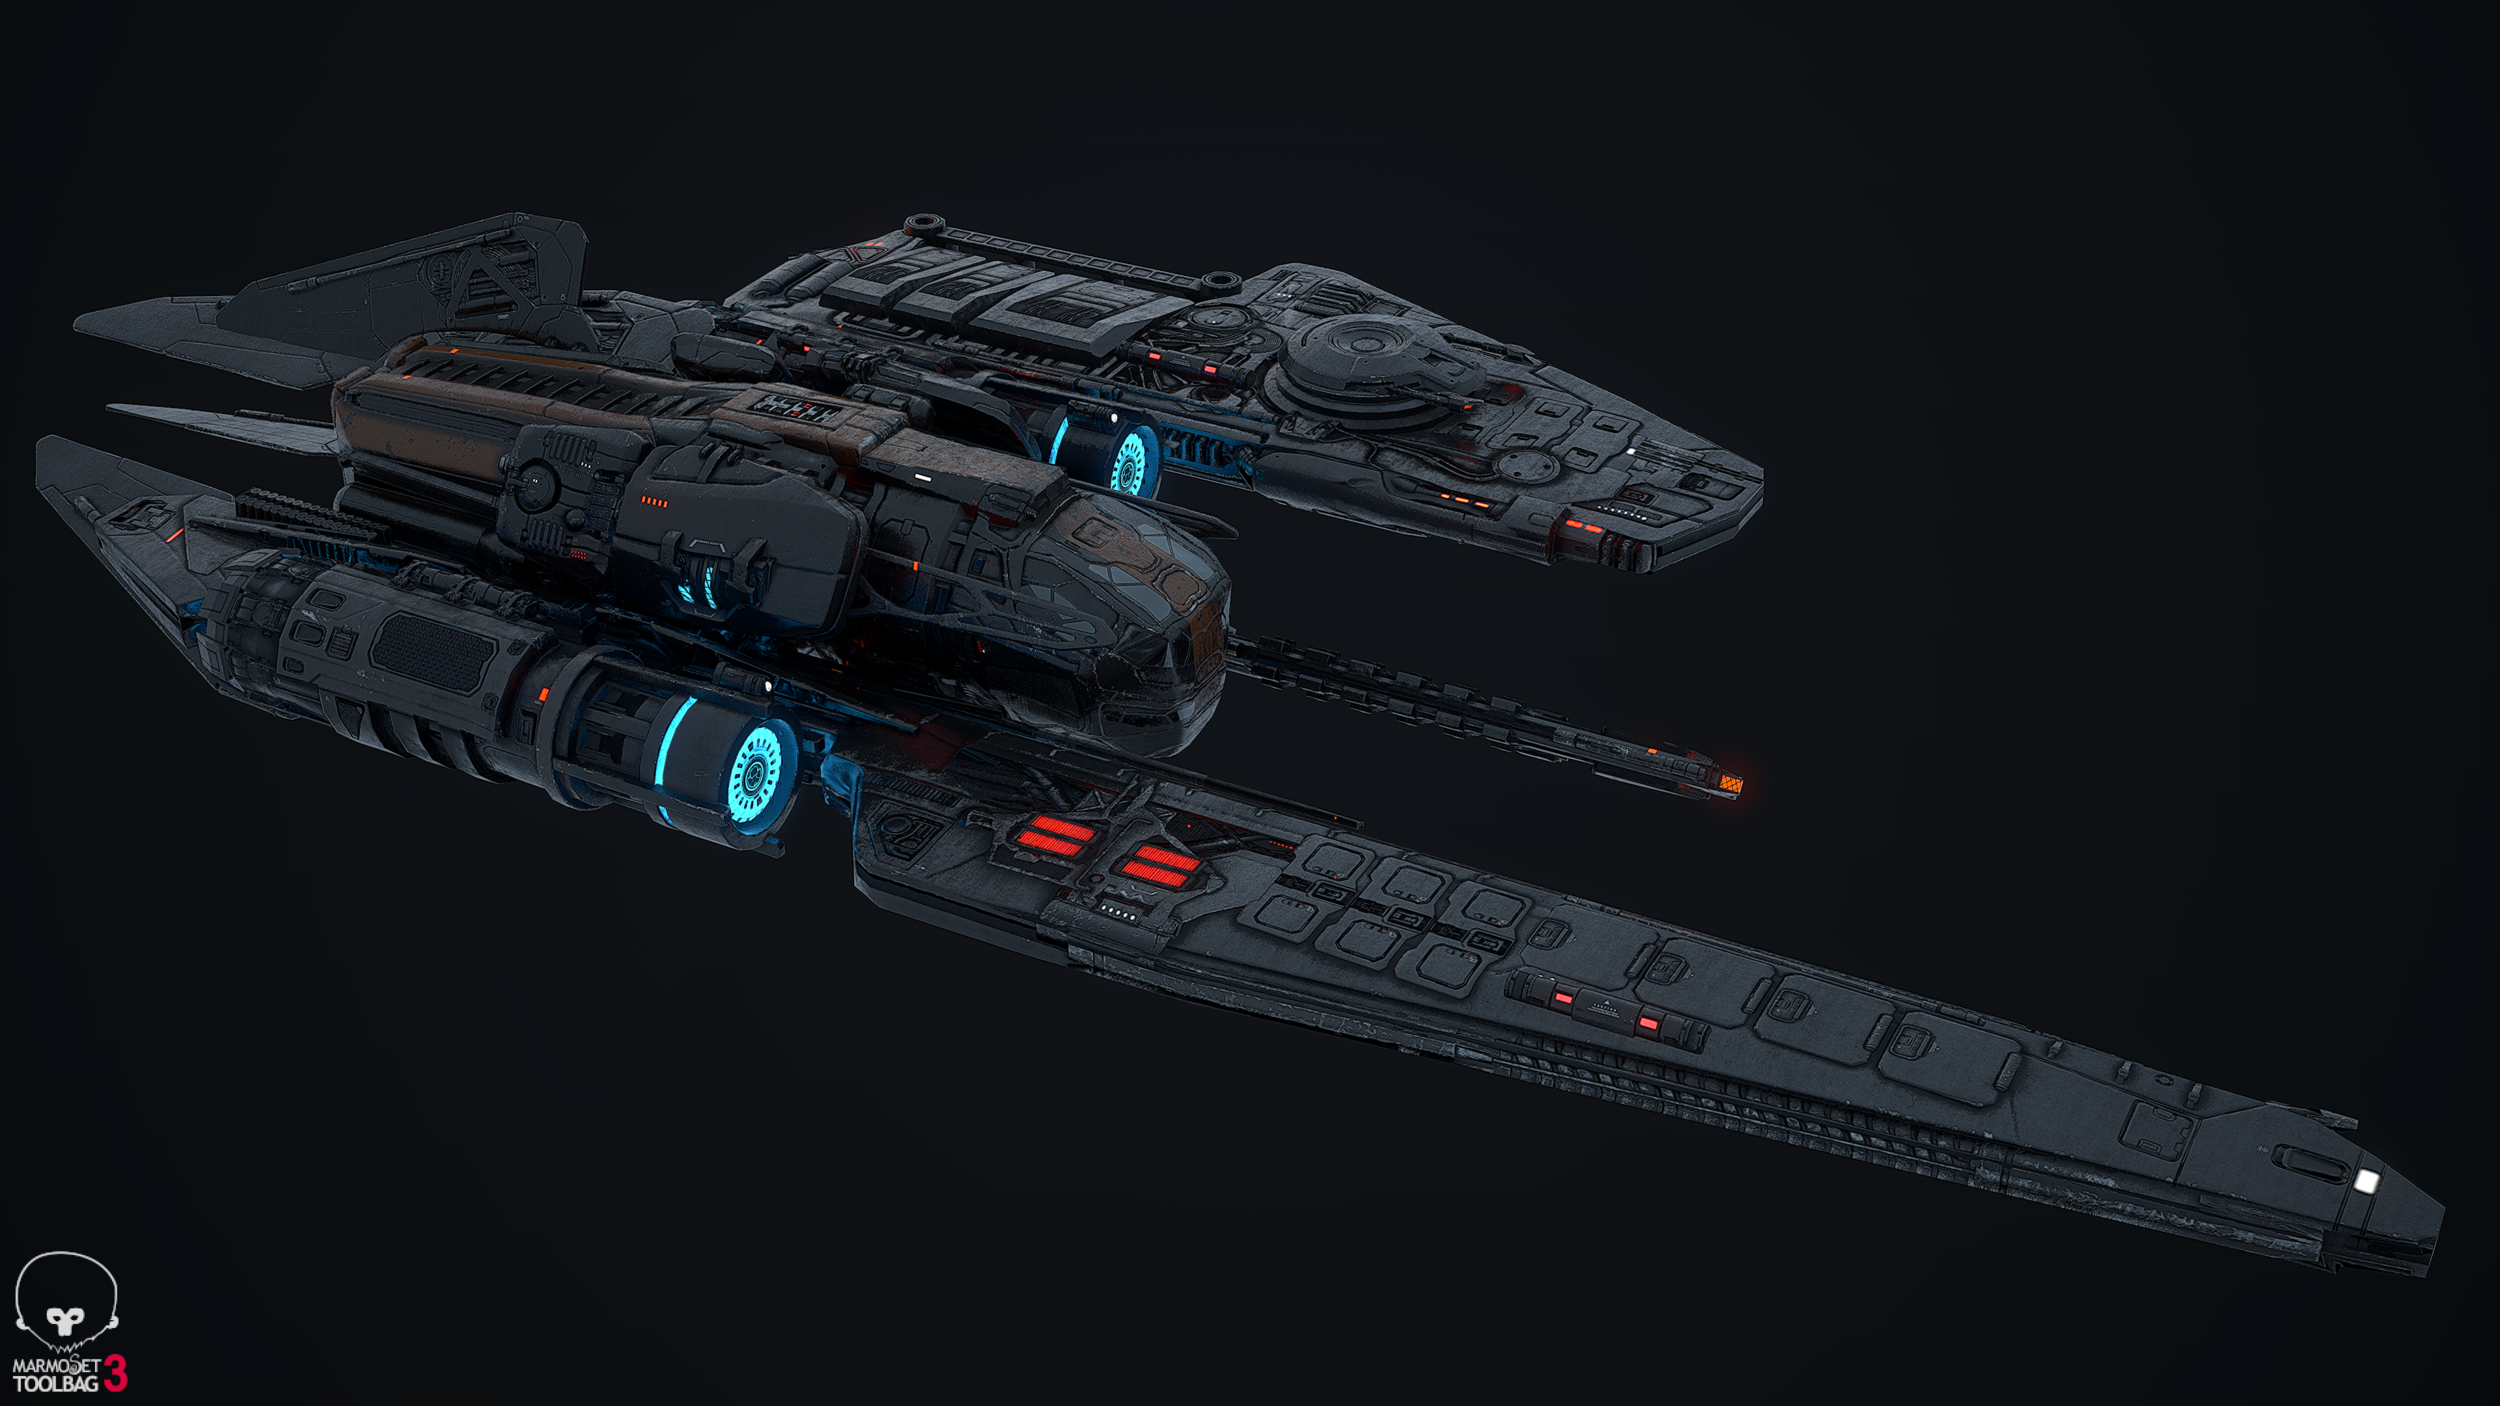
Houndstooth - Process
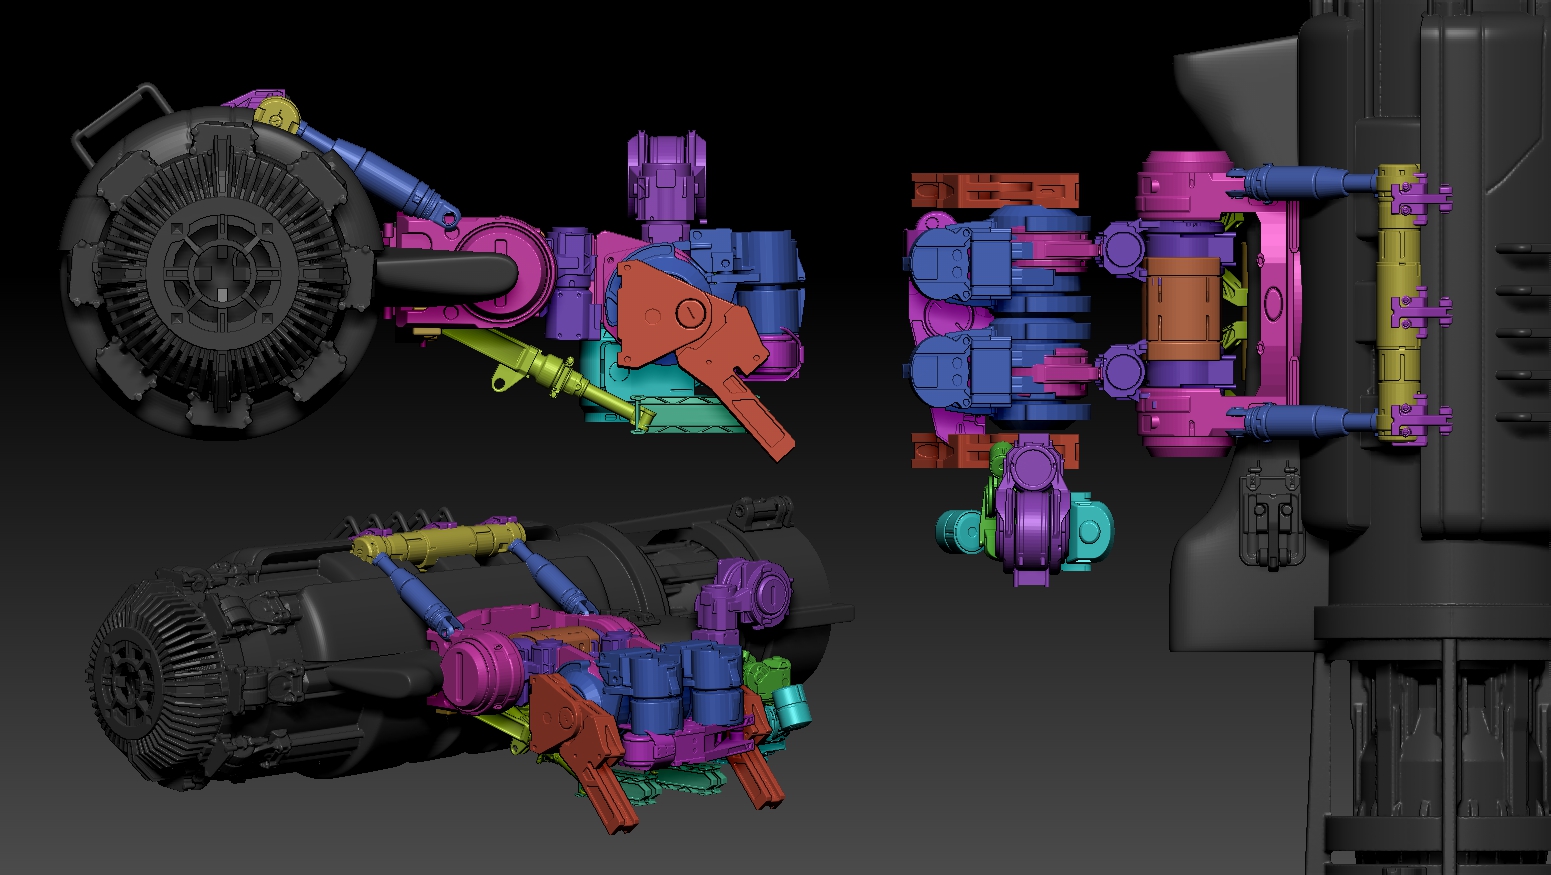
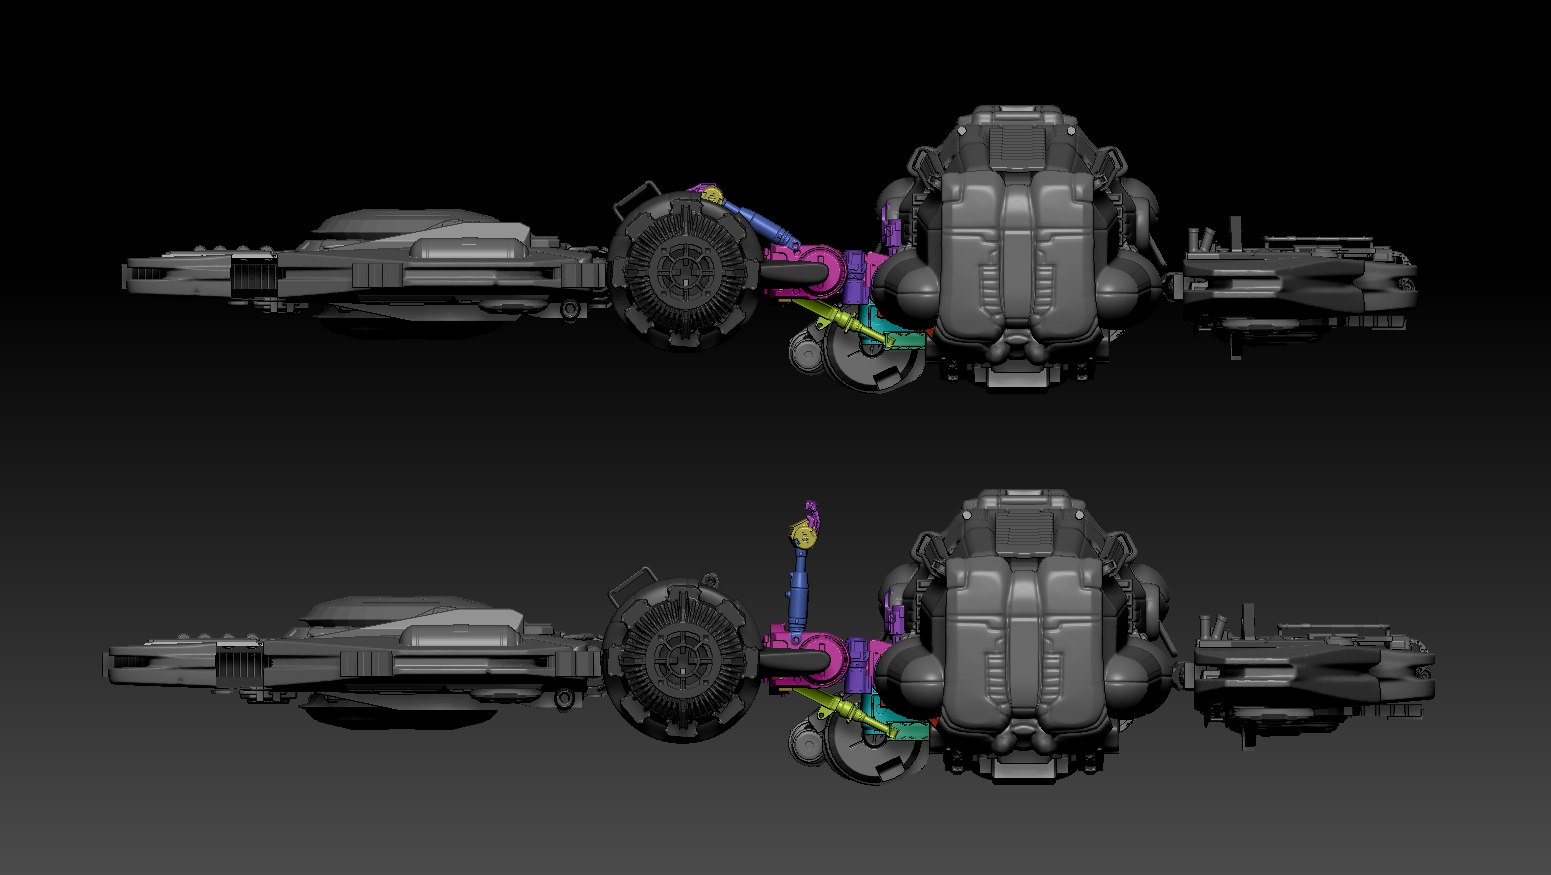
While cleaning up some of my directories, I found some of the paint iterations that I had gone through while building up textures for the spaceship project. The galleries below show some of the iterations at various stages of the texturing process -


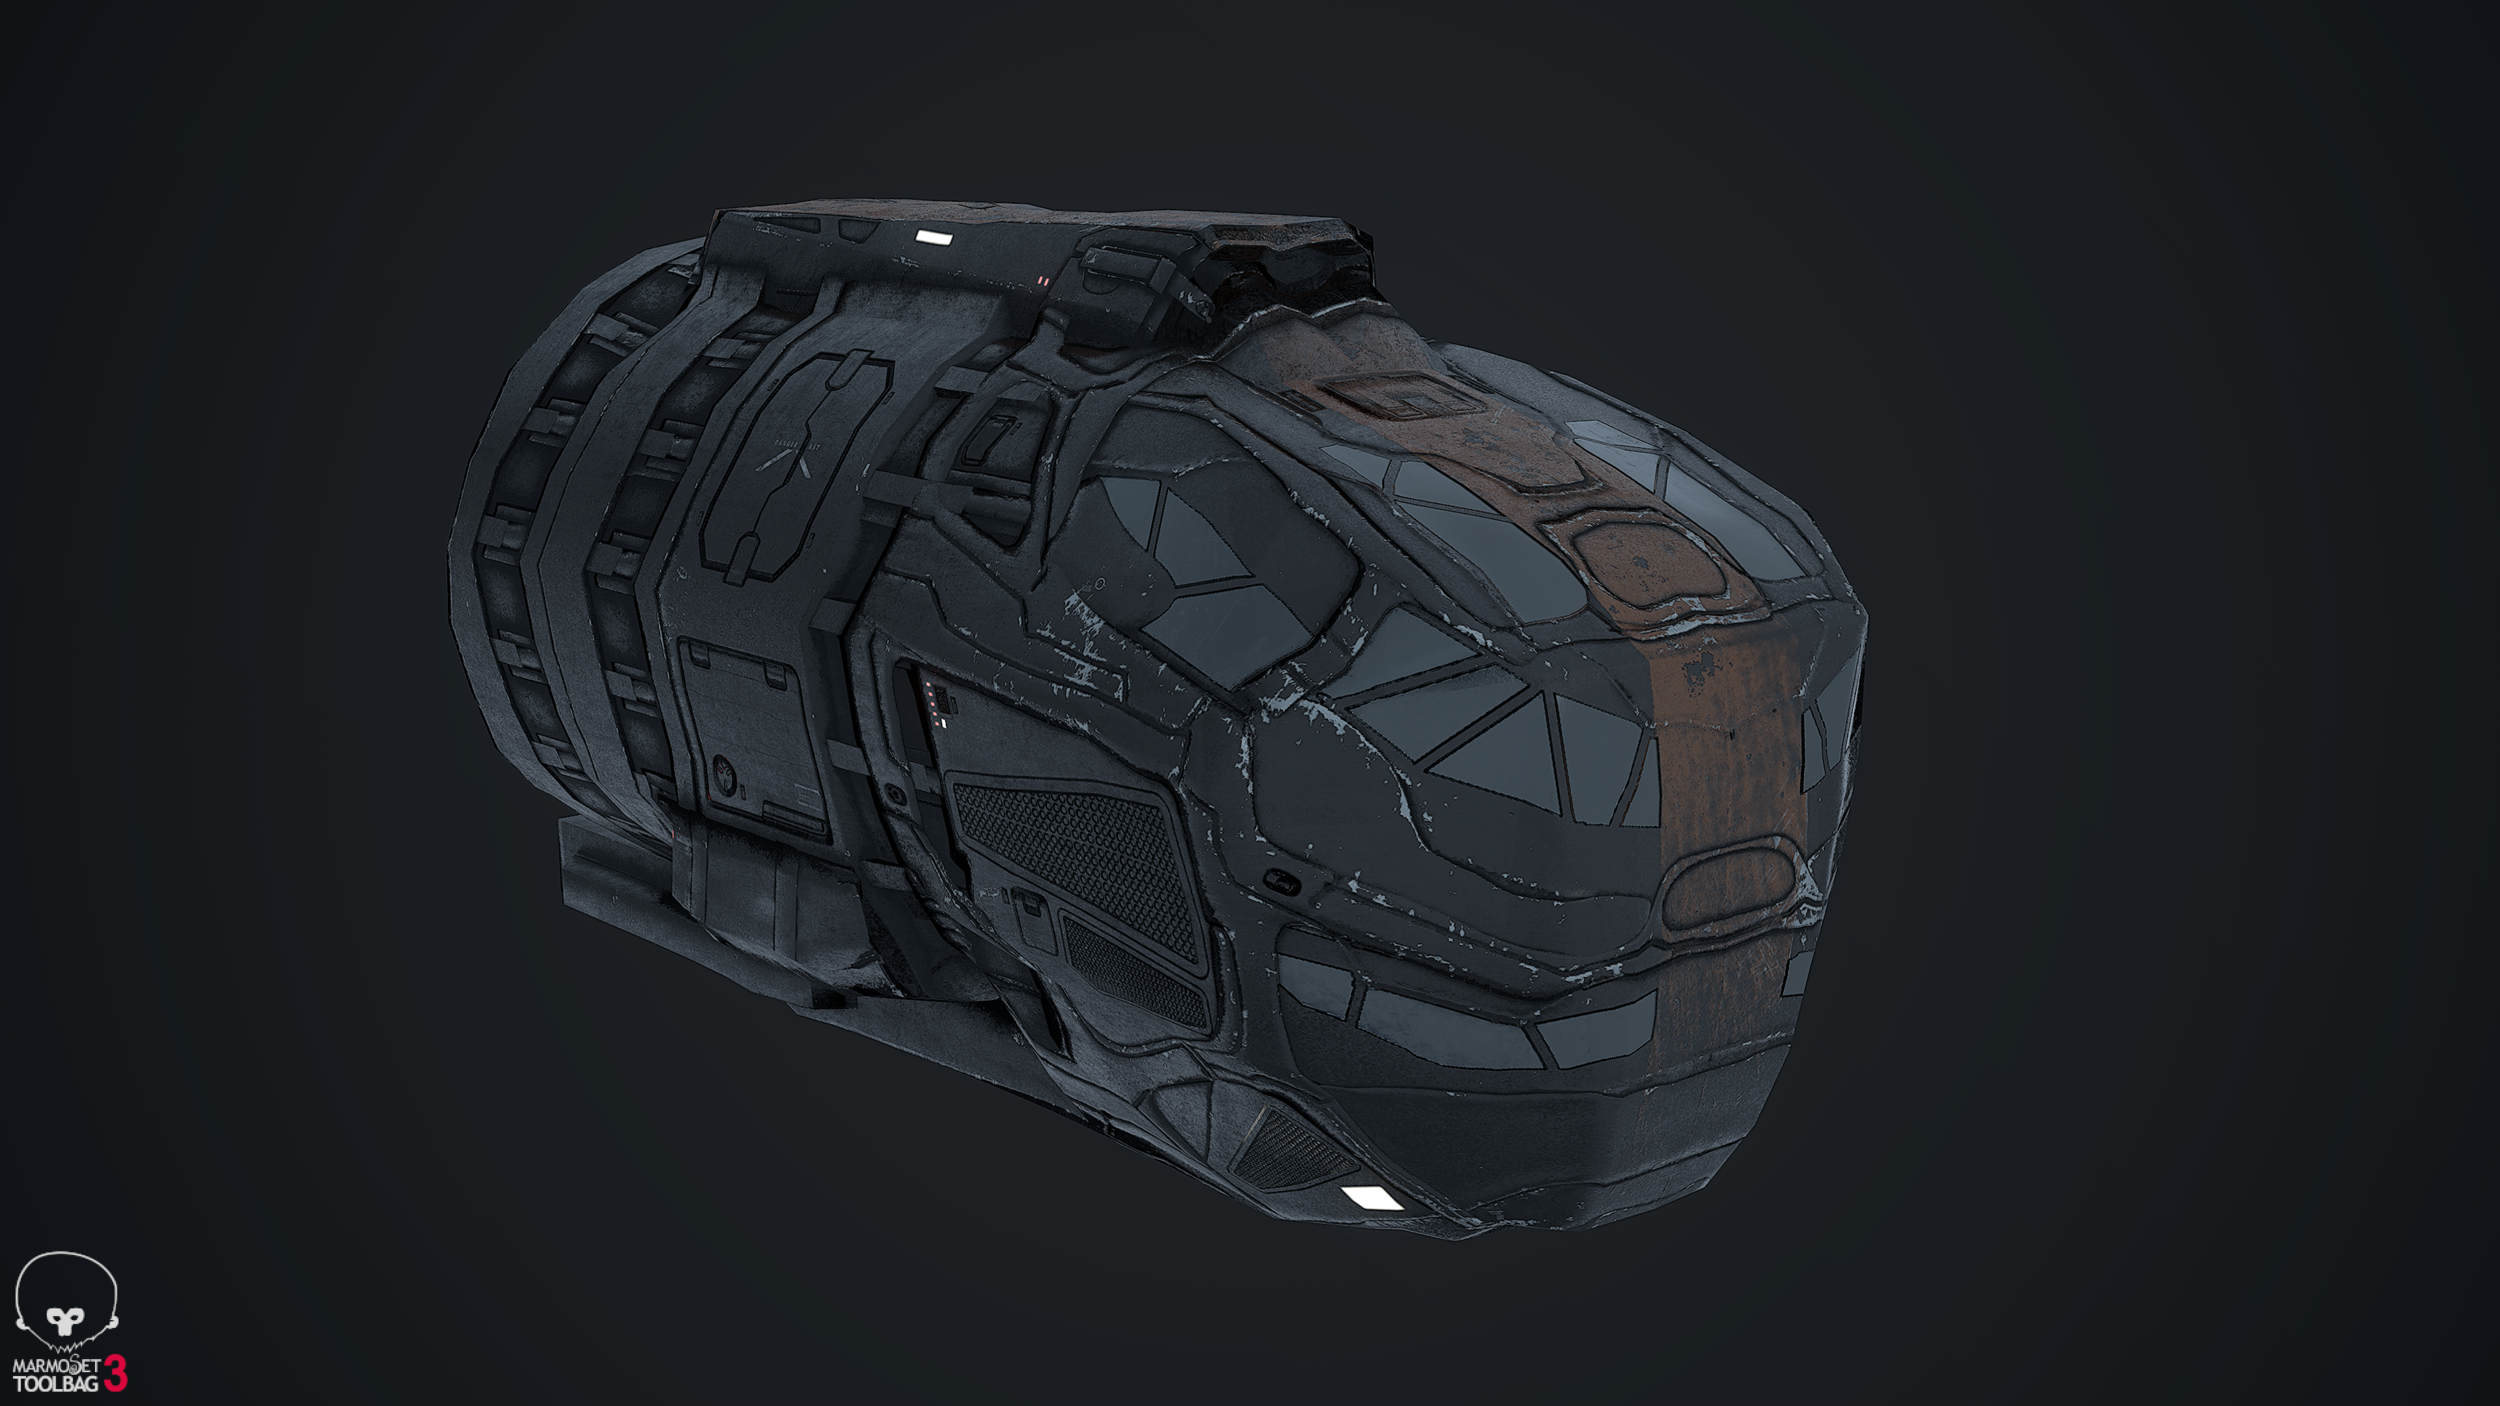
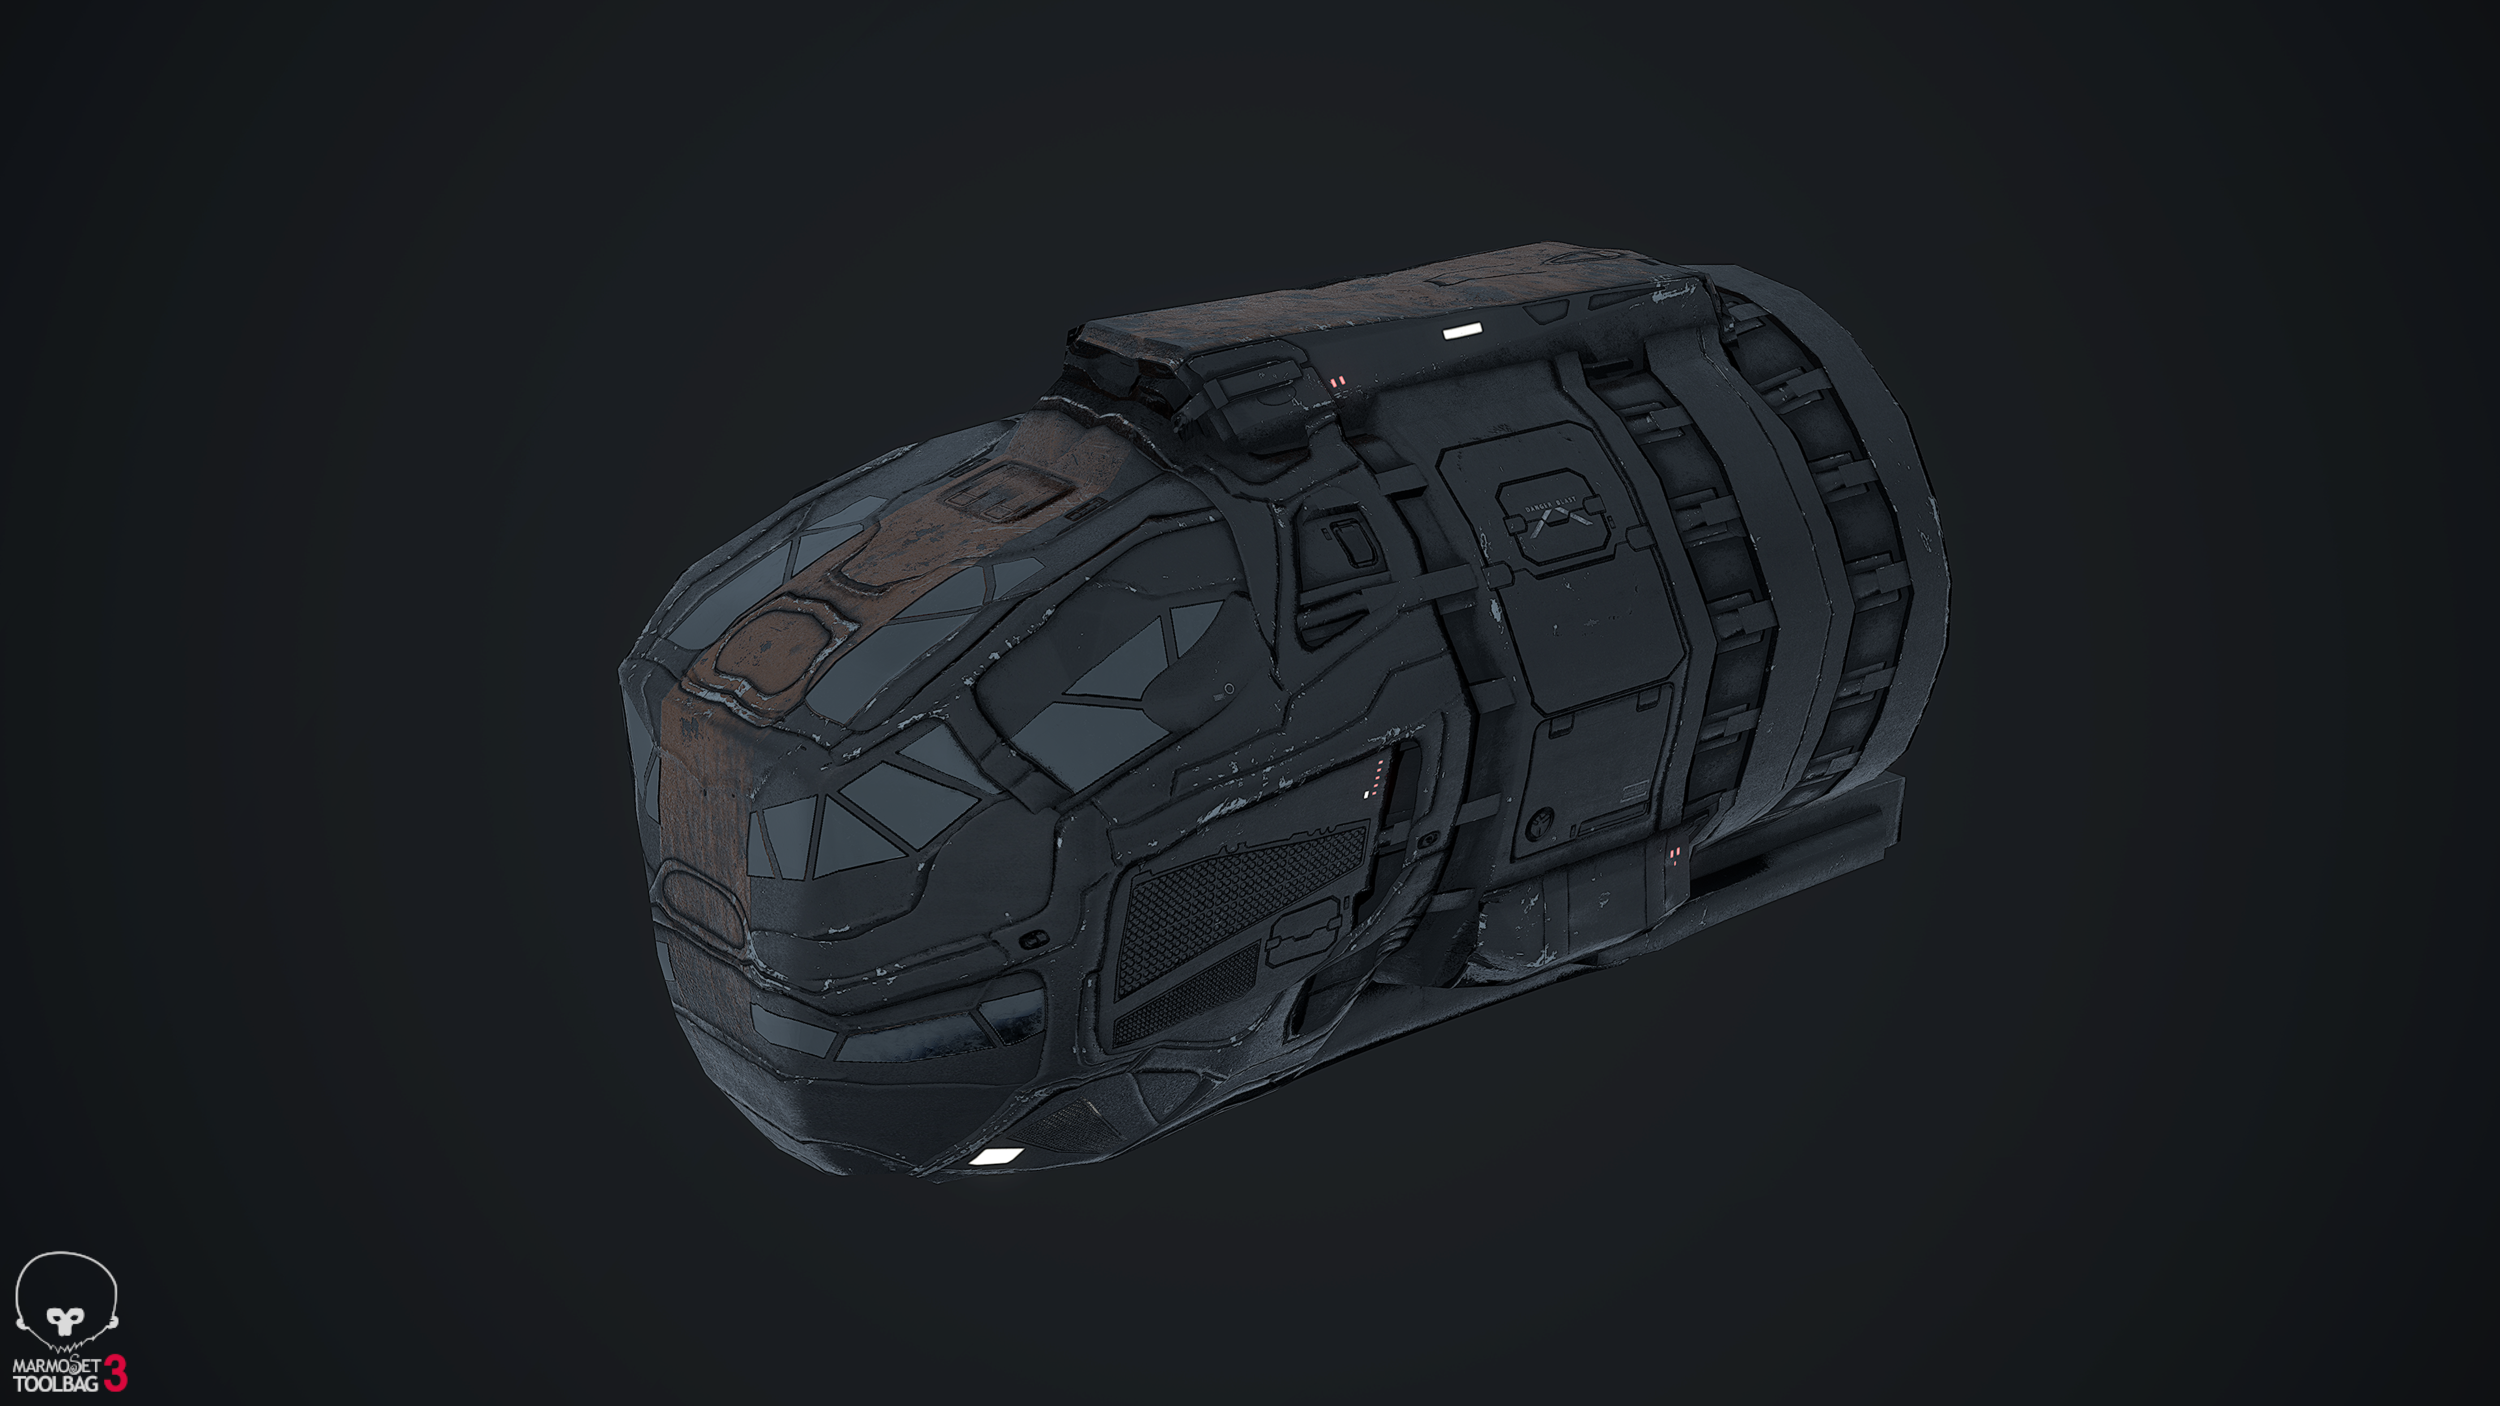

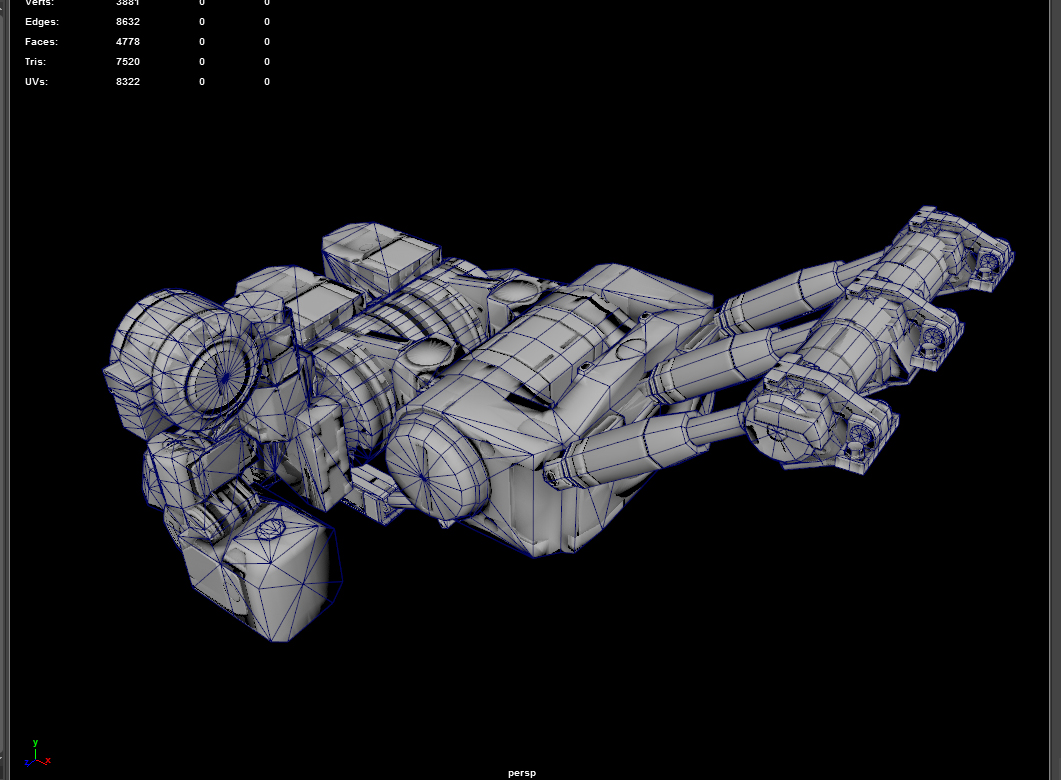
Earlier, before the texturing process - this project also had quite a large organization hurdle to overcome to keep track of all of the unique parts that needed to be retopo'd and baked from the original zBrush model. I don't have as many screenshots for this portion, but some of the images below convey the complexity of the breakdown process -